7 zones – RISCO Group ACUS User Manual
Page 26
ACUS Quick Start Guide
Uncontrolled
when
printed
©
RISCO
Group
25
Figure 20: Add New Node
4. Enter the name of the location that you want. For
example, enter France.
5. Click
Save. The location is saved and the message
appears, “Location updated successfully”. The
new location is created under the <Main_Location>.
Note: You can drag and drop the location from the other
groups in the new location.
6. Click
Translation. The Translation dialog box appears. You may add the
translations for the locations here. For more details on how to translate the terms,
refer to the section,
5 Managing Persons
in the
ACUS User Manual
.
For more details on how to add locations, refer to the section,
6 Adding Locations
in the
ACUS User Manual
.
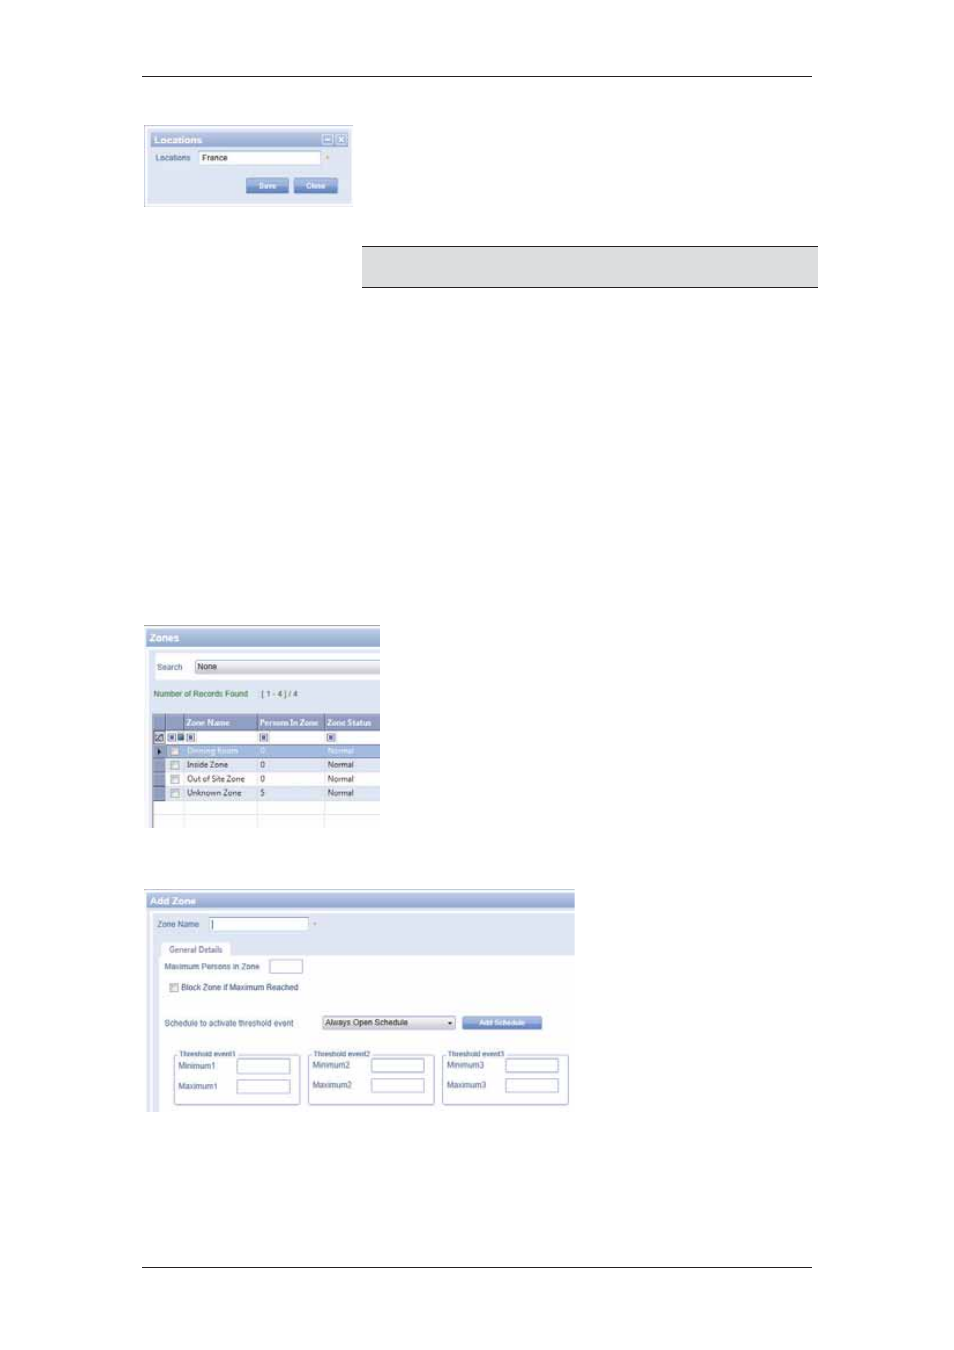
3.7 Zones
A Zone in ACUS is a physically controlled area in a section. A section is an area that divides
the account into logical configurable units. Each section can be divided into multiple zones.
These zones have doors which can be shared between two zones. The Zone tab allows you
to add, edit, delete and duplicate zones. You can also add a schedule to an existing zone.
To add a zone:
1. On
the
Login Wizard Welcome page, click
Zones. The Zones dialog box appears.
2. Click
Add. The Add Zone dialog box appears.
Figure 21: Zone List
3. Enter
the
name
of
the zone in the
Zone Name field.
4. In
the
General
Details tab, enter
the maximum
number of persons
that can access this
zone. For example,
if you enter 50 in
this field, then only
50 people can get
access to this zone.
Figure 22: Add Zone