RISCO Group ACUS User Manual
Page 43
ACUS Quick Start Guide
Uncontrolled
when
printed
©
RISCO
Group
42
In the Alarm Setting area, perform the following steps:
21. Select the schedule from the Schedule drop-down list.
22. In the Reactivation Delay field, enter the time required for reactivation delay and
select minutes or seconds from the drop-down list.
23. In the Bold field, select Yes option button to make the text in the row bold.
In the Execute Automation area, perform the following steps:
24. Select the Execute Automation check box to
execute automation whenever this event occurs.
The Define Automation button is enabled.
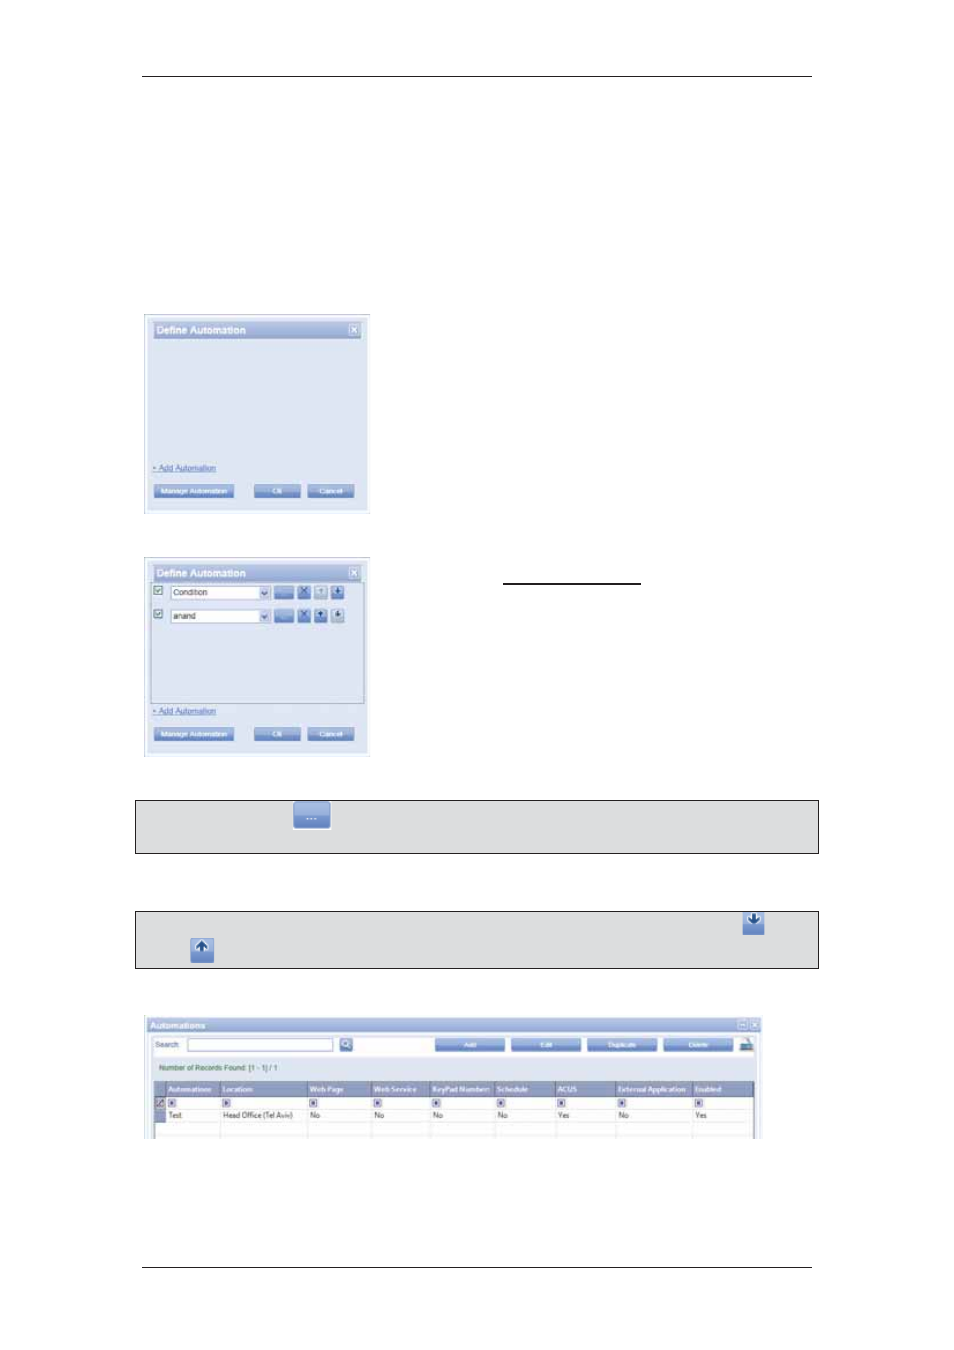
25. Click Define Automation. The Define Automation
dialog box appears.
Figure 53: Define Automation
26. Click + Add Automation. A new row is added in
the dialog box.
27. Select the check box to enable the automation.
28. Select required automation from the drop-down list.
Figure 54: Select Automation
Note: You may click
to edit the selected automation. For details on how to edit the
automation, refer to section
14 Using Automation
in the
ACUS User Manual
.
29. Click Ok to save.
Note: If you add more than one automation, you can decide the priority by using the
and
buttons. Automations will be executed in the order that they are arranged.
30. Click Manage Automation. The Automation dialog box appears.
Figure 55: Manage Automation
You may search, add, edit, duplicate and delete automations from here. For details, refer to
section
14 Using Automation
in the
ACUS User Manual
.