Function button settings, Switch [function group] with – Panasonic LinkRay 70" Class Full HD Commercial LED Display User Manual
Page 64
English
64
■
[Auto display operation guide]
When this is set to [On], the operation guide is
automatically displayed at the beginning of the
content playback, and the information is automatically
erased after a certain period of time.
The playback control (see page 106) is performed
only while the operation guide is being displayed. If it
is not displayed, the unit shows the operation guide
without performing the playback control.
When this is set to [Off], the operation guide is not
displayed at the beginning of the content playback.
The playback control is performed regardless of
Show/Hide of the operation guide.
Note
●
When [Play method] is set to [Single], playback
information and operation guide are automatically
displayed only at the beginning of the first playback
of content.
●
This menu will be greyed out and cannot be set while
content is being played.
Function button settings
Assigns specific functions to the numeric buttons (<1>
to <6>). The buttons can be used as shortcut keys by
assigning frequently used operations.
1
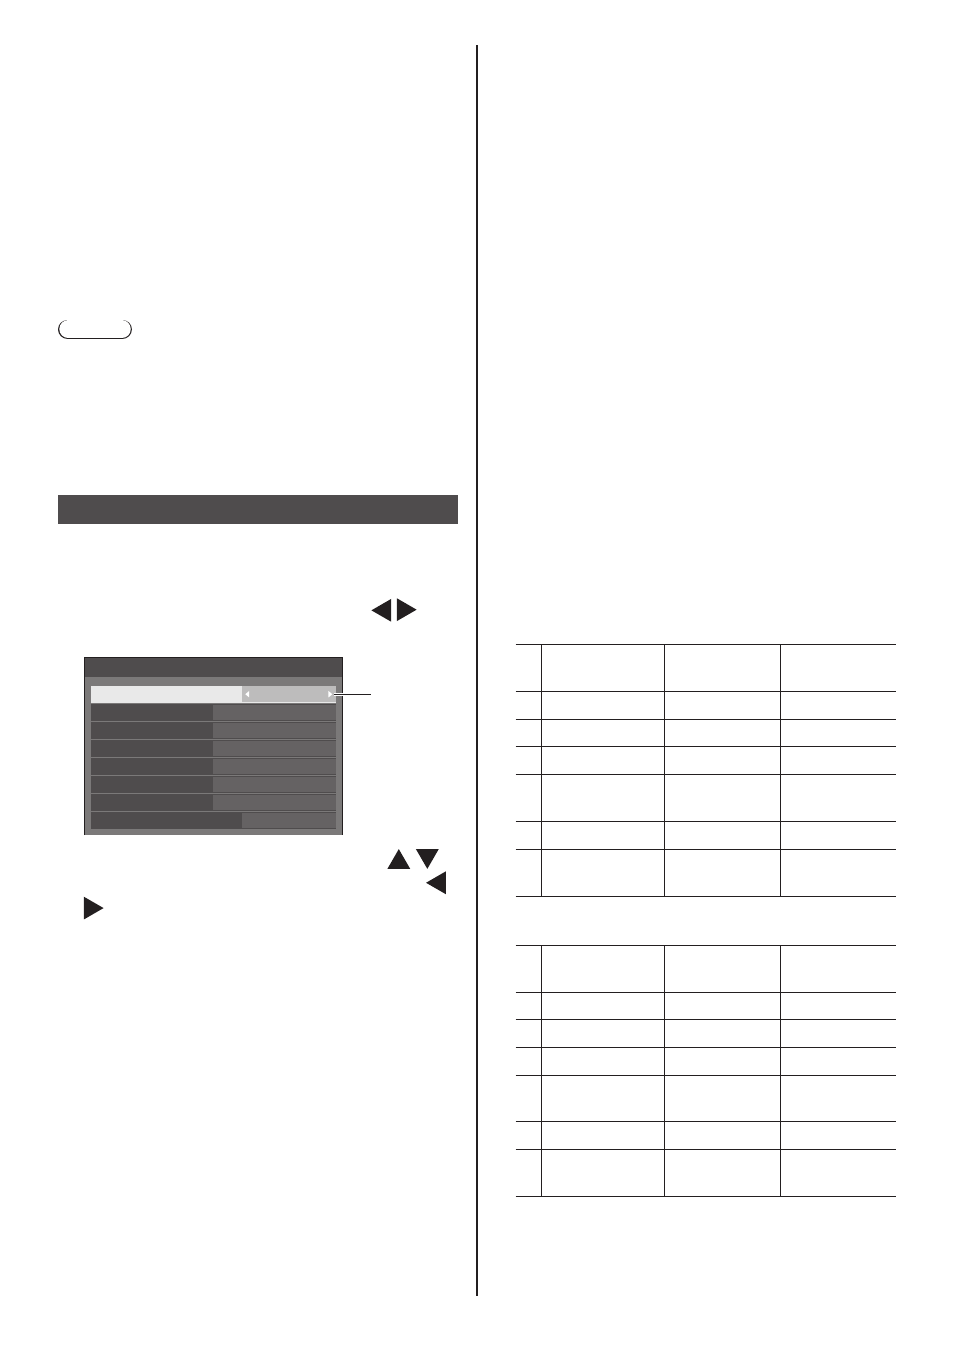
Switch [Function group] with .
[Function button settings] - submenu screen
PC
DVI-D
DIGITAL LINK
HDMI1
USB
Function button settings
Function group
Function button 1
Function button 2
Function button 3
Function button 4
Function button 5
Function button 6
MEMORY VIEWER
Function button guide
Input
Input
↓
Memory load
↓
Shortcut
On
2
Select the numeric button with
and set the function to assign with
.
■
Functions assignable to the numeric
buttons
[Input] (Direct input select)
Input can be selected with single-touch operation.
[HDMI1] / [HDMI2] / [DIGITAL LINK] / [DVI-D] /
[PC] / [VIDEO] / [USB] / [MEMORY VIEWER]
[Memory load]
Memory can be loaded with single-touch operation.
Refer to “Memory load”. (see page 45)
[MEMORY1] to [MEMORY6]
●
[MEMORY1] to [MEMORY6] load functions are
already assigned to <1> to <6> respectively.
These settings cannot be changed.
[Shortcut]
[Signal], [Screensaver], [Set up timer], [Power
management settings], [Network settings],
[Multi display settings]
●
Pressing the numeric button displays the menu
screen. Pressing the button again exits the
menu screen.
[AV mute]
●
Pressing the numeric button mutes the audio
and pictures.
To cancel, press any button on the remote
control except the <Standby (ON/OFF) button>.
[Digital zoom]
●
Switches to [Digital zoom] mode by pressing
numeric buttons. (see page 35)
[Display ID / Display name]
●
Pressing the numeric button enlarges [Display
ID] and [Display name].
[HDMI-CEC operation]
●
Press the numeric buttons to display the
operation screen of the HDMI-CEC compatible
device.
Shipping condition
The following functions are assigned to the numeric
buttons as factory default.
TH-65SF2E
[Input]
[Memory
load]
[Shortcut]
1
HDMI1
MEMORY1
[Signal]
2
DIGITAL LINK
MEMORY2
[Screensaver]
3
DVI-D
MEMORY3
[Set up timer]
4
PC
MEMORY4
[Network
settings]
5
USB
MEMORY5
[AV mute]
6
MEMORY
VIEWER
MEMORY6
[HDMI-CEC
operation]
TH-65SF2U, TH-55SF2U, TH-49SF2U, TH-43SF2U,
TH-55SF2E, TH-49SF2E, TH-43SF2E
[Input]
[Memory
load]
[Shortcut]
1
HDMI1
MEMORY1
[Signal]
2
HDMI2
MEMORY2
[Screensaver]
3
DVI-D
MEMORY3
[Set up timer]
4
PC
MEMORY4
[Network
settings]
5
USB
MEMORY5
[AV mute]
6
MEMORY
VIEWER
MEMORY6
[HDMI-CEC
operation]