Editing zones, Placing autozones – Wavetronix SmartSensor Matrix (SS-225) - User Guide User Manual
Page 83
82
CHAPTER 8 • ZONES & CHANNELS
placed zones are also mapped to the first ten detection channels respectively.
Editing Zones
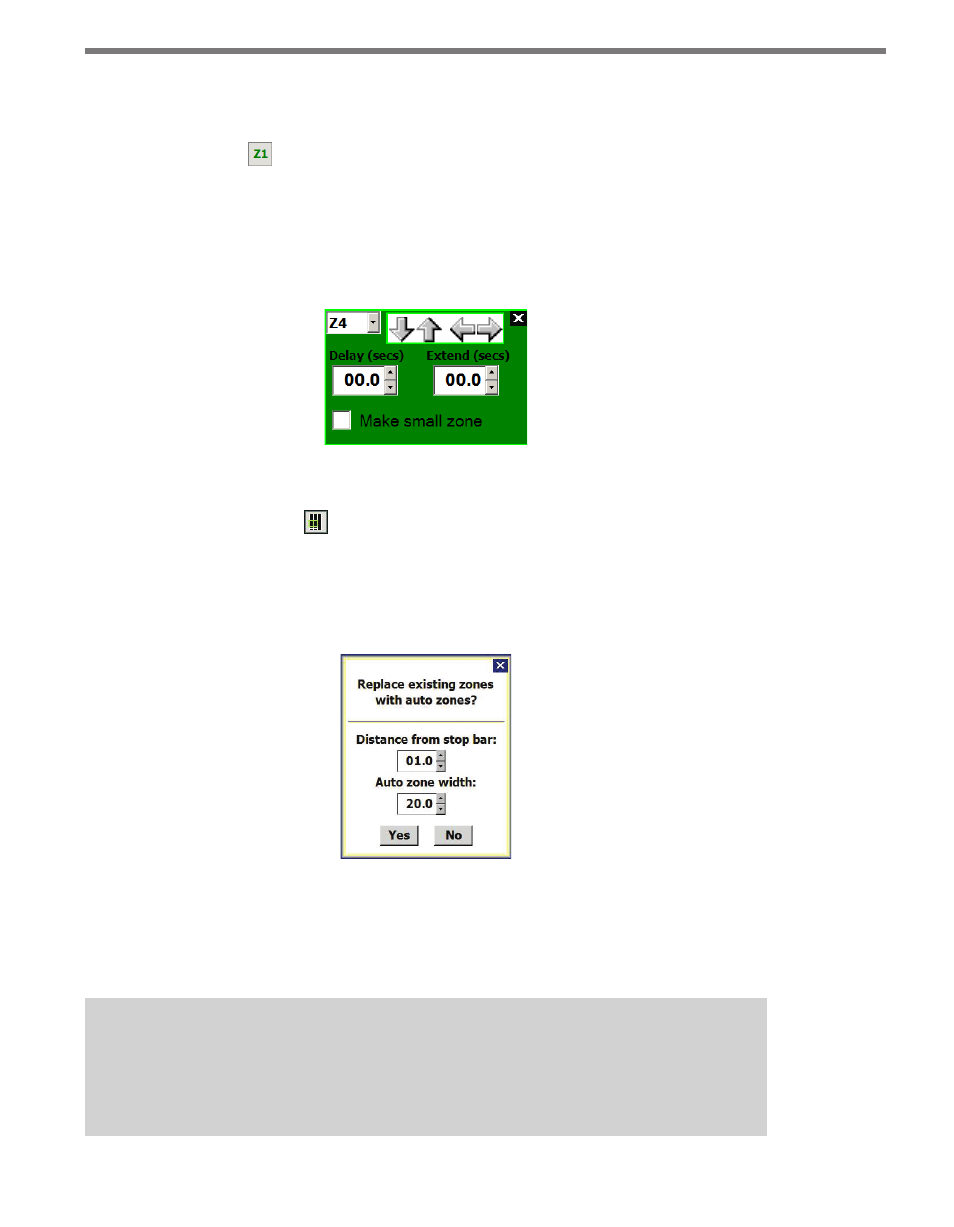
Click the Edit Zone button to adjust the currently selected zone. An entire zone can be
moved by clicking and dragging or by using the arrow buttons on the Edit Zone window
(see Figure 8.5). Zones can overlap each other. This window can also be used to add a delay
or extend time (in seconds) to this particular zone. When you click the Make small zone
checkbox, a narrow zone will be created, which is recommended for counting channels.
Figure 8.5 – Edit Zone Window
Placing AutoZones
Click the Place Auto Zones button if you would like to replace your manually configured
zones with auto zones. Placing auto zones requires you to insert the distance from the stop
bar and also the auto zone width (see Figure 8.6). Clicking Yes will add a zone to each au-
tomatically configured lane.
Figure 8.6 – Placing Auto Zones Prompt
If zones are too long for the SSMM view, the zones will be cropped so that the entire zone
can be seen. For more information on auto zones, see the auto zone information at the be-
ginning of this chapter.
Note
Please note that all existing zones will be removed before new zones are placed au-
tomatically.