Apture itself (p . 60), Press the [cursor/value] knob – Roland OCTA-CAPTURE - High-Speed USB Audio Interface User Manual
Page 60
60
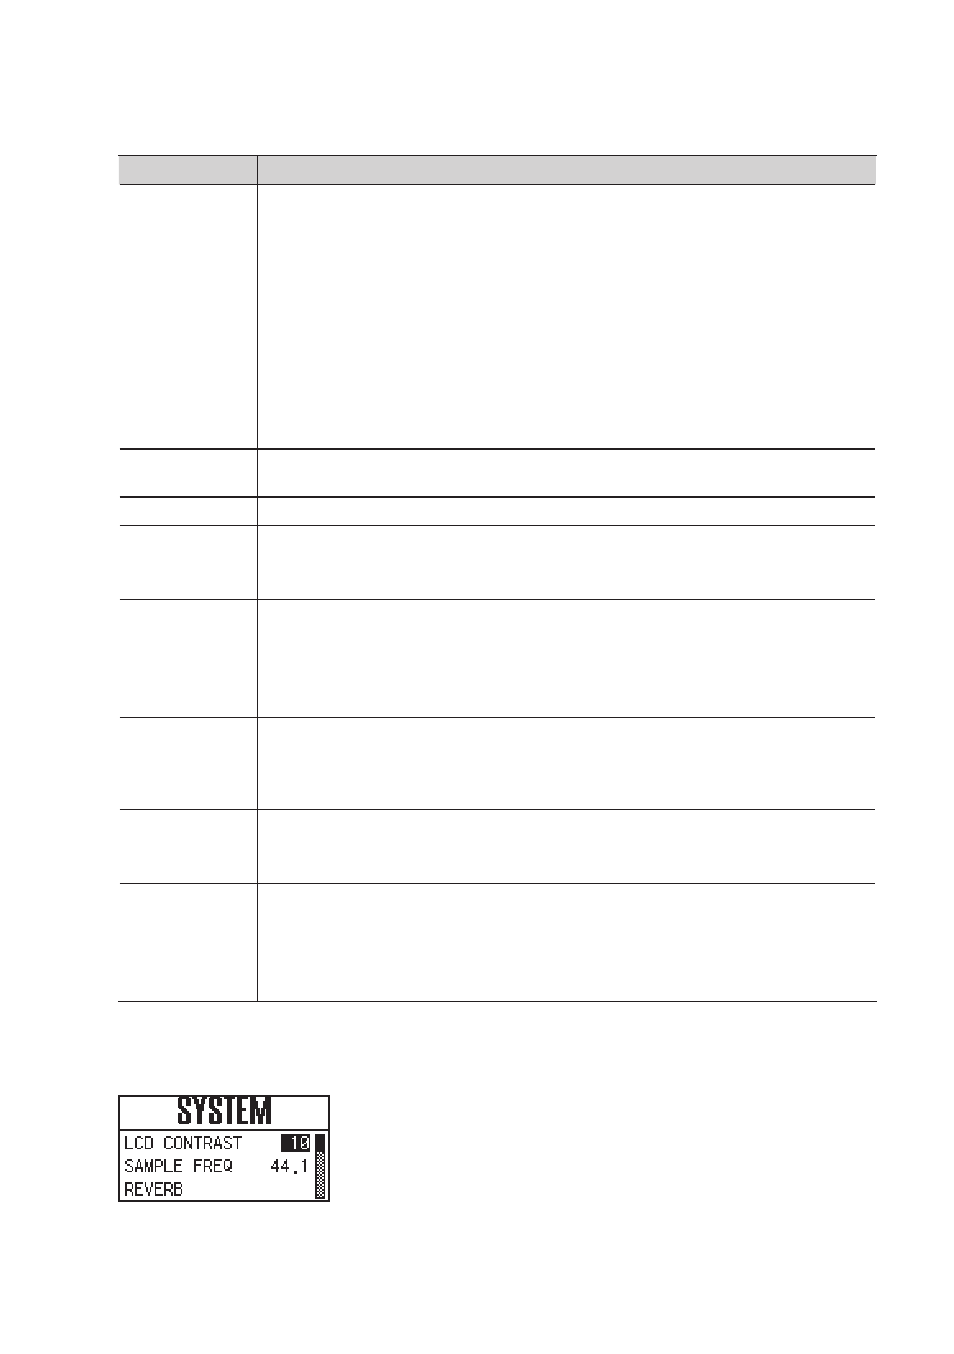
Screen indication
Explanation
AUTO SENS
The recording level will be set automatically according to the maximum volume that was
input during the Auto Sens setting time.
To start rehearsal, press the [AUTO-SENS] button.
Manual:
The recording level will be set automatically according to the maximum volume
that was input from when you started Auto Sens until when you pressed the
[AUTO-SENS] button once again.
30sec, 1min, 3min, 5min:
If you press the [AUTO-SENS] button once again while the Auto Sens setting is in progress,
the recording level will be automatically set according to the maximum volume that was
received up to that point during Auto Sens.
For details, refer to “Auto Sens setting” (p. 37).
BACKUP ALL
PRM .
Stores the current settings (preamp, direct mixer, reverb, patch bay) in the OCTA-
CAPTURE’s memory.
RECALL ALL PRM .
Recalls the internally stored settings.
VS EXPAND
OFF:
Choose this setting if you’re using a single OCTA-CAPTURE unit.
ON:
Choose this setting if you’ve connected two OCTA-CAPTURE units. For details,
refer to (“Connecting Two OCTA-CAPTURE Units” (p. 63).
DIGITAL
Turns the INPUT 9–10 (COAXIAL IN) input on/off.
AUTO:
The input signal from INPUT 9–10 (COAXIAL IN) will be received. The OCTA-
CAPTURE will switch to the same sampling frequency as the incoming digital
signal.
OFF:
The digital signal will not be received.
CLEAR MUTE/
SOLO
Clears the mute and solo settings of the channels.
To clear the settings, choose “Yes,” and then press the [CURSOR/VALUE] knob.
If you decide not to clear the settings, choose “No,” and then press the [CURSOR/VALUE]
knob.
POWER OFF
Specifies the time after which power to the OCTA-CAPTURE will automatically be turned
off, following the last time it was operated.
Range: OFF, 4HOURS
INITIALIZE
Initializes the system settings.
For details on the values, refer to “Initializing the Settings” (p. 52).
When you select the item to be initialized, a confirmation message will appear.
To execute initialization, press the [CURSOR/VALUE] knob.
If you decide not to initialize, press the [DISPLAY] button.
3.
Press the [CURSOR/VALUE] knob .
The parameter value will be highlighted.