Simple mode toolbar(p. 134), Simple mode toolbar – Canon imageCLASS MF3010 VP Multifunction Monochrome Laser Printer User Manual
Page 139
3
Click [Preview].
The preview of the image is displayed.
4
Select the purpose of the scan for [Select Purpose].
●
[Print (300dpi)]
●
[Image Display (150dpi)]
●
[OCR (300dpi)]
" Setting Resolution(P. 150) "
5
Select the output size of the scanned image.
The options displayed in the window vary depending on the purpose of the scan specified in Step 4(P. 134) .
Click [
] to choose the orientation of the output size between landscape and portrait.
6
Adjust the cropping frames as needed.
" Defining a Scan Area (Cropping Frame)(P. 148) "
7
Select [Fading Correction] as needed.
●
It can only be selected when color documents are scanned.
●
It cannot be specified when the image is not displayed in the preview area.
8
Click [Scan].
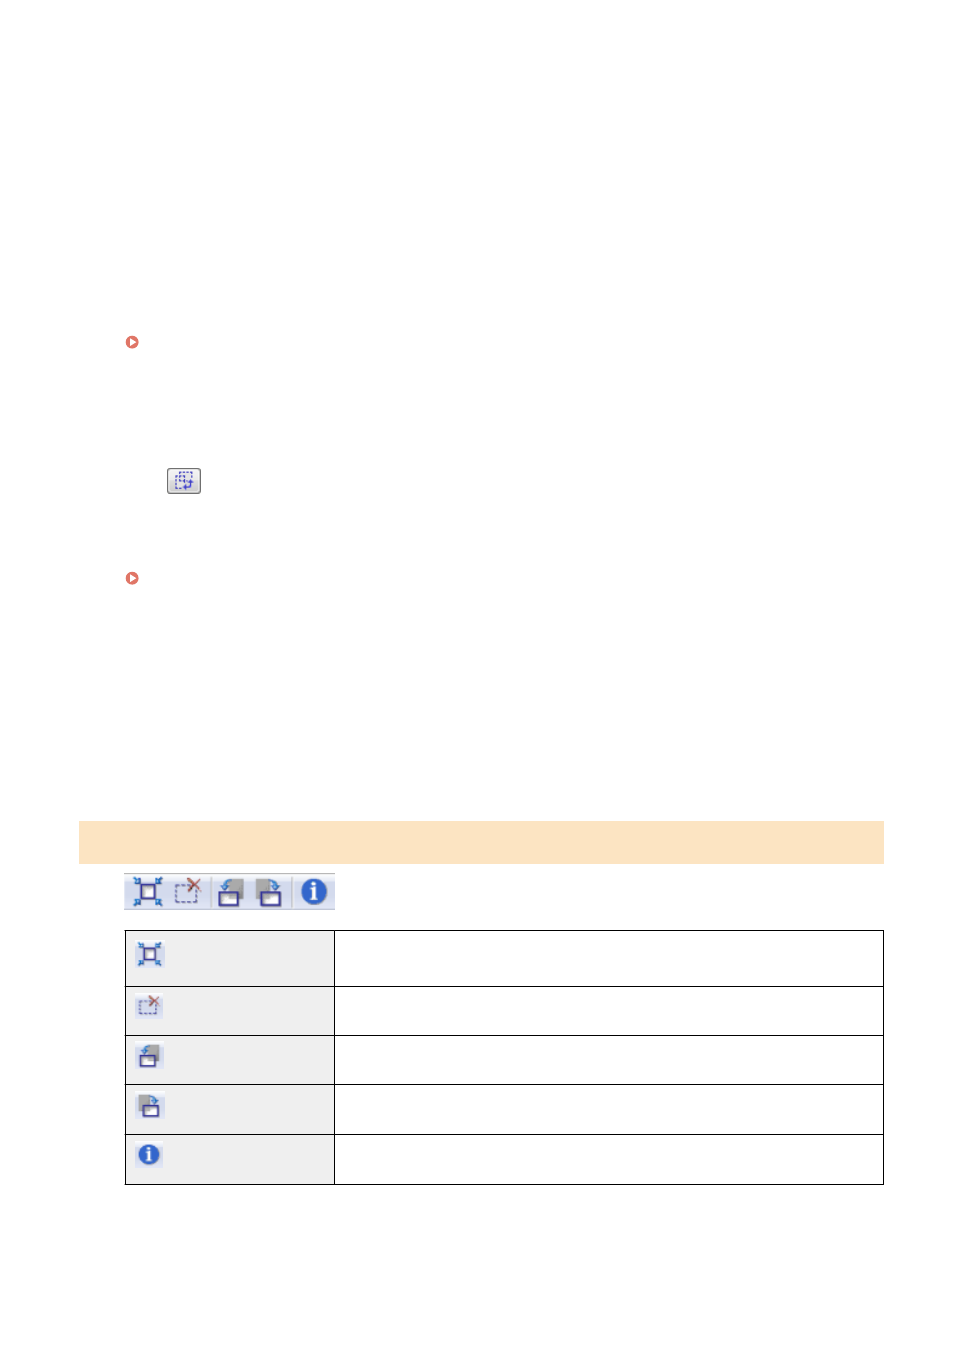
Simple mode toolbar
[
] (Auto Crop)
Specify scan areas (cropping frames) automatically. See " Defining a Scan Area
(Cropping Frame)(P. 148) " for more information.
[
] (Remove Cropping Frame) Delete the selected cropping frames.
[
] (Left Rotate)
Rotate the image 90 degrees to the left.
[
] (Right Rotate)
Rotate the image 90 degrees to the right.
[
] (Information)
Display the information of the scanned image.
Scan
134