Figure 76: set geoid area window – NavCom SurveCE Integration Rev.A User Manual
Page 123
SurvCE ™ Integration User Guide – Rev. A
4-121
Figure
76
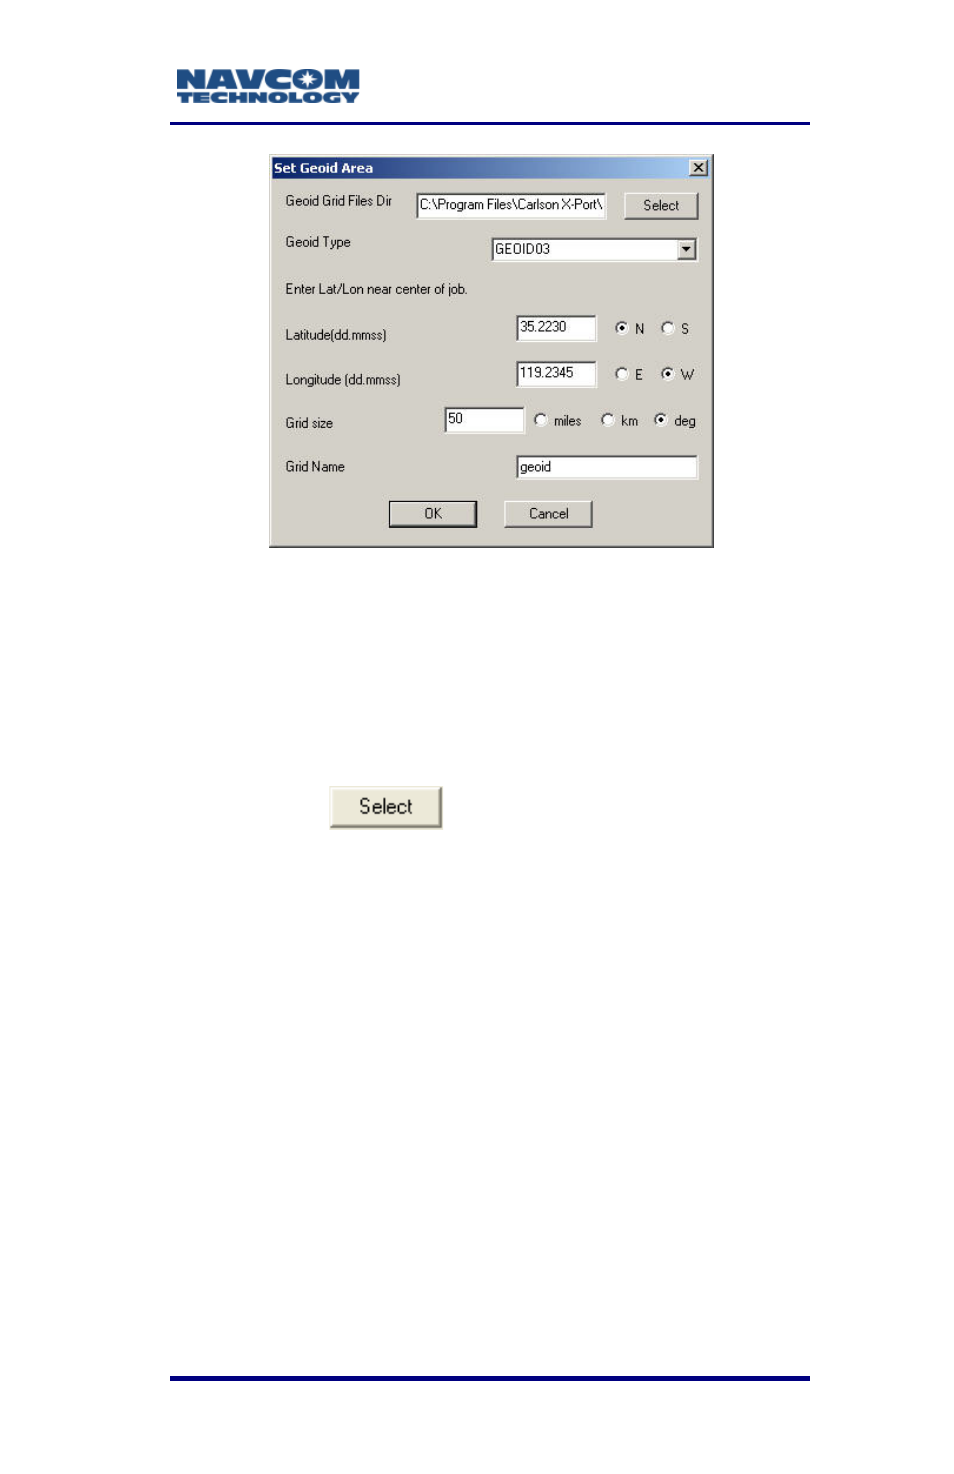
: Set Geoid Area Window
Note the version updates.
Geoid types are coded differently (e.g.,
Geoid 2003 is now GEOID03)
See Figure 76 for the steps below:
6. Click the
button. Browse to and select
a geoid file. C:\Program Files\Carlson X-Port is
the default installation location of the geoid files.
7. Select the Geoid Type (usually Geoid 2003).
8. Enter the Latitude and Longitude near the center
of the area to be surveyed.
9. Enter the Grid size.
The minimum Grid size is a 50 miles
square. A Grid size greater than 150
miles slows processing.
10. Enter a Grid Name
11. Click the OK button. The file is created with the
extension .gsf, and uploaded to the Data folder on
the data collector.