Use alignment tools, Use drawing tools – QuickLabel Designer Express User Manual
Page 35
- 35 -
Use Alignment Tools
You have placed the objects on the label. Now you want to make sure they are aligned on the hor-
izontal center of the label. You can align objects on the label by using the Align toolbar on the right
side of the working window.
To align objects on the label, do the following:
1. Select all objects on the label.
Note:
The first object you select determines the alignment orientation for all selected objects.
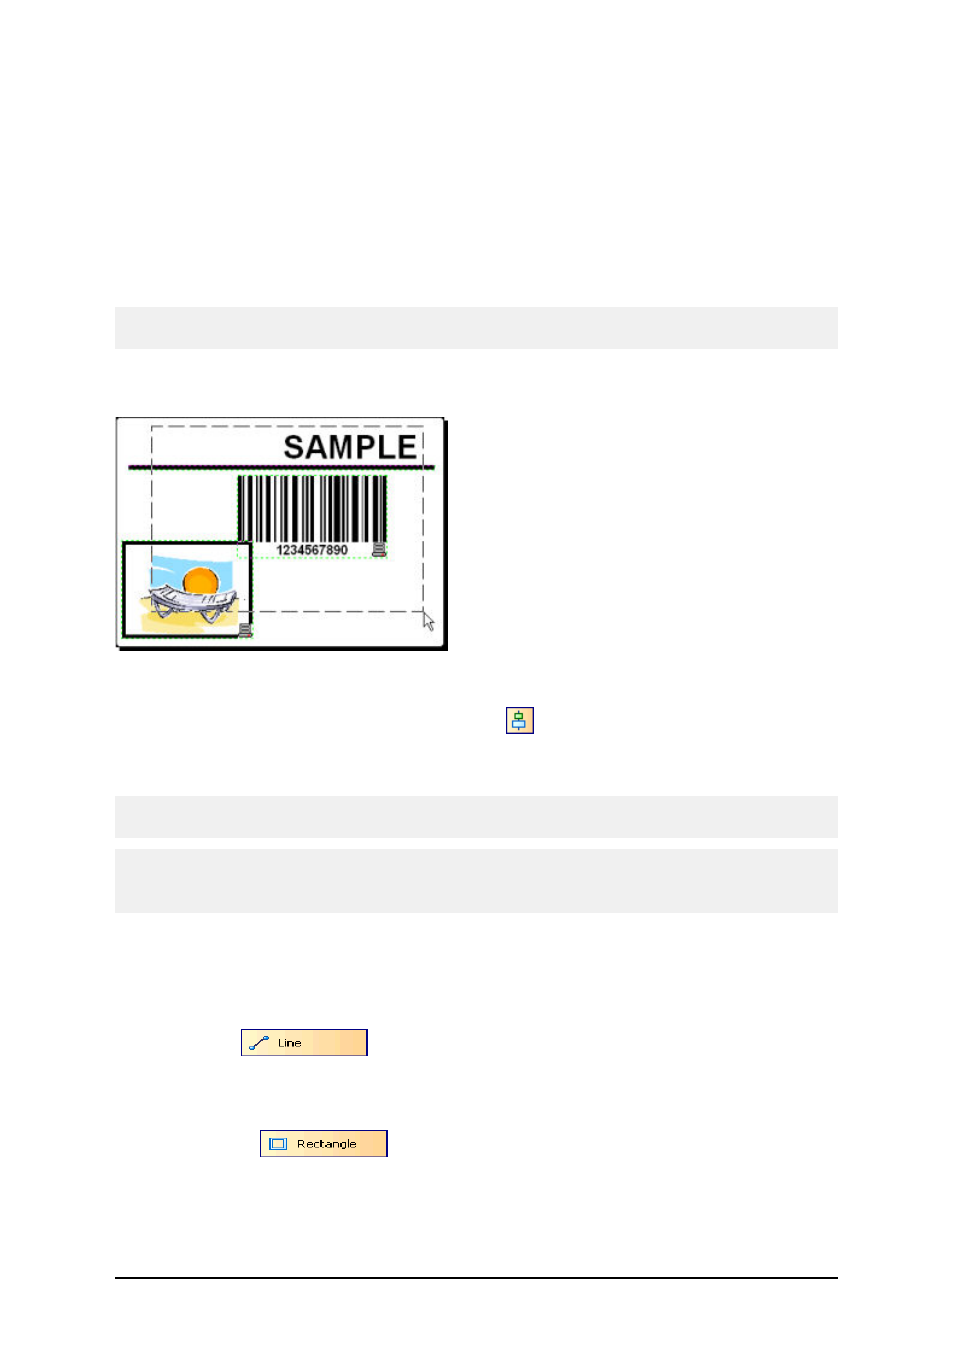
2. Choose a select arrow in the Toolbox and draw a frame around all objects to select all
objects.
Selecting the objects on the label
3. In the Align toolbar on the right, click on the
icon to arrange the objects.
The selected objects will be rearranged and positioned on the horizontal center on the
label.
Note:
There are also other alignment commands available in the Align Toolbar.
Note:
You can also align the objects to the label grid. The option Snap to Grid is available in the View
menu.
Use Drawing Tools
Now you will insert a line to separate a text object from other objects and a rectangle around the pic-
ture object.
1. Select the
icon from Toolbox and move the cursor to the required start-
ing point of the line.
2. Press and hold down the mouse button while drawing the line. Move the mouse to the
end position of the line and release the button. The Line object is placed on the label.
3. Click on the
icon in the Toolbox and point the mouse to the upper left
corner of the picture.
4. Click and hold the mouse button while you stretch the rectangle to the lower right corner
of the picture.