Using the self-timer to delay recording, Capturing an image for audio file background, 4 – video/audio recording – Teac DR-V1HD User Manual
Page 50
50
TASCAM DR-V1HD
4 – Video/Audio Recording
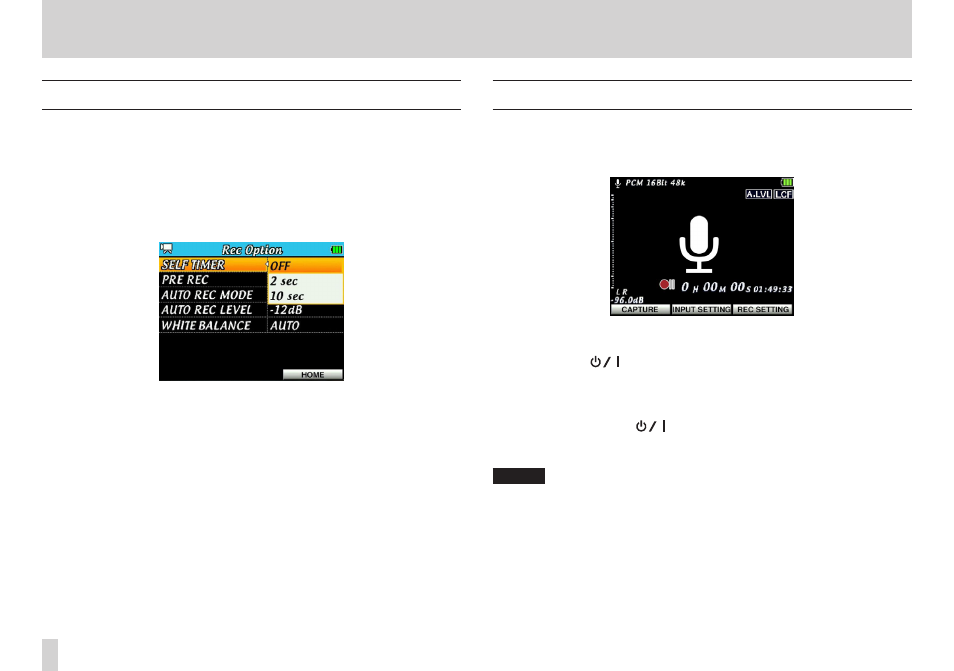
Using the self-timer to delay recording
Use the self-timer to start recording a set amount of time after the RECORD
button is pressed.
1. Press the MENU button to open the MENU screen.
2. Use the Pointing Stick to select (highlight) REC OPTION and press
the center of the Pointing Stick to open the REC OPTION screen.
3. Press 5 and b to select SELF TIMER, and then press t or the center of
the Pointing Stick.
4. Press 5 and b to change the setting and then press the center of the
Pointing Stick.
Options: OFF (default), 2 sec, 10 sec.
5. When done changing the setting, press the F3/HOME button to return to
the Home Screen.
Capturing an image for audio file background
In audio mode, you can take (capture) a still photo when in recording standby
and use it as a background during recording/playback.
1. Press the RECORD button to put the unit into recording standby.
2. Focus the camera so that the image you want to shoot appears on
screen.
3. Press the F1(
) button (CAPTURE) to take the still photo.
The image captured is saved as a JPEG file with the same name of the
next audio file to be recorded, but with a “.jpg” extension.
4. The captured image is set as the Home Screen background.
5. You can press the F1(
) button (RECAPTURE) again to capture
a different image, if you want. The previously captured image is
overwritten.
NOTE
When the BROWSE screen is in thumbnail display mode, this image is also
used as the thumbnail.