10 – on-air mode, Selecting files for on-air playback, Playback areas in on-air mode – Teac HS-4000 User Manual
Page 98: See “selecting files for
98
TASCAM HS-4000
10 – On-air mode
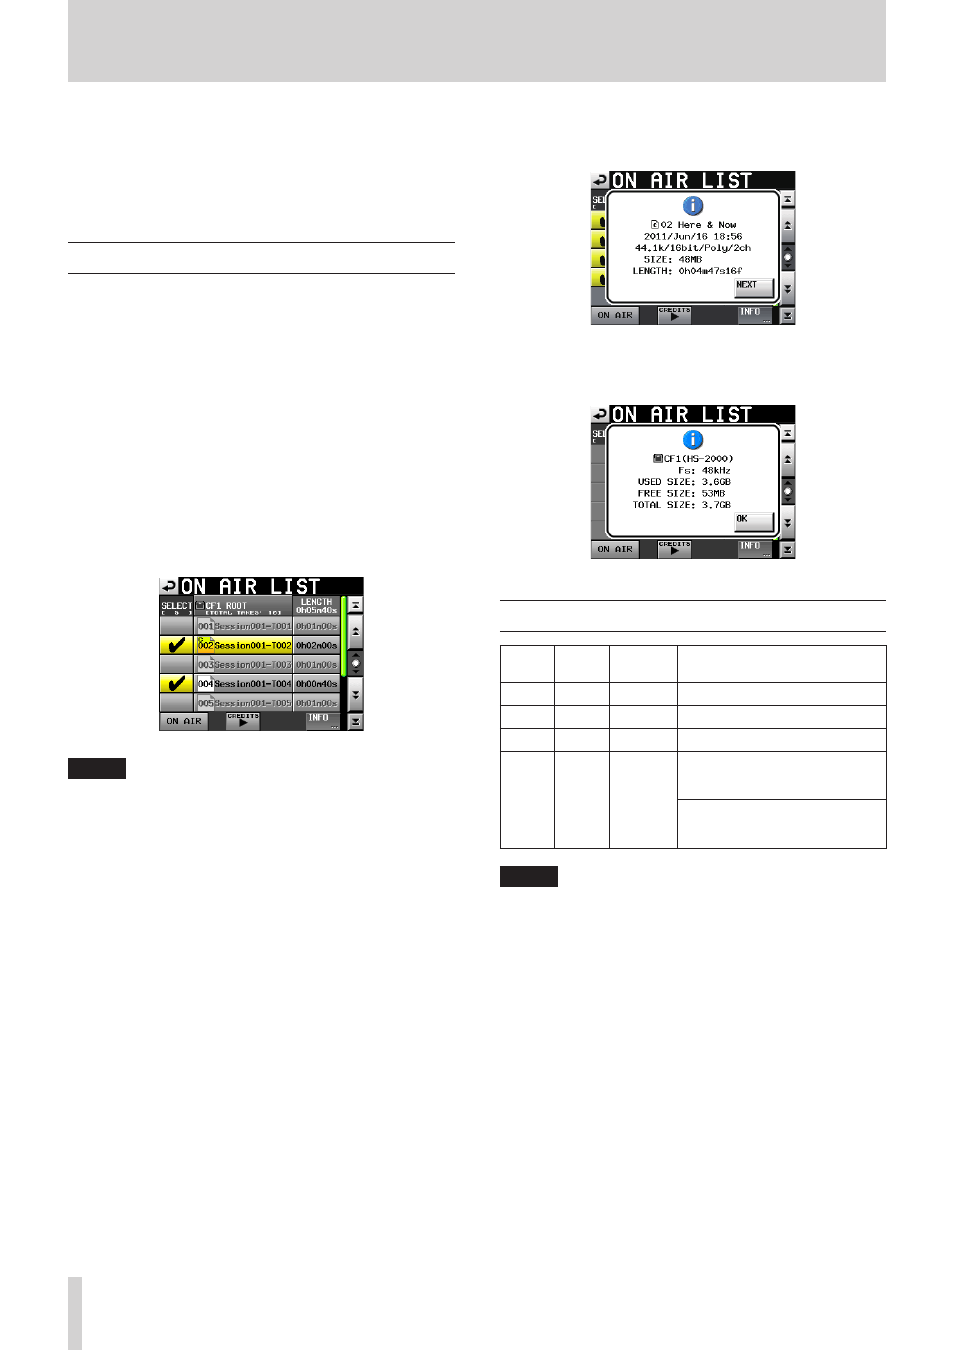
• Touch the INFO button to open the following pop-up
message. If there is a file that can be played back, infor-
mation about the current take is show.
If no file is shown or there is no file that can be played back,
information about the sampling frequency and CF card
capacity are shown.
Playback areas in on-air mode
ON AIR
button
BWF-J
Follow
BC$END
Mode
Area that can be played back
OFF
−
−
Entire take
ON
OFF
−
Entire take
ON
ON
Normal
Entire take
ON
ON
Jump to
Standby
If the next take has a
BC$STANDBY mark: BC$STANDBY
to BC$END
If the next take does not have a
BC$STANDBY mark: BC$STANDBY
to take end
NOTE
• • If there is no BC$STANDBY mark, playback is from the take
beginning
• • If there is no BC$END mark, playback is until the take end
• • Marks other than BC$STANDBY and BC$END have no
effect on the playback area.
• • For details about the BC$END MODE, see “GENERAL page
(REMOTE SETUP screen)” on page 106
In this chapter, we explain operations when using on-air mode.
To use this unit in on-air mode, you must set its operation mode
to "on-air mode".(See “Selecting the operation mode” on page
49.)
Please also refer to “On-air mode functions” on page 49 and
“4 – Basic operation” on page 30.
Selecting files for on-air playback
In on-air mode, selected audio files in the current media root
folder (only files that use the sampling frequency set for the
unit) can be played back.
1. Touch the Home Screen information field take name button
to open a pull-down menu, and touch the ON AIR button to
open the ON AIR LIST screen.
You can also push the PROJECT key to open the ON AIR LIST
screen.
The ON AIR LIST screen shows in file name order the audio
files (that match the unit's set sampling frequency) in the
root directory of the current media.
2. Touch the SELECT buttons on the left side of the ON AIR LIST
screen to check/uncheck files for on-air playback.
Checked files will be used for on-air playback.
Remove a check mark, making the box grey, to deselect the
file for on-air playback.
NOTE
• By default, all valid files start with check marks.
• Only files that match the selected sampling frequency will
be shown.
• Even if the sampling frequency matches the setting, files
with 5 or more channels and other files that cannot be
played back by this unit will not be recognized.
• The maximum number of audio files with the selected
sampling frequency that can be recognized is 100. If the
number of applicable files exceeds 100, the first 100 in file
name order will be recognized.
• The SELECT buttons can only be used when playback is
stopped and the ON AIR button is OFF.
• The LENGTH column item for each file shows the length of
its playback area in on-air mode.(See “Playback areas in
on-air mode” on page 98.)-air mode" on page <?>)
At the top right of the screen beneath the "LENGTH" column
name, the total playback area of all the files that could be
played back is shown.