Creating a shared folder – TA Triumph-Adler DC 2435 User Manual
Page 125
Basic Operation
3-31
3
Creating a Shared Folder
Create a shared folder to receive the document in the destination computer.
NOTE:
If there is a workgroup in System Properties, configure the settings below to limit folder access to a
specific user or group.
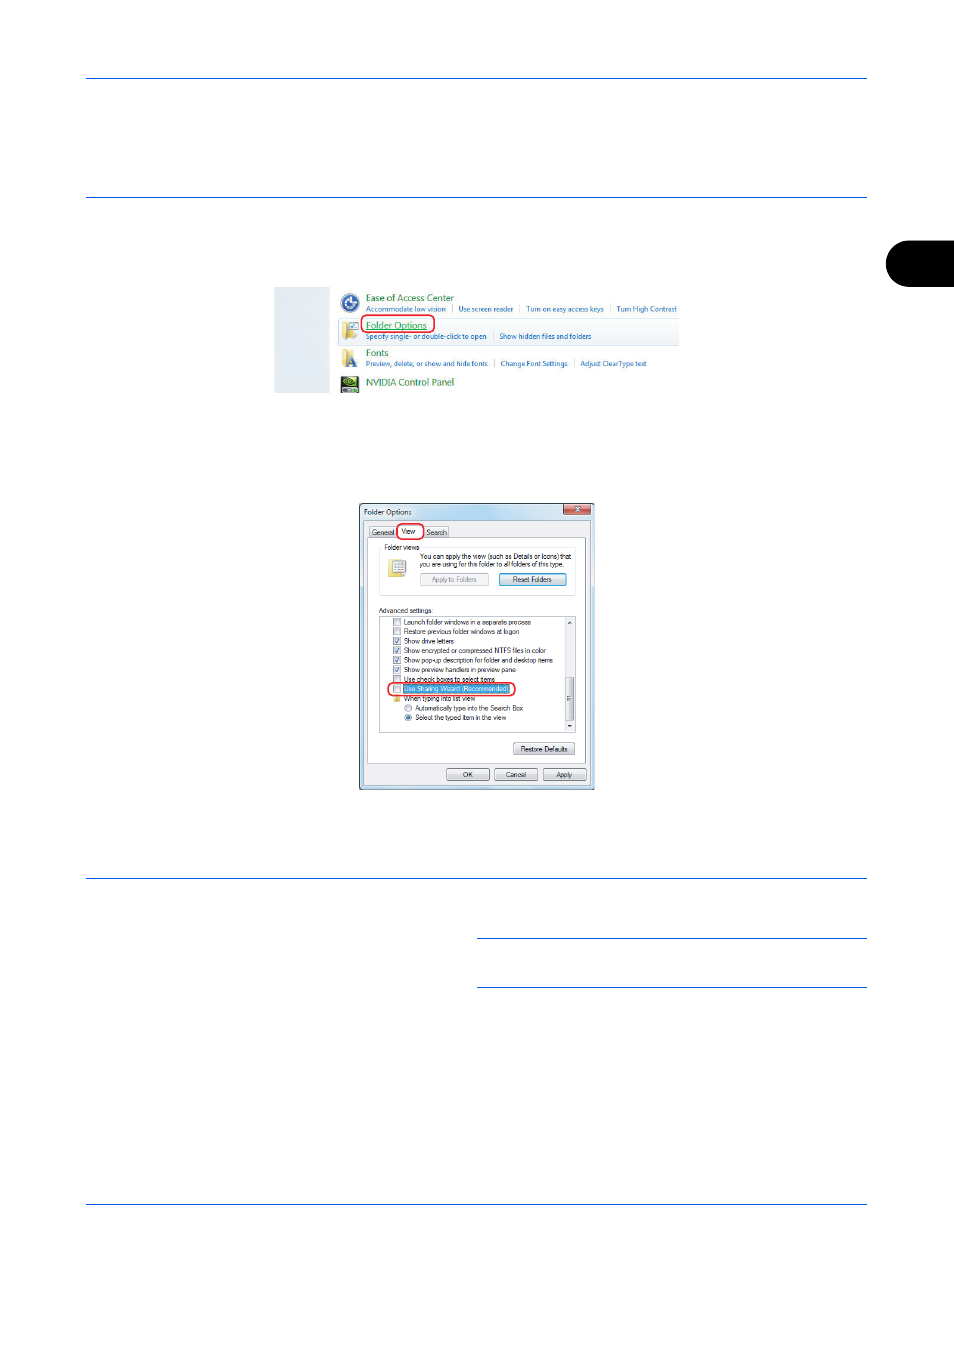
1 From the Start menu, select Control Panel, Appearance and Personalization, and then Folder Options.
In Windows XP, click My Computer and select Folder Options in Tools.
2 Click the View tab and remove the checkmark from Use Sharing Wizard (Recommended) in Advanced
settings.
In Windows XP, click the View tab and remove the checkmark from Use Simple File Sharing
(Recommended) in Advanced settings.
3 Click the OK button to close the Folder Options screen.
1
Create a folder on the local disk (C).
NOTE:
For example, create a folder with the name
"scannerdata" on the local disk (C).
2
Right-click the scannerdata folder and click Share
and Advanced sharing. Click the Advanced
Sharing button.
The scannerdata Properties dialog box appears.
In Windows XP, right-click the scannerdata folder
and select Sharing and Security... (or Sharing).