Selecting a range protecting all images at once, Protecting all images at once, Selecting a range – Canon PowerShot G7 X Mark II User Manual
Page 122
122
Wi-Fi Functions
Setting Menu
Accessories
Appendix
Before Use
Index
Basic Guide
Advanced Guide
Camera Basics
Auto Mode /
Hybrid Auto Mode
Other Shooting Modes
P Mode
Tv, Av, M, and C Mode
Playback Mode
4
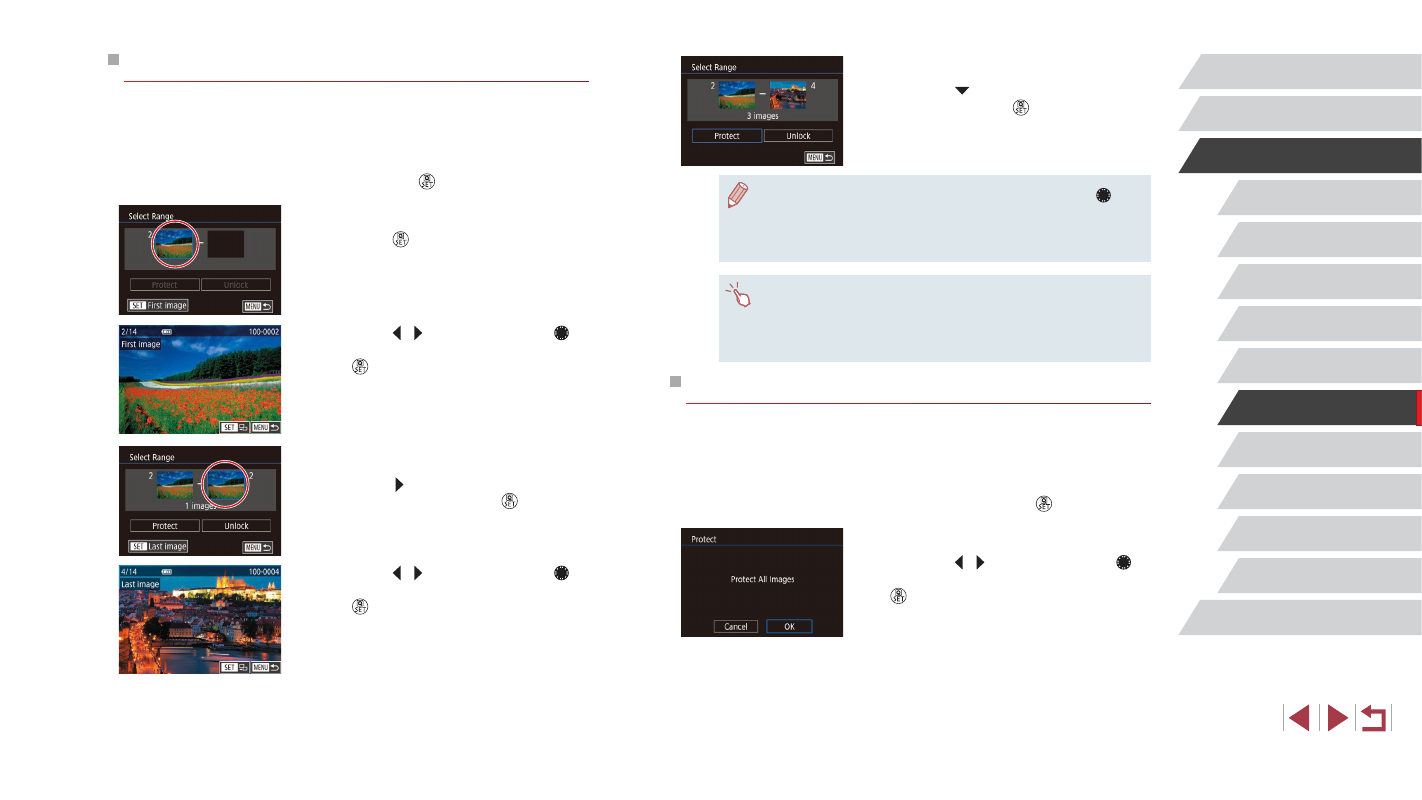
Protect the images.
z
Press the [ ] button to choose [Protect],
and then press the [ ] button.
●
You can also choose the first or last image by turning the [ ] dial
when the top screen in steps 2 and 3 is displayed.
●
To cancel protection for groups of images, choose [Unlock] in
step 4.
●
You can also display the screen for choosing the first or last
image by touching an image on the top screen in steps 2 or 3.
●
You can also protect images by touching [Protect] on the screen
in step 4.
Protecting All Images at Once
1
Choose [Protect All Images].
z
Following the procedure in “Using the
Menu” (= 121), choose [Protect All
Images] and press the [ ] button.
2
Protect the images.
z
Press the [ ][ ] buttons or turn the [ ]
dial to choose [OK], and then press the
[ ] button.
Selecting a Range
1
Choose [Select Range].
z
Following the procedure in “Using the
Menu” (= 121), choose [Select Range]
and press the [ ] button.
2
Choose a starting image.
z
Press the [ ] button.
z
Press the [ ][ ] buttons or turn the [ ]
dial to choose an image, and then press
the [ ] button.
3
Choose an ending image.
z
Press the [ ] button to choose [Last
image], and then press the [ ] button.
z
Press the [ ][ ] buttons or turn the [ ]
dial to choose an image, and then press
the [ ] button.
z
Images before the first image cannot be
selected as the last image.