Using the attenuator, Recording short clips, Playback effects – Canon PowerShot G7 X Mark II User Manual
Page 74: Shooting time-lapse movies (time-lapse movie)
74
P Mode
Tv, Av, M, and C Mode
Playback Mode
Wi-Fi Functions
Setting Menu
Accessories
Appendix
Before Use
Index
Basic Guide
Advanced Guide
Camera Basics
Auto Mode /
Hybrid Auto Mode
Other Shooting Modes
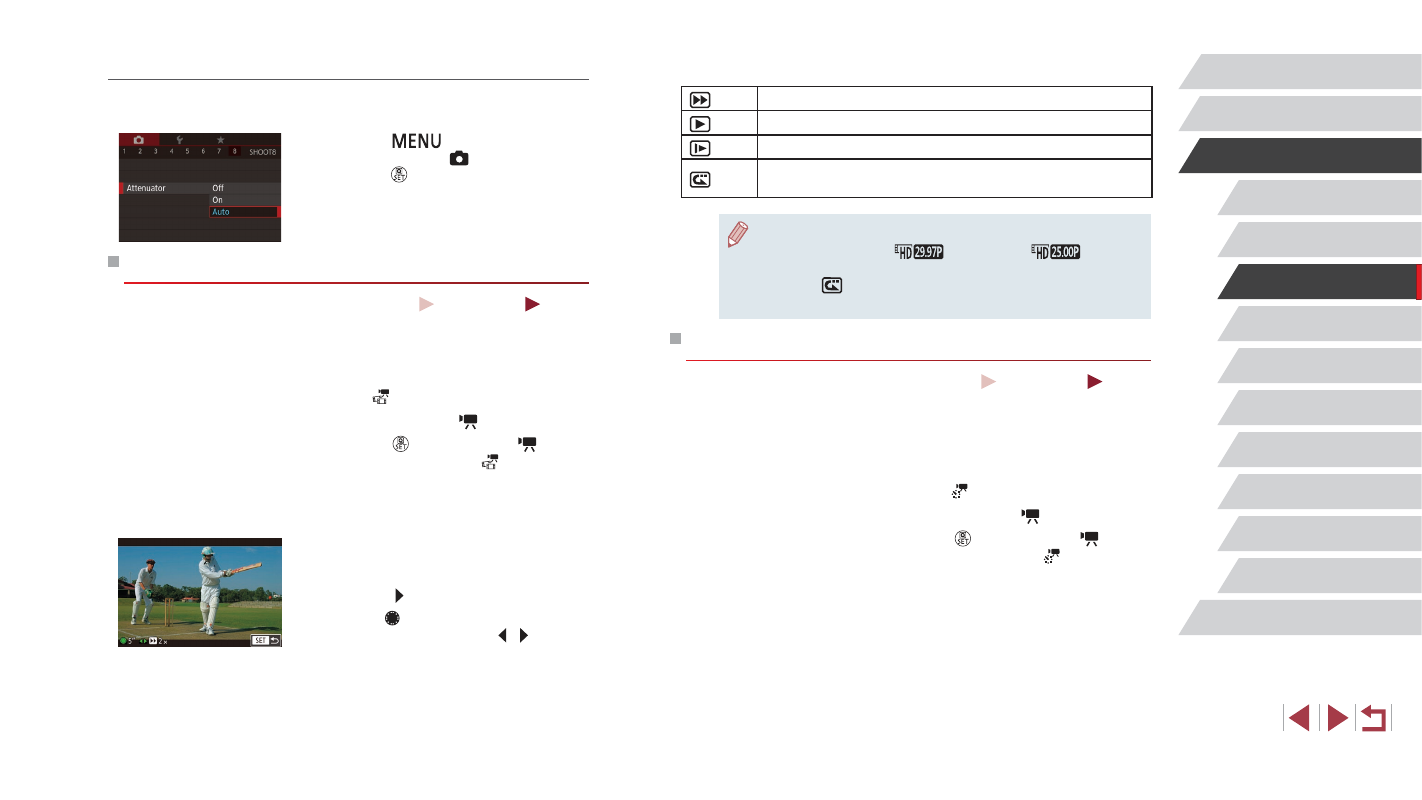
Playback Effects
2x
Playback in fast motion
1x
Playback at normal speed
1/2x
Playback in slow motion
Normal playback with the last two seconds rewound and
played again in slow motion
●
Sound is not recorded in these clips.
●
The movie quality is [
] (for NTSC) or [
] (for PAL)
(= 50, = 51) and cannot be changed.
●
During [
] recording, a mark indicating the last two seconds is
added to the bar showing the elapsed time.
Shooting Time-Lapse Movies (Time-Lapse Movie)
Still Images
Movies
By recording a time-lapse movie that combines images shot at a specified
interval, you can create a movie. You can view subject changes, such as
landscape changes, in fast-forward. You can adjust the shooting interval
and number of shots as needed.
1
Choose [ ].
z
Set the mode dial to [ ].
z
Press the [ ] button, choose [ ] in the
menu, and then choose [ ] (= 29).
z
Black bars are displayed on the top
and bottom edges of the screen.
They indicate that this image area cannot
be recorded.
Using the Attenuator
The attenuator can reduce audio distortion in noisy environments.
However, in quiet environments, it lowers the sound-recording level.
z
Press the [
] button, choose
[Attenuator] on the [ 8] tab, and then
press the [ ] button (= 30).
z
Choose an option as desired (= 30).
Recording Short Clips
Still Images
Movies
Apply playback effects to brief clips of a few seconds, such as fast motion,
slow motion, or replay. Clips recorded in this mode may be included in
Story Highlights albums (= 136).
1
Enter [ ] mode.
z
Set the mode dial to [ ].
z
Press the [ ] button, choose [ ] in the
menu, and then choose [ ] (= 29).
z
Black bars displayed on the top and
bottom edges of the screen. They indicate
that this image area cannot be recorded.
2
Specify the shooting time and
playback effect.
z
Press the [ ] button.
z
Turn the [ ] dial to set the shooting time
(4 – 6 sec.), and press the [ ][ ] buttons
to set the playback effect (= 74).
3
Shoot (= 72).
z
A bar showing the elapsed time is
displayed.