Shooting star trails (star trails) – Canon PowerShot G7 X Mark II User Manual
Page 67
67
P Mode
Tv, Av, M, and C Mode
Playback Mode
Wi-Fi Functions
Setting Menu
Accessories
Appendix
Before Use
Index
Basic Guide
Advanced Guide
Camera Basics
Auto Mode /
Hybrid Auto Mode
Other Shooting Modes
3
Secure the camera.
z
Mount the camera on a tripod or take
other measures to keep it still.
4
Shoot.
z
Press the shutter button all the way
down. [Busy] is displayed briefly, and
then shooting begins.
z
Do not disturb the camera while shooting.
z
To cancel shooting, press the shutter
button all the way down again. Note
that cancellation may take up to about
30 seconds.
●
If the camera runs out of battery power, shooting stops and a
composite image created from the images up to that point is
saved.
●
There will be a delay before you can shoot again, as the camera
processes the images.
●
For easier viewing, try choosing MENU ► [ 2] tab ► [Night
Display] ► [On] (= 172) before shooting.
●
Try switching to manual focus mode (= 71, = 87) to more
accurately specify the focal position before shooting.
●
For easier viewing, try choosing MENU ► [ 2] tab ► [Night
Display] ► [On] (= 172) before shooting.
●
To make stars brighter, choose MENU (= 30) ► [
5] tab ►
[Star Emphasis] ► [Sharp]. To emphasize the bright stars in a
starry sky, set [Star Emphasis] to [Soft]. This setting can produce
eye-catching shots by enlarging bright stars while de-emphasizing
dimmer stars. To disable starlight processing, select [Off].
●
Try switching to manual focus mode (= 71, = 87) to more
accurately specify the focal position before shooting.
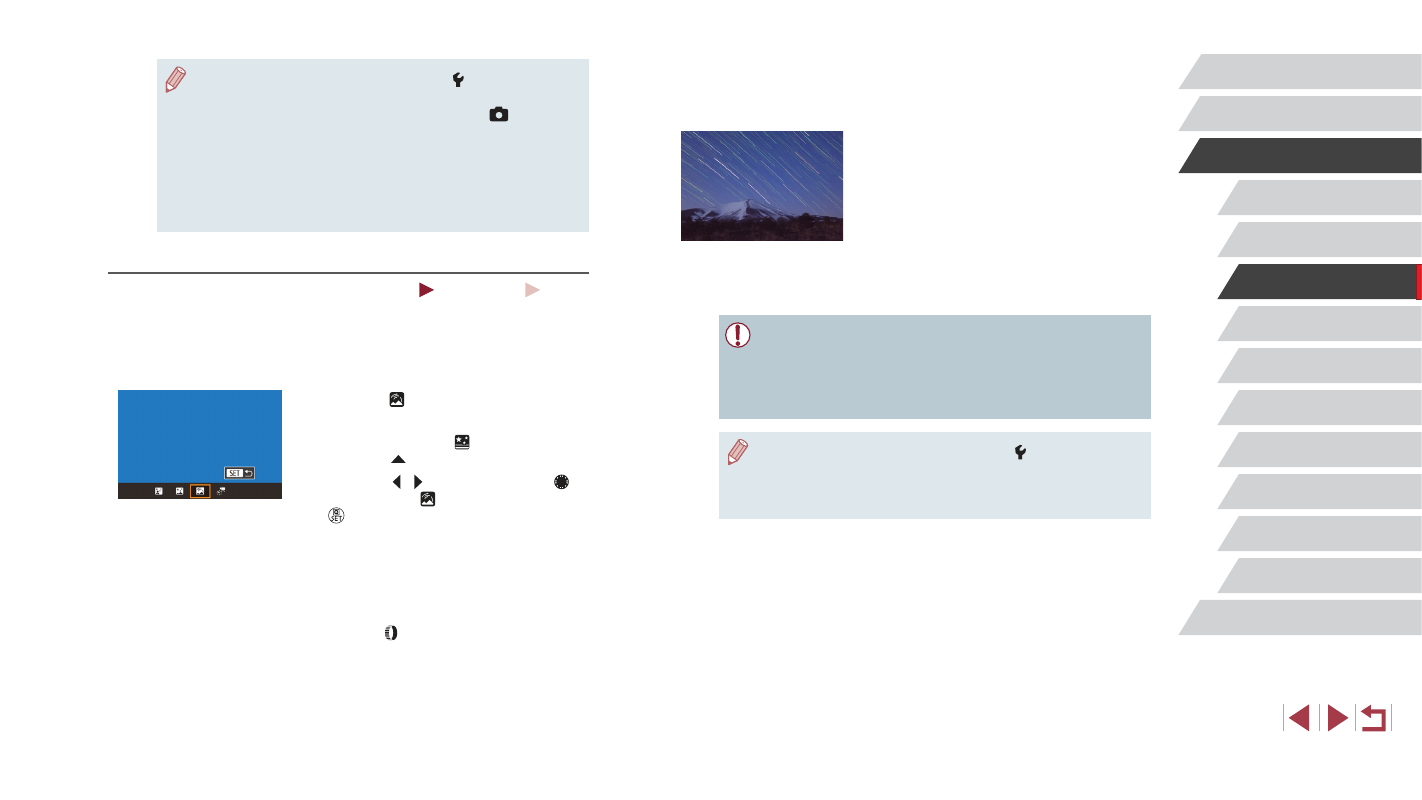
Shooting Star Trails (Star Trails)
Still Images
Movies
Streaks created by the movement of stars through the sky are recorded in
a single image. After determining the shutter speed and number of shots,
the camera shoots continuously. A shooting session can last up to about
two hours. Check the battery level in advance.
1
Choose [ ].
z
Follow steps 1 – 2 in “Specific Scenes”
(= 55) and choose [ ], and then
press the [ ] button.
z
Press the [ ][ ] buttons or turn the [ ]
dial to choose [ ], and then press the
[ ] button.
z
Zoom is set to maximum wide angle and
cannot be adjusted.
2
Specify the duration of the shooting
session.
z
Turn the [ ] ring to choose the shooting
duration.