Processing raw images on the camera, Process images on the camera (= 132) or use the – Canon PowerShot G7 X Mark II User Manual
Page 132
132
Wi-Fi Functions
Setting Menu
Accessories
Appendix
Before Use
Index
Basic Guide
Advanced Guide
Camera Basics
Auto Mode /
Hybrid Auto Mode
Other Shooting Modes
P Mode
Tv, Av, M, and C Mode
Playback Mode
5
Save the settings.
z
If you chose [
], press the [ ][ ][ ][ ]
buttons to choose [ ], press the [ ]
button, press the [ ][ ] buttons or turn
the [ ] dial to choose [OK], and then
press the [ ] button.
z
If you chose [
], press the [ ][ ]
buttons or turn the [ ] dial to choose
[OK], and then press the [ ] button.
Brightness
adjustment
Adjust brightness.
White Balance
Choose the white balance.
Picture Style
Choose a Picture Style type.
Auto Lighting
Optimizer
Configure the Auto Lighting Optimizer settings.
High ISO speed NR
Configure the noise reduction settings.
Image quality
Configure the image quality when creating
JPEG images.
●
You can also choose an effect for each option by turning the [ ]
dial while an option is selected on the screen in step 3.
●
Moving the zoom lever toward [ ] on the screen in step 3 will
zoom in and magnify the image.
●
To compare the image with the shot image, press the [
]
button, and then turn the [ ] dial on the screen in step 3.
To return to the setting screen, press the [
] button.
●
To revert to the settings used for shooting, press the [ ] button
on the screen in step 3.
●
For functions with [
] displayed on the screen in step 4,
you can configure more advanced settings by pressing the [ ]
button.
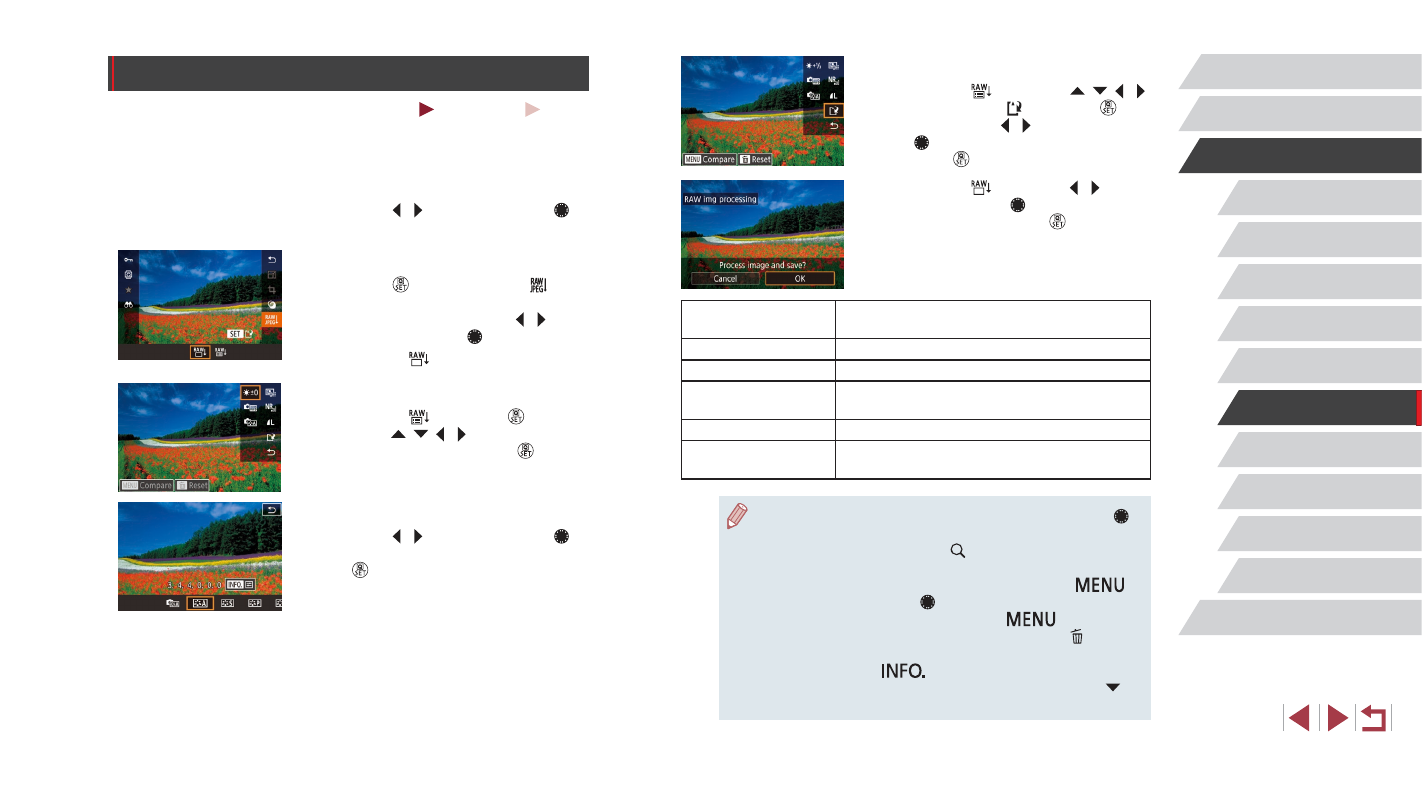
Processing RAW Images on the Camera
Still Images
Movies
You can process RAW images on the camera. Save RAW images as
JPEG images while leaving the originals.
1
Choose a RAW image.
z
Press the [ ][ ] buttons or turn the [ ]
dial to choose a RAW image.
2
Access the setting screen.
z
Press the [ ] button to choose [ ] in
the menu, and then choose the desired
option, either by pressing the [ ][ ]
buttons or turning the [ ] dial.
z
If you chose [
], go to step 5.
3
Configure the processing method.
z
If you chose [
], press the [ ] button,
press the [ ][ ][ ][ ] buttons to choose
an option, and then press the [ ] button.
4
Configure advanced settings.
z
Press the [ ][ ] buttons or turn the [ ]
dial to choose the effect, and then press
the [ ] button to return to the screen in
step 3.