Registering customized picture styles – Canon PowerShot G7 X Mark II User Manual
Page 86
86
Tv, Av, M, and C Mode
Playback Mode
Wi-Fi Functions
Setting Menu
Accessories
Appendix
Before Use
Index
Basic Guide
Advanced Guide
Camera Basics
Auto Mode /
Hybrid Auto Mode
Other Shooting Modes
P Mode
●
If you set higher [Contrast], [Filter effect] is more emphasized.
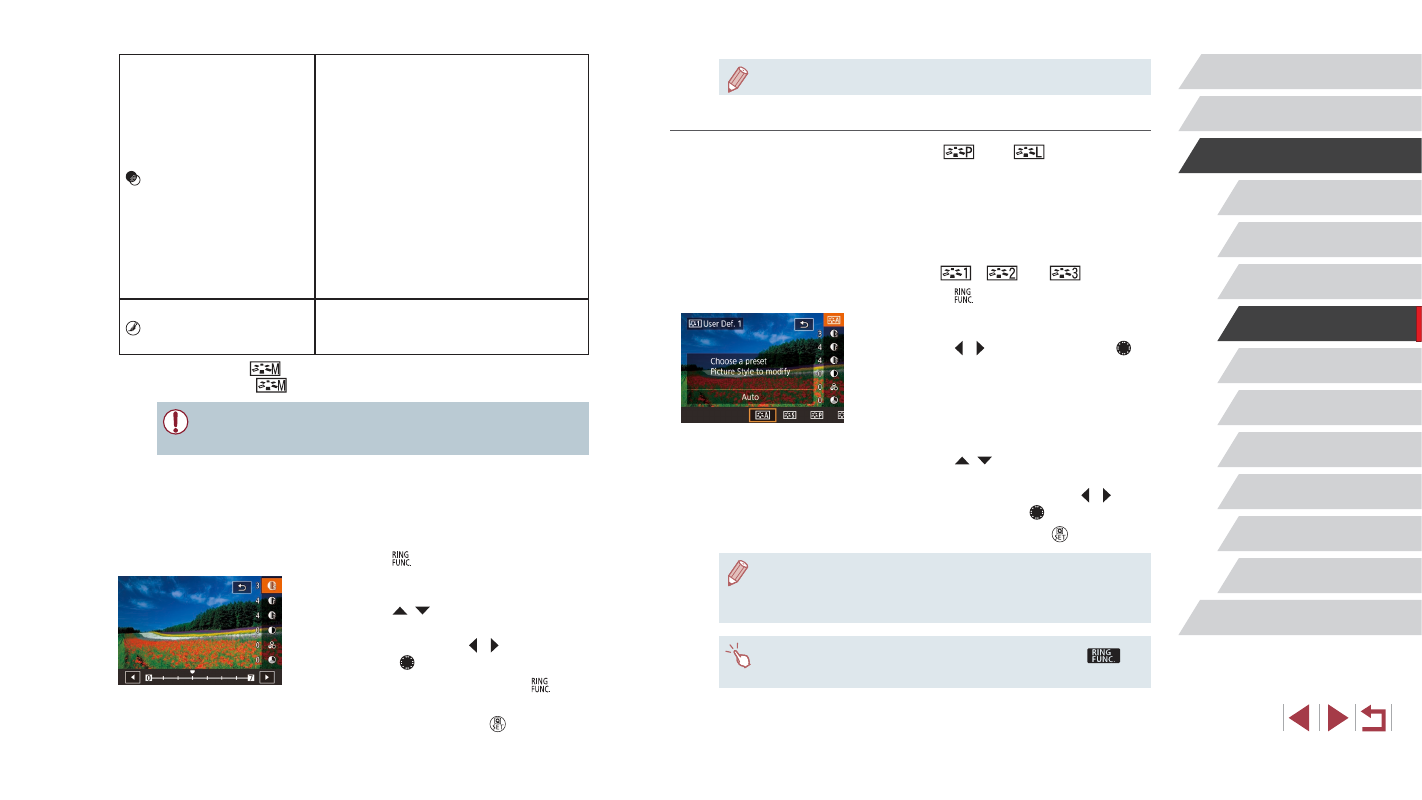
Registering Customized Picture Styles
You can customize basic styles, such as [
] and [
], and register
them. You can prepare several styles with different sharpness and
contrast settings.
1
Choose a destination Picture Style.
z
Follow the procedure in “Customizing
Colors (Picture Style)” (= 84) to
choose [
], [
], or [
].
z
Press the [ ] button.
2
Choose a preset Picture Style.
z
Press the [ ][ ] buttons or turn the [ ]
dial to choose a preset Picture Style.
3
Customize the Picture Style.
z
Press the [ ][ ] buttons to choose
an item to modify, and then adjust the
setting, either by pressing the [ ][ ]
buttons or turning the [ ] dial.
z
When finished, press the [ ] button.
●
You can register the Picture Style with the camera using the
software CameraWindow (= 182). For registering to the camera,
refer to CameraWindow Help.
●
You can also choose a preset Picture Style by touching [
]
in step 1.
Filter effect*
2
Emphasizes white clouds and green
trees in monochrome images.
N: Normal monochrome images with
no filter effect.
Ye: Blue skies look more natural and
white clouds stand out better.
Or: Blue skies look slightly darker.
Glow of sunsets is emphasized.
R: Blue skies look much darker.
Colored leaves look clearly
brighter.
G: Skin tones and lips of people look
muted. Green leaves of trees look
clearly brighter.
Toning effect*
2
Available monochrome colors:
[N:None], [S:Sepia], [B:Blue],
[P:Purple], or [G:Green].
*1 Not available with [
].
*2 Only available with [
].
●
[Fineness] and [Threshold] of [Sharpness] are not applied to
movies.
1
Access the setting screen.
z
Follow the procedure in “Customizing
Colors (Picture Style)” (= 84) to
choose the required Picture Style.
z
Press the [ ] button.
2
Configure the setting.
z
Press the [ ][ ] buttons to configure the
level of effect, and then choose an option,
either by pressing the [ ][ ] buttons or
turning the [ ] dial.
z
To reset the changes, press the [ ]
button.
z
When finished, press the [ ] button.