19 speechmap fitting procedures, Assessment data entry – Audioscan Verifit User Manual
Page 101
Verifit
®
User's Guide Version 3.12
May 2015
19 Speechmap Fitting Procedures
The Speechmap fitting screen provides a number of choices for inputing and applying audiometric data for the
verification of hearing instrument fittings. The procedures in this section assume a familiarity with Test Box
Measures - Setup, On-Ear Measures - Setup, On-Ear Measures Screen Setup and Speechmap.
Assessment data entry
Threshold data and parameters may be entered by scanning a barcode on a previous Audioscan printout or
manually using a mouse, the keypad or the numeric keypad on an external keyboard. See Mouse, keyboard,
barcode scanner, and Input device operation.
To enter data from a barcode see Barcode data input and:
1. Press the barcode trigger and center the red line on the barcode from a distance of 6 – 8 in.(15 – 20 cm). The
scanner will beep and the Barcode Entry poster opens.
2. Highlight and <PICK> [Done] to accept the data indicated on the poster.
To enter assessment data manually:
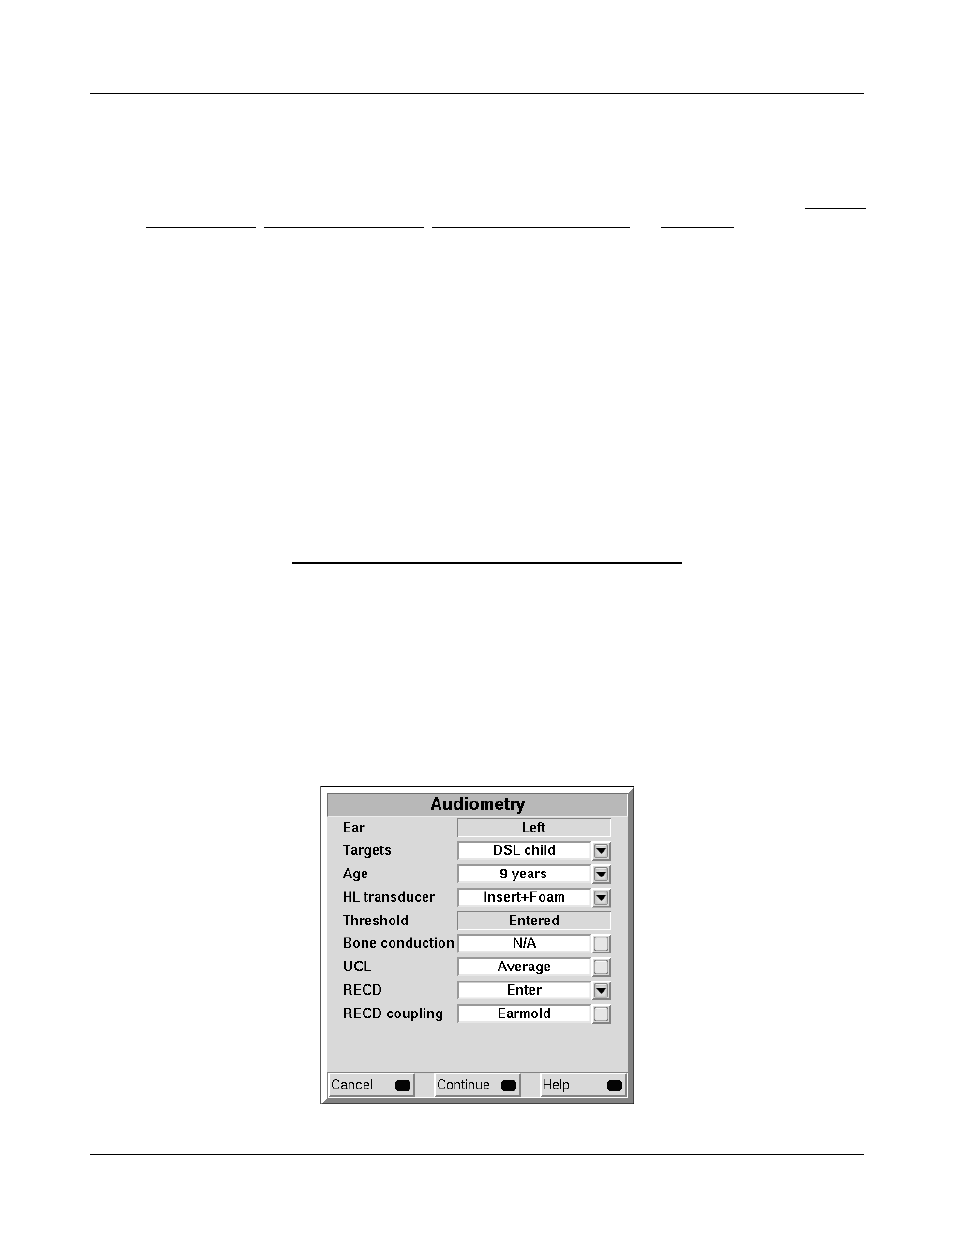
1. Highlight and <PICK> [Audiometry].
2. Highlight and <PICK> an item to toggle its setting or generate a list box. Age can be changed only if Targets
= [DSL child]. See Assessment data choices - 1 and Assessment data choices – 2
3. Press <Continue> to proceed to data entry.
4. Enter HL threshold using a mouse,keypad or keyboard. Left click the mouse on the audiogram to enter a
point. Click again to delete the point. On the keypad the arrow keys change frequency and level and <PICK>
enters or deletes a threshold point. On a keyboard enter HL values on the numeric keypad.
5. Press <Continue> when all points have been entered.
6. Repeat the process for Bone conduction, UCL and RECD if [Enter] has been selected for any. If RECD is set
to [Measure], see RECD (real-ear to coupler difference).
101