12 on-ear measures - setup, External sound-field speaker setup, On-ear calibration facts – Audioscan Verifit User Manual
Page 63
Verifit
®
User's Guide Version 3.12
May 2015
12 On-Ear Measures - Setup
For accurate, repeatable measurements, the Verifit must be properly set up and calibrated, the client must be
properly positioned and the probe tube must be properly positioned in the ear canal. Some common terms:
Real-Ear Unaided Response (REUR): SPL, or band SPL, in the open (unaided) ear canal for a given stimulus.
Real-Ear Unaided Gain (REUG): Difference, in dB, between the REUR and the stimulus SPL, or stimulus band
SPL.
Real-Ear Aided Response (REAR): SPL, or band SPL, in the ear canal for a given stimulus, with a working
hearing aid in place.
Real-Ear Aided Gain (REAG): Difference, in dB, between the REAR and the stimulus SPL, or stimulus band
SPL.
Real-Ear Saturation Response (RESR): The REAR obtained using a narrow-band signal at a level high enough to
saturate the hearing aid (usually 85 - 90 dB SPL).
Real-Ear-to-Coupler Difference (RECD): Difference, in dB, between the SPL produced in the ear canal and the
SPL produced in a coupler by the same sound source.
External sound-field speaker setup
In some installations, the internal sound-field speakers may not be convenient or may yield speaker overdriven
errors because of severe standing waves from nearby walls or shelves. In these cases, an external speaker having
a smooth response from 200 - 8000 Hz and an impedance of 4 ohms or greater may be connected to the Front
on-ear measure speaker connector on the rear connector panel. The VA-111 speaker is available for this purpose.
The speaker should be mounted at ear height, well away from reflective surfaces. See Positioning the client.
To select this speaker:
1. Press <Setup>, then highlight and <PICK> [Speakers].
2. Highlight and <PICK> the Sound-field speaker button to toggle between [Internal] and [External].
3. Press <Continue> to exit Setup
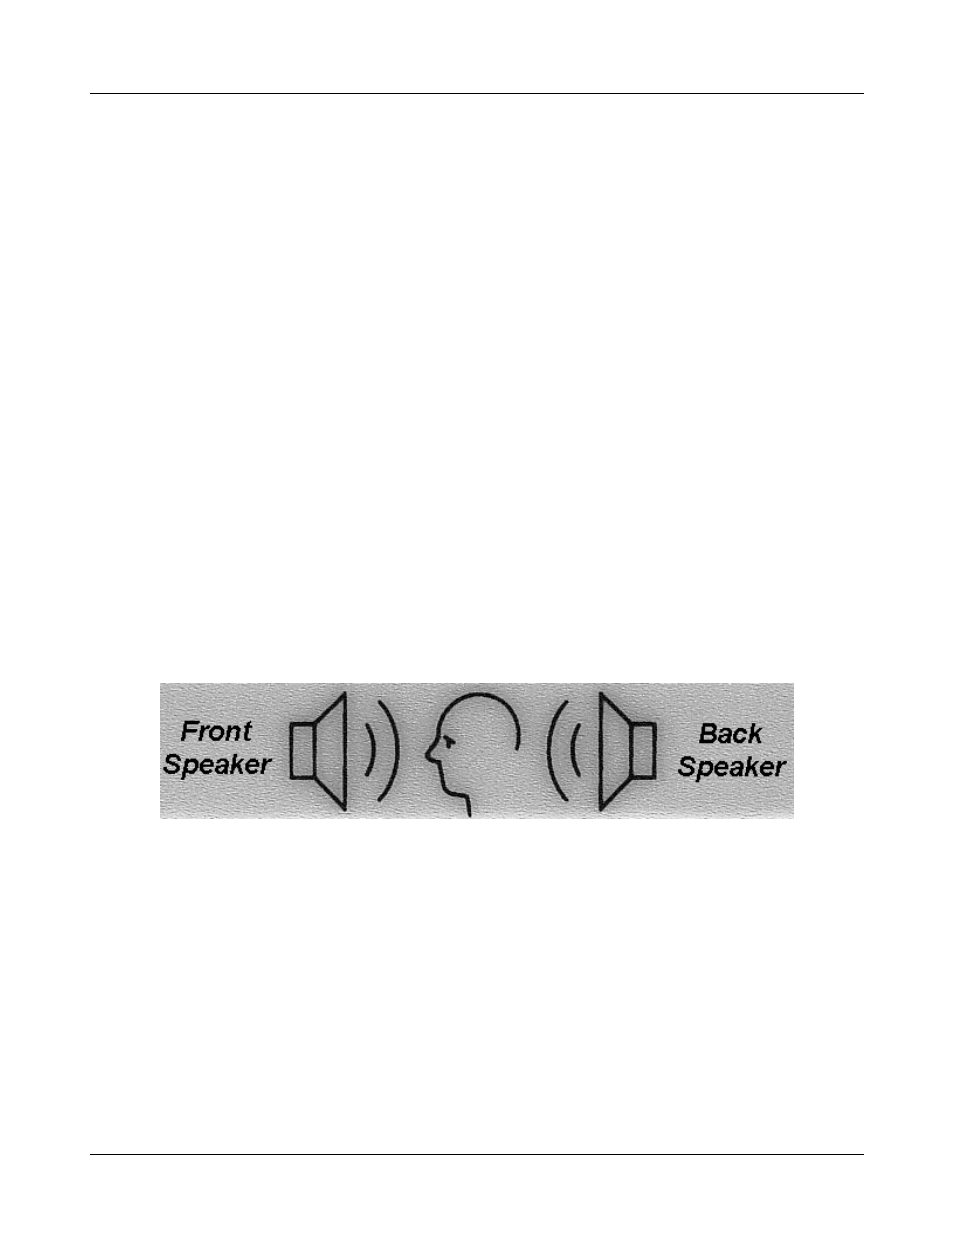
For on-ear directional tests, connect an external speaker (see requirements above) to the back on-ear speaker
connector on the rear connector panel. Position the back speaker directly behind and facing the back of the
client’s head so that front and rear speakers are at the same height and are at the same distance from the center
of the client’s head. This speaker will be automatically used for the on-ear directional test.
On-ear calibration facts
The probe microphone and its associated tubing does not have a flat frequency response. The on-ear calibration
63