15 occlusion effect test, Occlusion effect measurement – Audioscan Verifit User Manual
Page 78
Verifit
®
User's Guide Version 3.12
May 2015
15 Occlusion Effect Test
The occlusion effect refers to the unnatural sound of one’s own voice that results from occluding the external
ear. It is the result of the high SPL produced at the back of the throat during a closed vowel utterance coupling
to the closed ear canal via bone conduction. Ear canal levels in a closed ear canal can exceed 90 dB SPL for
closed vowels such as 'ee'. The effect is greatest below 1000 Hz. Clients with mild-moderate low frequency
hearing loss may describe their own voice as sounding 'hollow' or as if they were talking 'in a barrel'.
The occlusion effect is measured by comparing the SPL in the ear canal to that outside the external ear while the
client vocalizes 'ee' with the hearing aid in place and turned off. Differences greater than 10 dB may result in
complaints. This occlusion effect measurement is useful in quantifying the extent to which venting or deep
insertion is addressing the underlying cause of the complaint.
Occlusion effect measurement
1. Refer to On-Ear Measures - Setup to prepare the system for use and for proper positioning of the client and
the probe tube.
2. Insert the earmold or custom hearing instrument into the ear, being careful not to advance the probe tube
further into the ear canal. A lubricant applied to the earmold or custom instrument shell in the vicinity of the
probe tube will make insertion easier and prevent slit leaks around the tube.
3. Turn the hearing aid OFF.
4. Press <Tests>, then highlight and <PICK> [On-ear measures], then highlight and <PICK> [Occlusion].
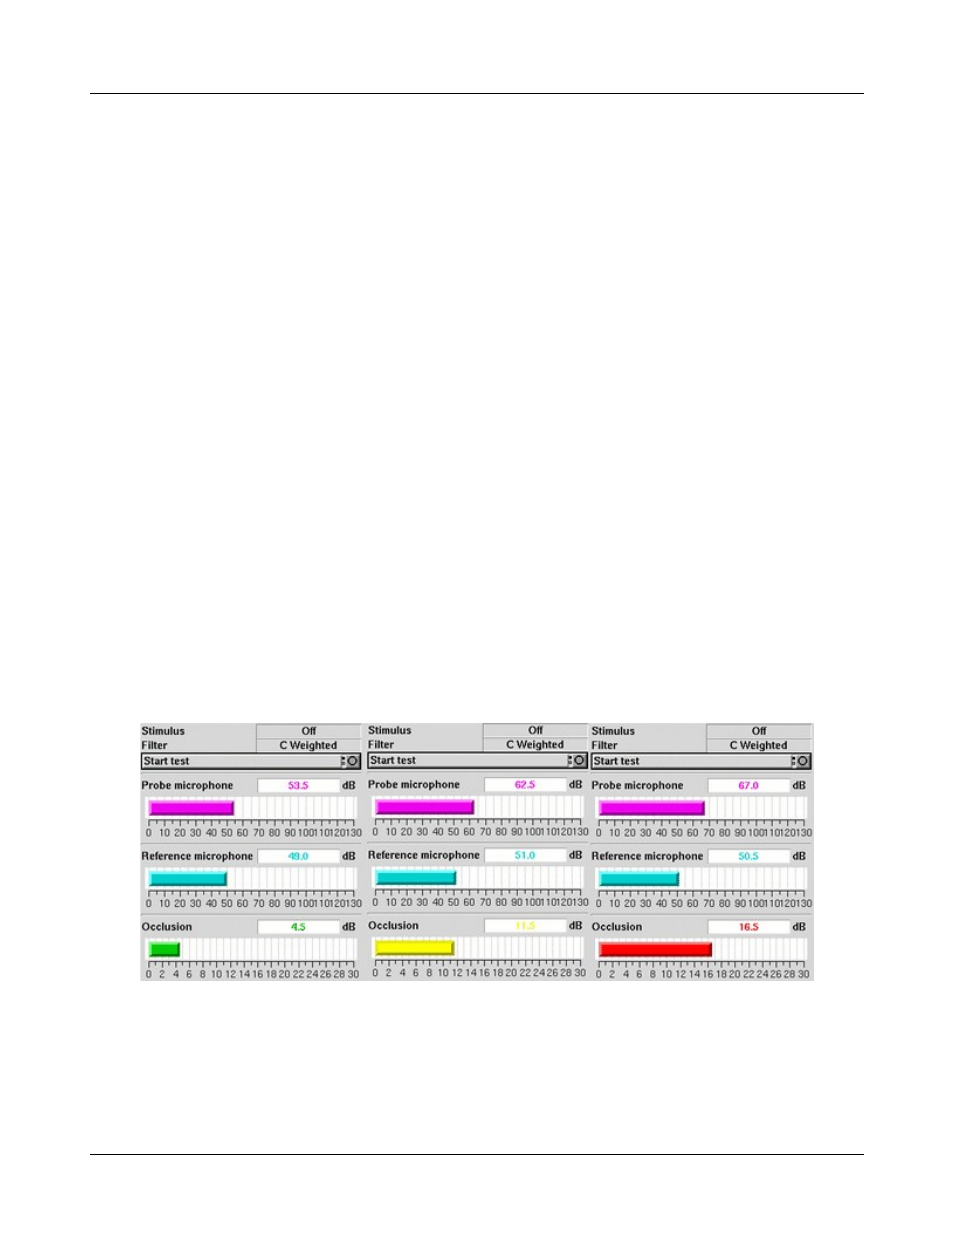
5. Highlight and <PICK> [Start test]. [Start test] changes to [Stop Test].
6. While the client vocalizes 'ee' in a normal voice, highlight and <PICK> [Stop test] to stop the test and freeze
the screen. A red occlusion bar indicates an occlusion problem, a yellow bar indicates a possible problem and
a green bar indicates no problem.
7. Increase venting and repeat the test until a green bar is obtained.
78