Storing and restoring data – setup – Audioscan Verifit User Manual
Page 35
Verifit
®
User's Guide Version 3.12
May 2015
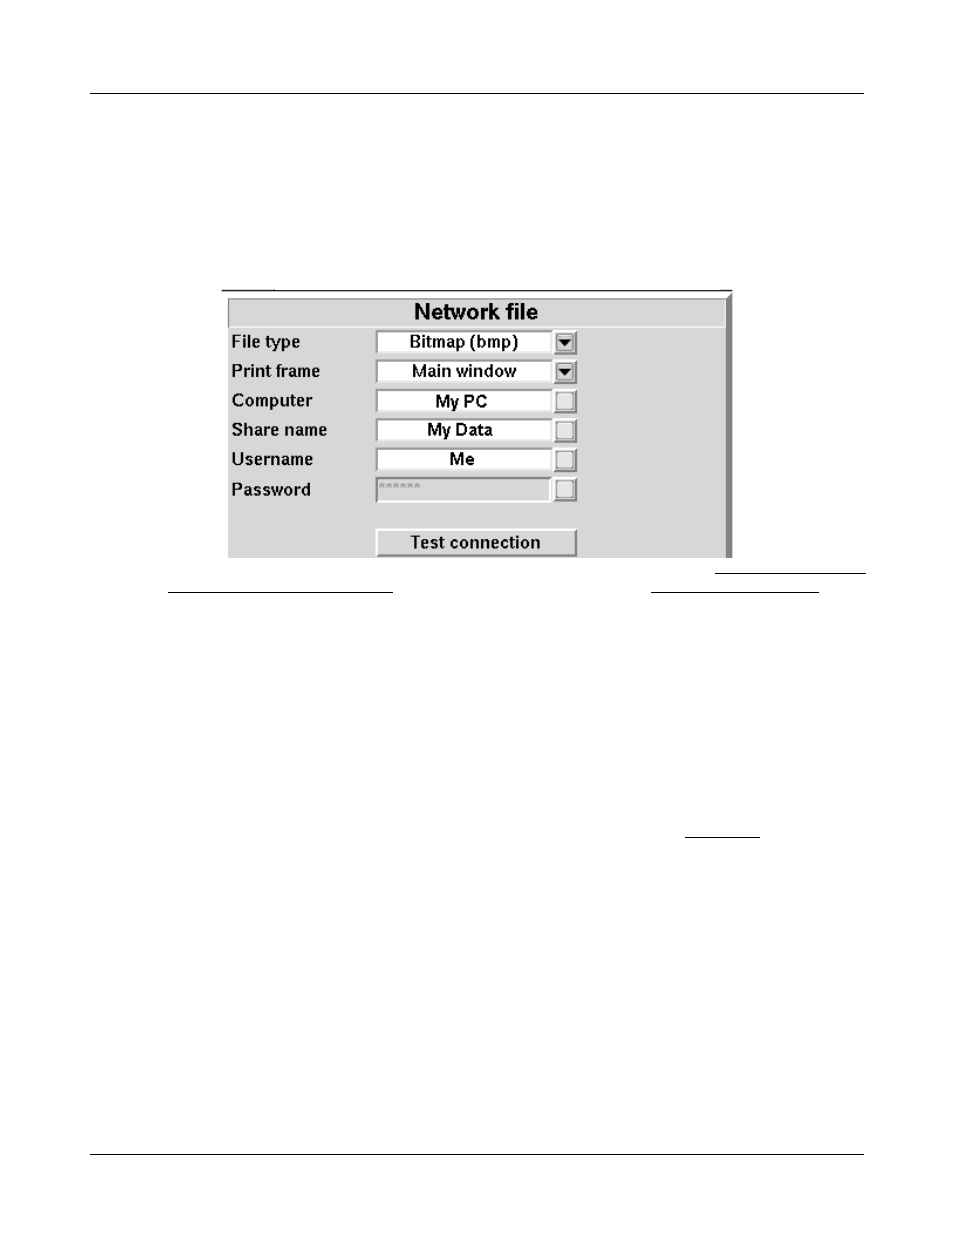
5. Connect a USB computer keyboard to the Verifit and fill in [Computer], [Share name], [Username] and
[Password] (not needed for Windows 95/98). Highlight and <PICK> each box to open it for data entry and
again to close it (or use the Enter key on the keyboard’s number pad).
6. Highlight and <PICK> [Test connection] and wait for a successful report.
7. Press <Continue> to save the settings and exit the setup menu.
8. To save a screen image to a file, press <Print>.
NOTE: To input a file name from a connected keyboard each time you print, see Barcodes, tabular data,
headers and comments on printouts. To save all test data as an xml file, see Storing and restoring data.
Storing and restoring data – setup
All measurement data (curves) displayed at the end of the test are stored until overwritten by repetition of the
same test, invalidated by a related test (in such cases, the message bar will inform you of impending data loss),
erased by selecting <Session> and one of the [Erase data] choices or the power is turned off. (Setup data will be
retained even after the power is turned off.)
The Verifit database may be stored and restored via xml files on a USB drive or a networked PC share. If the
data exchange location is a network share, you must first enable networking. See Networking. You must also
"share" a folder on the PC (e.g. c:\MyData) and ensure that Change permissions are enabled.
To enable and configure file-based data exchange:
1. Press <Setup>, then highlight and <PICK> [Session].
2. Highlight and <PICK> [Enable file based data exchange].
3. Highlight and <PICK> the storage file location [USB drive or Network share].
4. For Network share connect a USB computer keyboard to the Verifit and fill in [Computer], [Share name],
[Username] and [Password] (not needed for Windows 95/98). Highlight and <PICK> each box to open it for
data entry and again to close it (or use the Enter key on the keyboard’s number pad). Highlight and <PICK>
[Test connection] and wait for a successful report.
5. Press <Continue> to save the settings and exit the setup menu.
35