Caution, Adjusting the guideline marker position, Adjusting the brightness of the guideline marker – Baby Lock Crescendo (BLCR) Instruction and Reference Guide User Manual
Page 88
USEFUL FUNCTIONS
S-14
Adjusting the Needle Drop
Position with the Guideline
Marker (For models equipped
with the guideline marker)
The red guideline marker indicates the sewing
position on the fabric.
You can adjust the sewing position by moving the
guideline marker while checking the guideline
marker on the fabric.
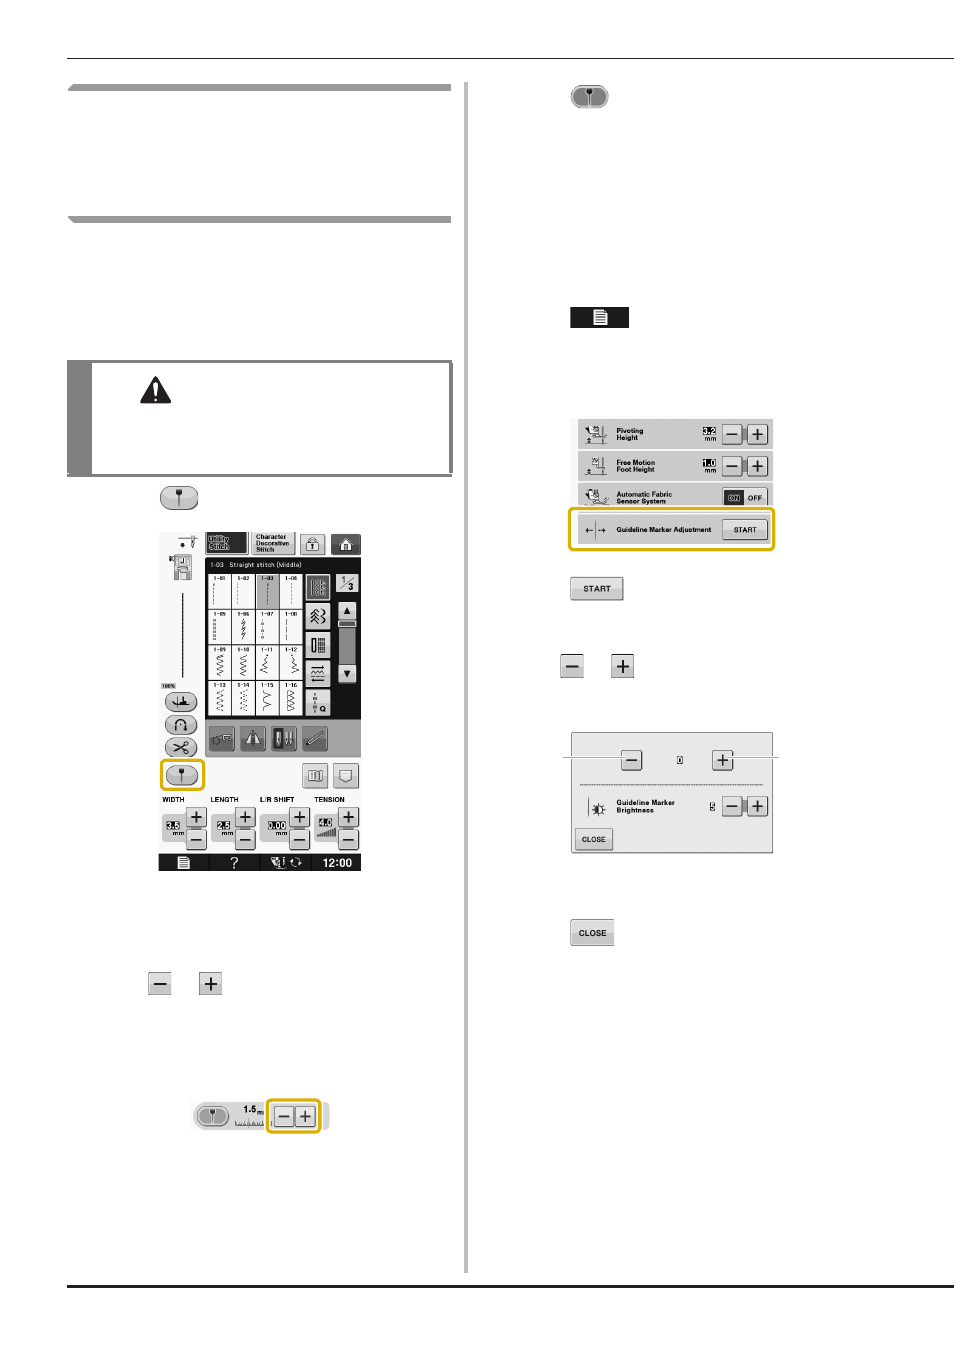
a
Press
to display the guideline marker.
→ The guideline marker scale appears.
*
Depending on the setting of “Initial Position” in the
settings screen, the initial needle drop position is
scaled as either 0.0 mm or 3.5 mm.
b
Use
or
to move the needle drop
position.
→ Adjust the position from 10.5 mm (3/8 inch) to the
right of the left needle to -3.5 mm (-1/8 inch) to the
left of the left needle.
c
Press
again to stop using the guideline
marker.
■ Adjusting the Guideline Marker
Position
If the guideline marker indicates the position
incorrectly in the center needle position, adjust the
initial position in the settings screen.
a
Press
to display “Guideline Marker
Adjustment” in the settings screen.
b
Display settings screen.
c
Press .
→ The “Guideline Marker Adjustment” screen appears.
d
Use
or
to adjust the guideline
marker position.
a Press to move the guideline marker to the left
b Press to move the guideline marker to the right
e
Press
twice to return to the original
screen.
■ Adjusting the Brightness of the
Guideline Marker
a
Follow steps from
a
to
c
to display the
“Guideline Marker Adjustment” screen.
CAUTION
• The guideline marker is a laser; therefore, do
not stare at the laser light directly. Otherwise
it may cause blindness.
b
a