Importing from a web camera – Grass Valley EDIUS Pro v.7.4 Reference Manual User Manual
Page 144
Chapter 4 Importing Sources — Capturing and Importing
144
4)
Set the reel name, if necessary.
f
To set a reel name, uncheck [UserBit is used as a Reel No.] and enter a reel name. You can also select previously entered reel names
from the list.
5)
Click [OK].
6)
Click [Capture] on the Player.
f
Capturing starts.
7)
Play back the external input devices.
8)
After finishing capturing of necessary parts, click [Stop] in the [Capture] dialog box.
f
When capturing is stopped, the captured clip is registered to the bin.
9)
Stop the playback of external input devices.
1
Alternative
f
Same operations as steps
2) to 3) are available using the following methods.
g
Click [Capture] on the menu bar, and click [Device Preset Name] to display the device preset.
g
Click the device preset name ([Input Preset 1] to [Input Preset 8]) to display the device preset. (By default, [Input preset 2] to [Input
Preset 8] are not displayed. Before performing the operation, set to display the buttons in the preview window.)
“Operation Button Settings” (w page 121)
g
Displaying the device preset assigned to the input preset 1:
[F2]
g
Displaying the device preset assigned to the input preset 2:
[F3]
g
Displaying the device preset assigned to the input preset 3:
[F4]
f
Same operation as step
6) is available using the following methods.
g
Press [F9] on the keyboard after step
5).
Importing from a Web Camera
You can import sources from devices such as DirectShow-based web cameras or microphones.
3
Note
f
Connection information and other information for web cameras or microphones used for importing sources must be registered in
advance as device presets.
“Registering Device Presets” (w page 109)
1)
Click [Capture] on the menu bar, and click [Select Input Device].
f
The [Select Input Device] dialog box appears, and the list of the device presets registered in the system settings is displayed.
2)
Select a device preset, and click [OK].
3)
Set the reel name, if necessary.
f
To set a reel name, uncheck [UserBit is used as a Reel No.] and enter a reel name. You can also select previously entered reel names
from the list.
4)
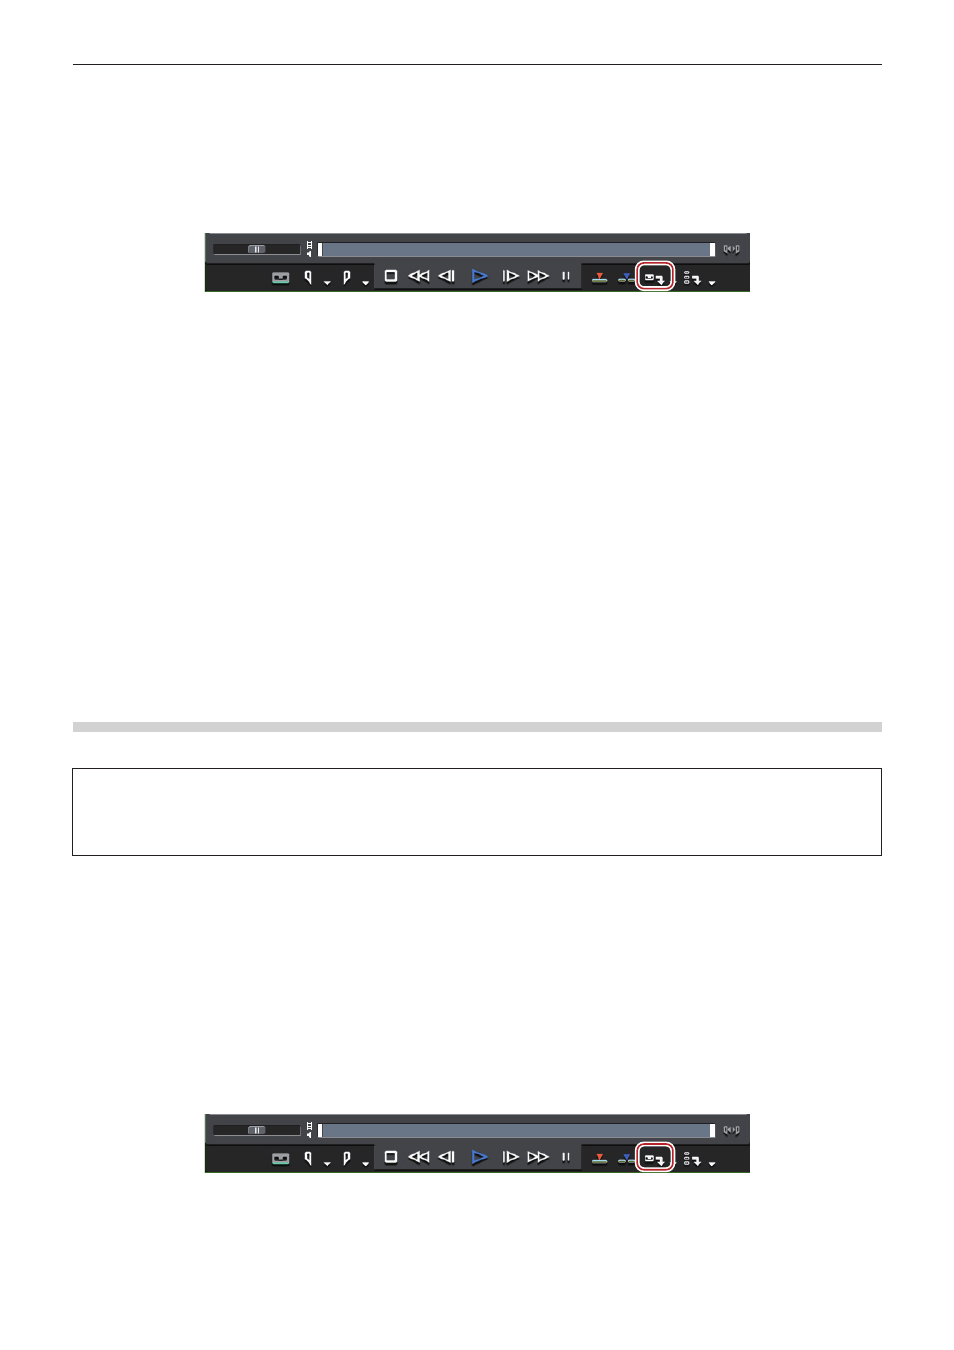
Click [Capture] on the Player.
f
Capturing starts.
5)
After finishing capturing necessary parts, click [Stop] in the [Capture] dialog box.
f
When capturing is stopped, the captured clip is registered to the bin.