Grass Valley EDIUS Pro v.7.4 Reference Manual User Manual
Page 395
Chapter 10 Export of Edited Contents — Exporting in File Formats
395
[WindowsMediaVideo] Dialog Box
[Video settings]
[Mode]
[CBR] is a fixed transfer mode. It encodes with a constant bitrate regardless of movement or
image complexity. Enter a value for [Bitrate].
[CBR (2-pass)] performs encoding after an analysis for movement and image complexity.
[VBR (quality based)] is a variable transfer mode of direct conversion. The allotted bitrate is
varied according to movement and image complexity. Enter a value for [Quality].
[VBR (2-pass)] is a variable transfer mode. The allotted bitrate is varied after an analysis of
movement and image complexity. Enter the average bitrate in [Bitrate], and maximum bitrate in
[Max].
[Frame rate]
Check this item to change the frame rate (1-60 fps). To set to 29.97 fps, enter “2997”.
[Picture size]
The image size can be set by selecting from the list. Checking [Square pixel] sets the image
aspect ratio at 1:1. Check this if the video is made vertically long or horizontally long by the
playback device.
[Quality setting]
Move the slider depending on the relative importance of [frame rate (0)] (prioritizes smooth
movement) and [image quality (100)].
[Audio settings]
[Mode]
[CBR] is a fixed transfer mode. It encodes with a constant bitrate regardless of audio
complexity. Select a bitrate from the [Bitrate] list.
[CBR (2-pass)] performs encoding after an analysis for audio complexity.
[VBR (quality based)] is a variable transfer mode. The allotted bitrate is varied according to
audio complexity. Select an average bitrate from the [Quality] list.
Exporting to File in a Format that Differs from the Project Settings
You can use an exporter to export to file in a format that differs from the project settings.
1)
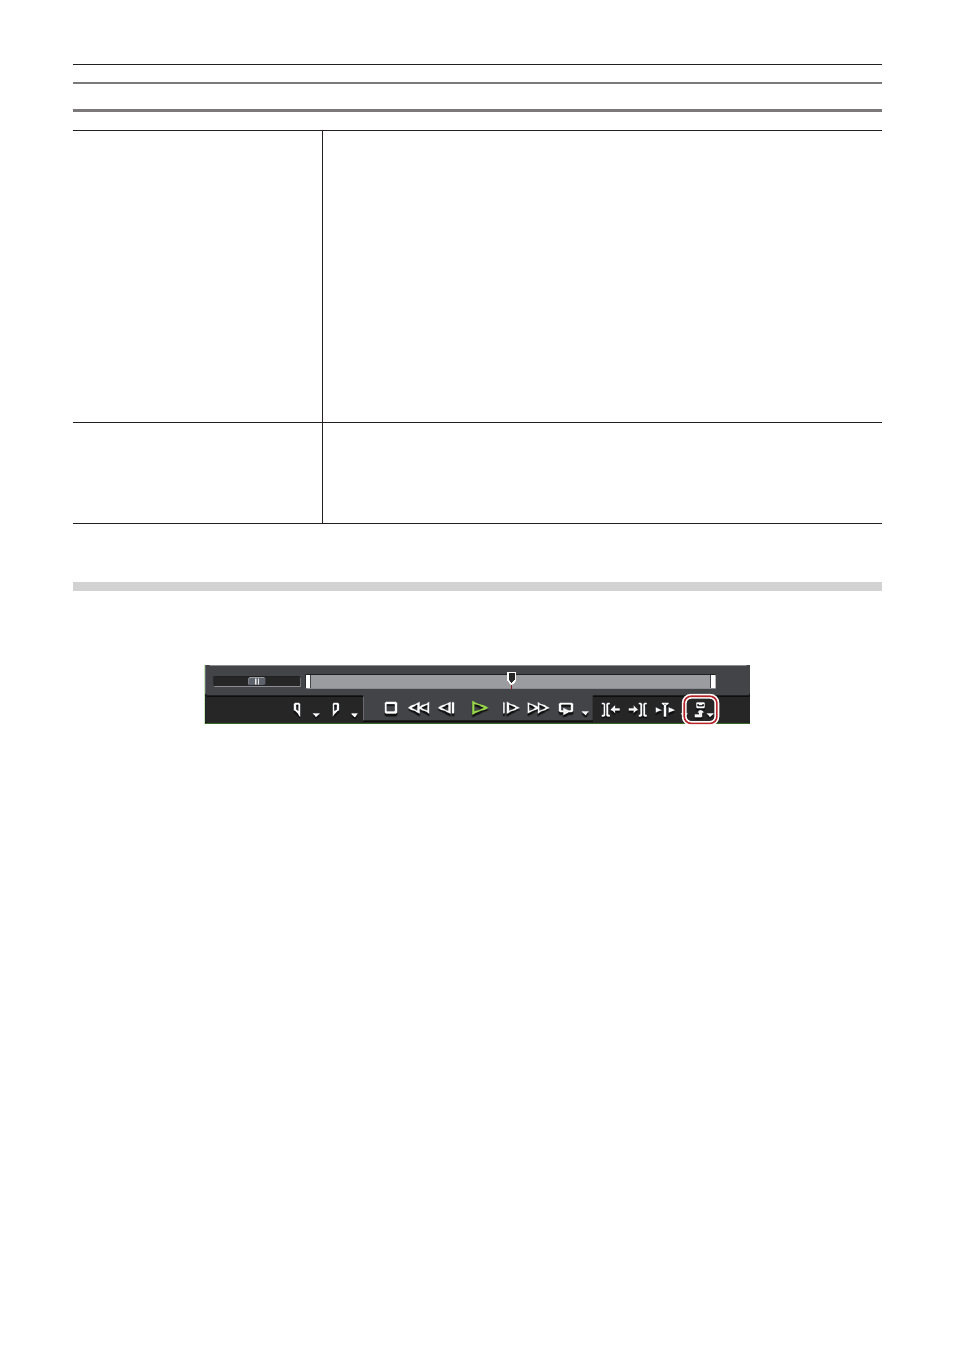
Click [Export] on the Recorder.
2)
Click [Print to File].
f
The [Print to File] dialog box appears.
“[Print to File] Dialog Box” (w page 393)
1
Alternative
f
Click [File] on the menu bar, and click [Export] → [Print to File].
f
Exporting to file:
[F11]
3)
Click a category in the category tree, and check [Enable Conversion].
f
All exporters and preset exporters where the export format differs from the project settings are displayed. Preset exporters where
conversion processing is performed will have a “→” symbol on their icon.
4)
Select an exporter, and click the expand button in [Advanced].
f
Preset exporters stored as default can also be selected.
f
The [Print to File] (Detailed Settings) dialog box appears.
“[Print to File] (Detailed Settings) Dialog Box” (w page 396)
5)
Set the details of the format to be exported.
2
f
When you click [Save as default], the current settings are saved and you can select an exporter simply by selecting [Default
Exporter(Print to file)] from [Export] on the Recorder.
“[Print to File] Dialog Box” (w page 393)
f
You can save the current settings as a preset.
“Creating Preset Exporters” (w page 414)
6)
Click [Export], and configure according to the on-screen instructions.