Exporting to a dv device (generic ohci) – Grass Valley EDIUS Pro v.7.4 Reference Manual User Manual
Page 427
Chapter 10 Export of Edited Contents — Exporting to Tape
427
2
f
If you click [Preview], the video will be output from the component output of the HDV camera. (not recorded to tape.)
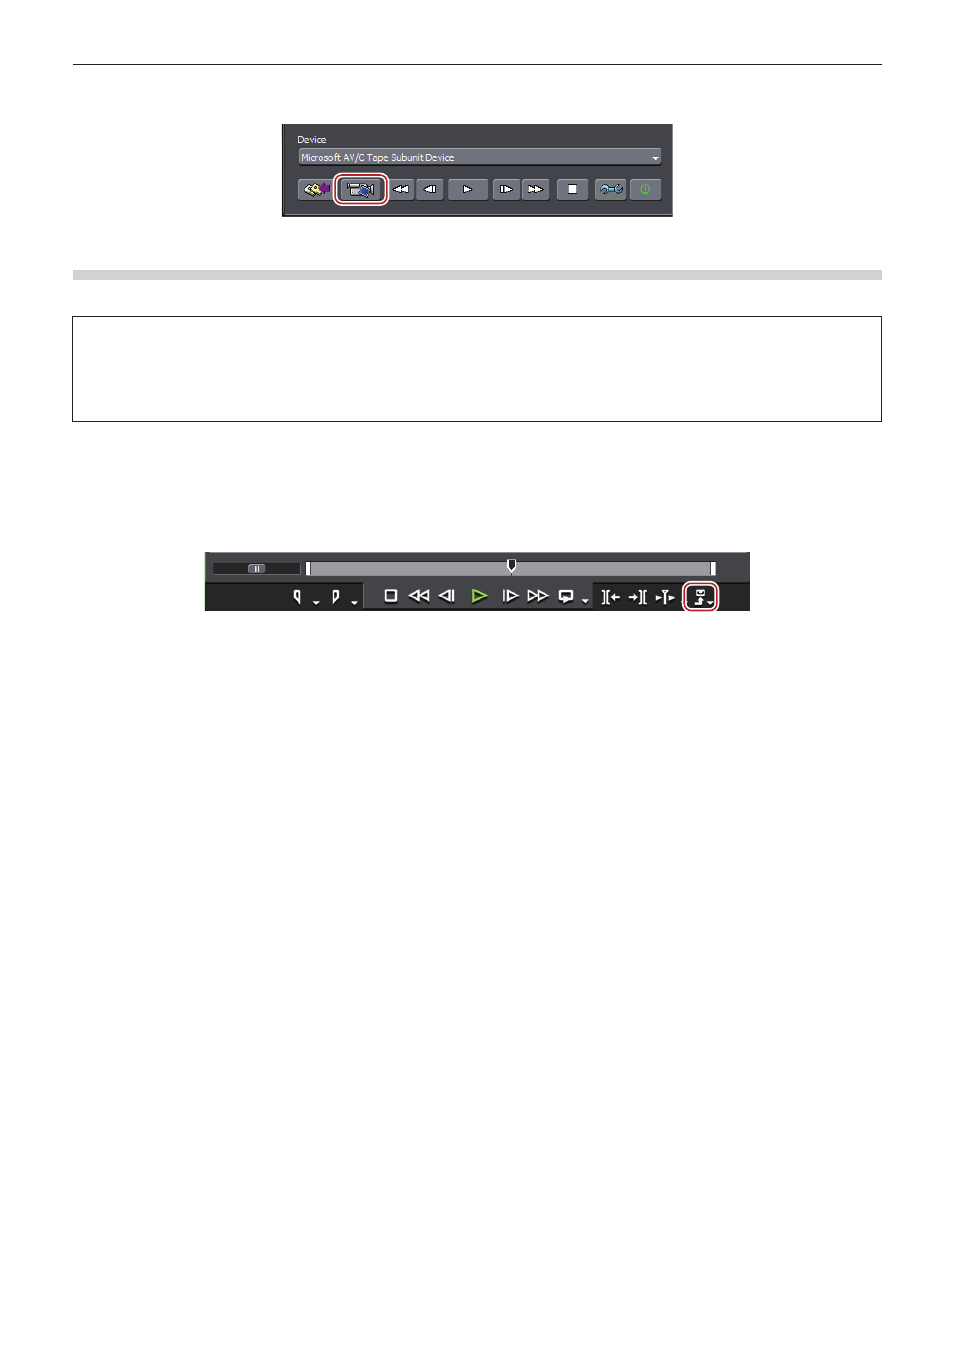
Exporting to a DV Device (Generic OHCI)
You can output data to DV devices.
3
Note
f
You need to register the export destination DV device as a device preset in advance.
“Registering Device Presets” (w page 109)
f
Output cannot be performed if the output format in the registered device preset for the DV device differs from the current project
settings.
1)
Connect the PC IEEE1394 terminal to the DV device with a DV cable.
f
Set the DV device to video mode (PLAY/EDIT, etc.).
2)
Click [Export] on the Recorder.
3)
Click [Print to Tape] or [Print to Tape (Display Timecode)].
1
Alternative
f
Click [File] on the menu bar, and click [Export] → [Print to Tape] or [Print to Tape (Display Timecode)].
f
Exporting to tape:
[F12]
2
f
If the message [There is no output preset to match the project settings.] is displayed, configure the project settings and device preset
format again.
4)
Select a device preset, and click [Next].
f
The device presets that can be output with the current project settings are displayed.
5)
Cueup to the position to start writing on tape.
2
f
To specify the start position to print to tape, check [Rec In] and enter the timecode. If you click [Cue Up], the tape will cueup to the
position of the entered timecode.
6)
Click [Next].
7)
Confirm the details, and click [Export].
f
Starts timeline playback and export.
f
The [Print To Tape] dialog box disappears when the export finishes.
2
f
Click [Cancel] to abort the export.
f
If In and Out points have been set on the timeline, that range will be exported.