Ripple trim, Split trim – Grass Valley EDIUS Pro v.7.4 Reference Manual User Manual
Page 252
Chapter 6 Editing Timelines — Trimming Clips
252
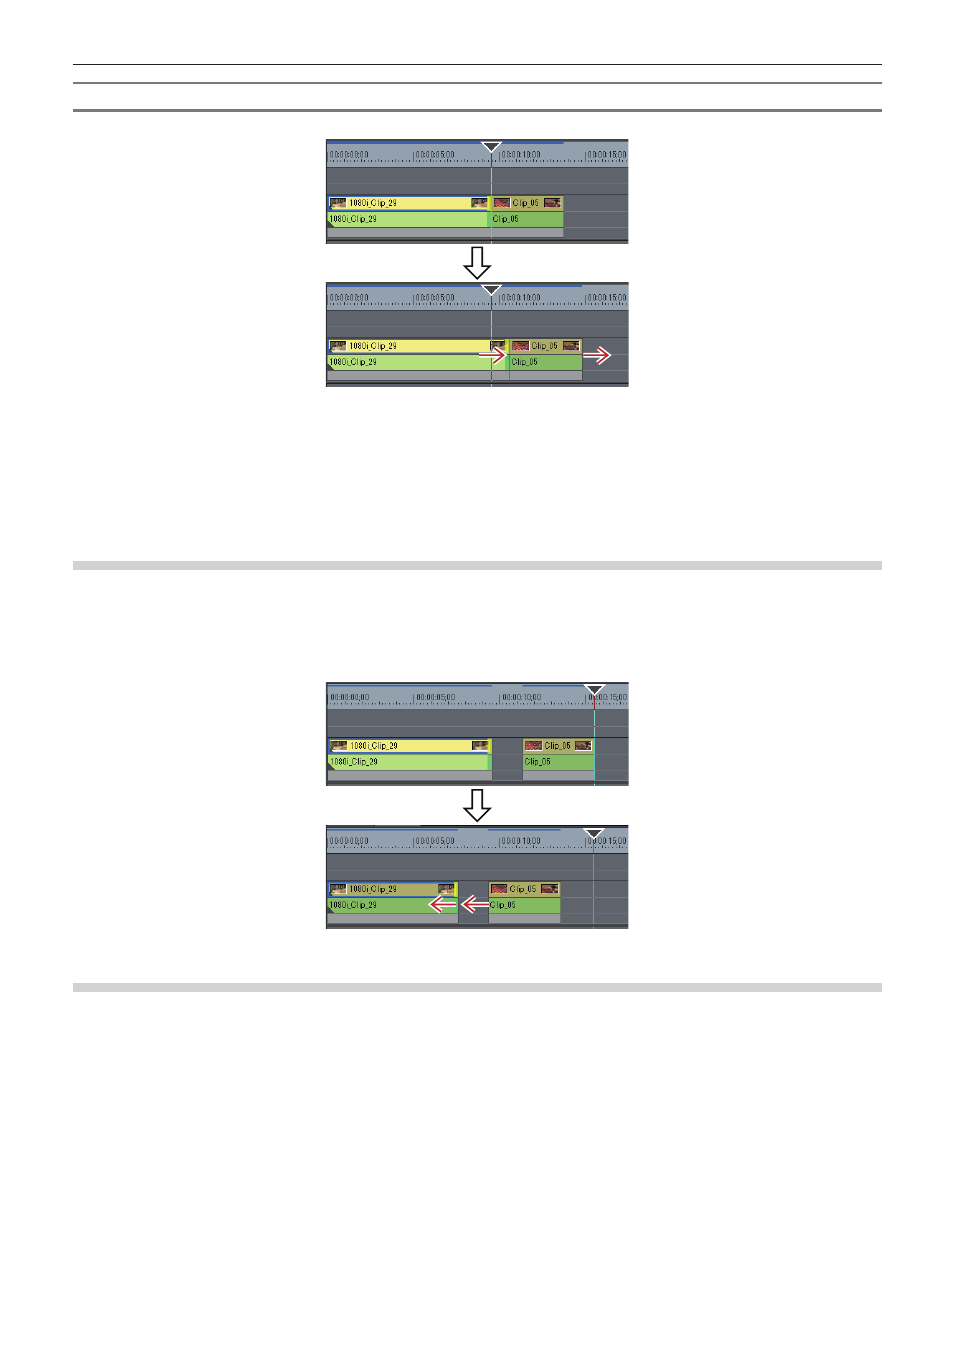
In the Insert Mode
If you extend a clip, the subsequent clips are shifted backward.
2
f
You can move a clip together with all the subsequent clips.
“Moving a Selected Clip and Subsequent Clips” (w page 226)
f
You can trim the Out point of the clip by the following operation.
g
Select and right-click a clip, and click [Duration]. In the [Duration] dialog box, enter the playback time from the In point.
g
Select the clip and press [Alt] + [U] on the keyboard. In the [Duration] dialog box, enter the playback time from the In point.
Ripple Trim
Change the In and Out points with the positional relationship with other clips maintained. Trimming is performed with the ripple mode on.
Even if the ripple mode is off, ripple trimming is possible by using combinations of shortcut keys and keyboard operation.
“Ripple Mode” (w page 211)
Example:
When trimming the Out point side of the clip
Split Trim
You can trim only the video section or audio section of video clips with audio.
2
f
When the ripple mode is on, you cannot perform trimming if there is no gap between the trimming clip and the subsequent clip. Also,
trimming can be performed by the length of the gap if the gap is shorter than the trimming clip.