Importing xdcam files (xdcam import), Field editing projects on another pc, Checking out projects (check-out) – Grass Valley EDIUS Pro v.7.4 Reference Manual User Manual
Page 66
Chapter 2 Project Settings — Project Operations
66
2
f
If [New Sequence] is checked, a new sequence is created to import an XML file. The start timecode is set with priority for the imported
playlist.
If this item is unchecked, the XML is imported to the currently selected sequence. The start timecode is set with priority for the selected
sequence.
f
If [FileCopy] is checked, the source files are copied to a folder specified by clicking [Browse], and the copied source files are referenced.
If this item is unchecked, the original source will be referenced.
f
The audio clips are placed to A track.
Importing XDCAM Files (XDCAM Import)
An edit list created by the XDCAM HD deck or software accompanied to XDCAM can be imported to and edited with EDIUS.
1)
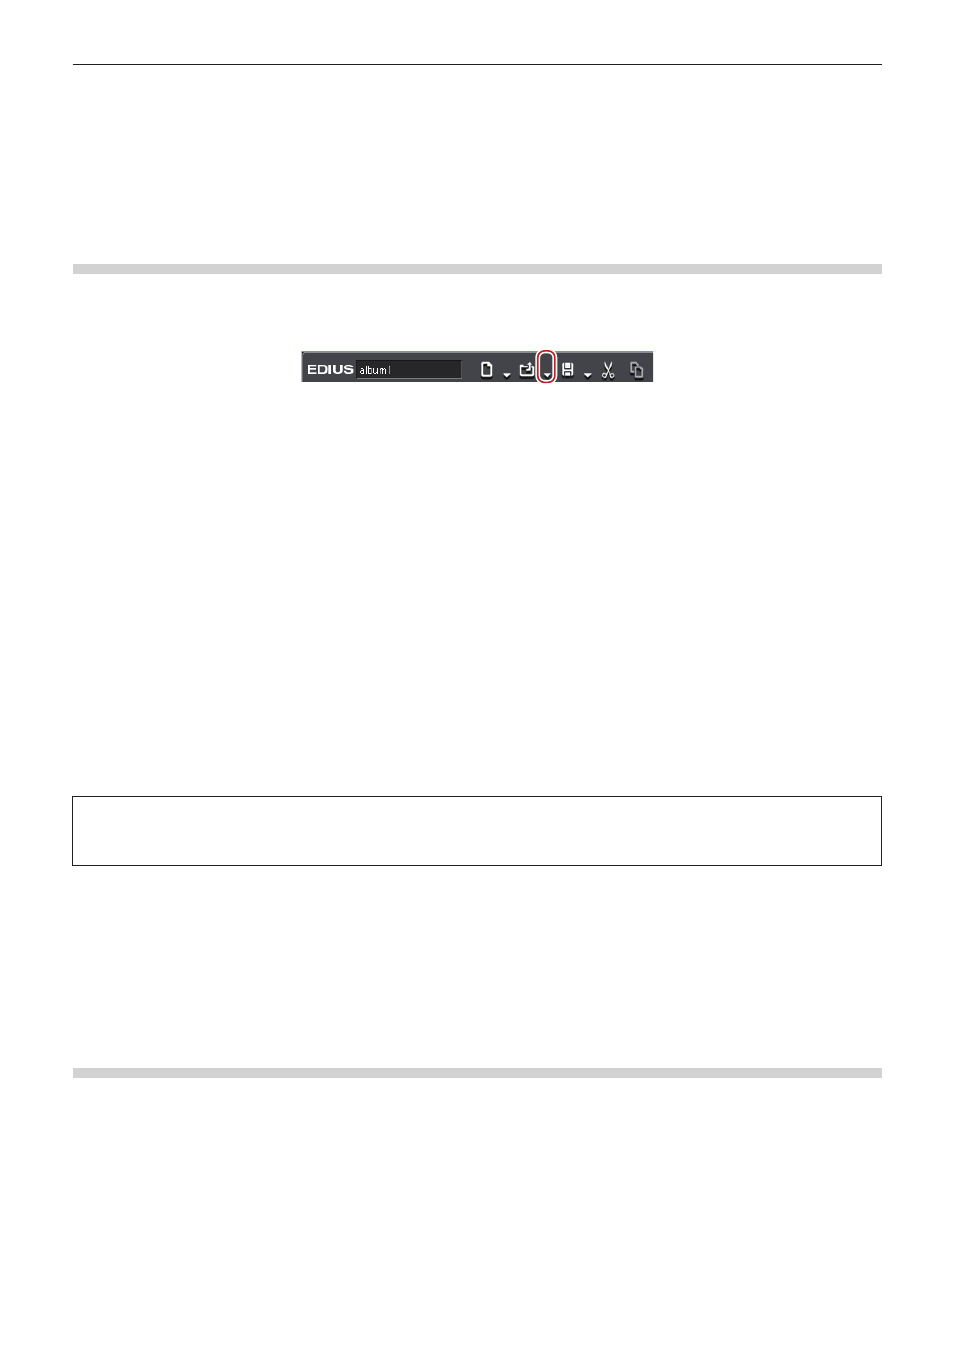
Click the [Open Project] list button on the timeline.
2)
Click [Import Project] → [XDCAM].
1
Alternative
f
Click [File] on the menu bar, and click [Import Project] → [XDCAM].
3)
Select an SMI file in the [Project Importer (XDCAM)] dialog box, and click [Open].
f
For an XDCAM disk, select an SMI file in the “Edit” folder.
f
For a PDZ-1 extended clip list, select an SMI file in the “General” folder.
f
If a PDZ-1 extended clip list (consists of a single disk) is written back to the disk, select an SMI file in “General” → “ExtClipList” folder.
f
For PDW-U1 (SAM format), select an SMI file in “EDTR” → “EDITLIST name” folder.
f
For a PDW-U1 (SAM format) extended clip list, select an SMI file in “General” → “ExtClipList” folder.
2
f
Check [New Sequence] to create a sequence and import an SMI file. If this item is unchecked, the SMI is imported to the currently
selected sequence. The start timecode is the timecode described in the XML file within the same folder where SMI file is saved.
f
If [FileCopy] is checked, the source files are copied to a folder specified by clicking [Browse], and the copied source files are referenced.
If this item is unchecked, the original source will be referenced.
f
The audio clips are placed to A track.
f
The settings to import an XDCAM file can be changed through [Importer/Exporter] in [System Settings] → [XDCAM].
“XDCAM Importer Settings” (w page 88)
3
Note
f
If a paired XML file does not exist in the same folder as the selected SMI file, the file cannot be imported correctly. This XML file
contains the start timecode of the timeline and TC mode settings (drop/non drop).
Field Editing Projects on Another PC
The “field editing function” can be used to ensure that projects move smoothly when, for example, checking out projects edited on a desktop
PC and editing them in a limited manner on a laptop PC. When a project that has been checked out by field editing is opened, a message is
displayed to prevent duplicate editing of the project.
Checking Out Projects (Check-out)
Collect the project and source clips referenced by the project in a specified folder on a removable USB storage media. Instead of the original
source files, proxy files for limited editing also can be checked out.
1)
Click [File] on the menu bar, and click [Field Editing] → [Check out].
f
The [Check Out] dialog box appears.
“[Check Out] Dialog Box” (w page 67)
2)
Click [Browse], and specify the checkout destination.