Print setup, Print setup -117 – RIGOL DSA875 User Manual
Page 169
Chapter 2 Front Panel Operation
RIGOL
User’s Guide for DSA800 Series
2-117
Print Setup
Set the print parameters. The analyzer supports PictBridge printer. Connect the
analyzer (USB Device interface) with the PictBridge printer using a USB cable.
Press System I/O Setting USB Dev Class “Printer” and set the
desired print parameters; then press
to print the current measurement
results.
Ptinter Connection and Printing Procedures:
(1) Turn on the PictBridge printer and wait until the power-on initialization is
finished.
(2) Use the USB cable provided in the accessories to connect the analyzer with
the PictBridge printer.
(3) “PictBridge printer connected.” is shown on the analyzer screen to prompt
you that the instrument now is initializing the driver and the print module.
(4) If the printer is successfully installed, “PictBridge printer installed
successfully.” will be displayed on the analyzer screen. At this point, you can
set the print parameters and start to print.
(5) After the corresponding measurement is done, set the sweep mode to
“Single” to stop the sweep and save the frozen measurement result. Then,
execute the print operation.
(6) The printer symbol, print state and process are shown in the status bar on the
analyzer screen during the printing.
(7) You can pause and resume the printing if necessary.
(8) The printer enters idle state and waits for the next task after the printing is
finished.
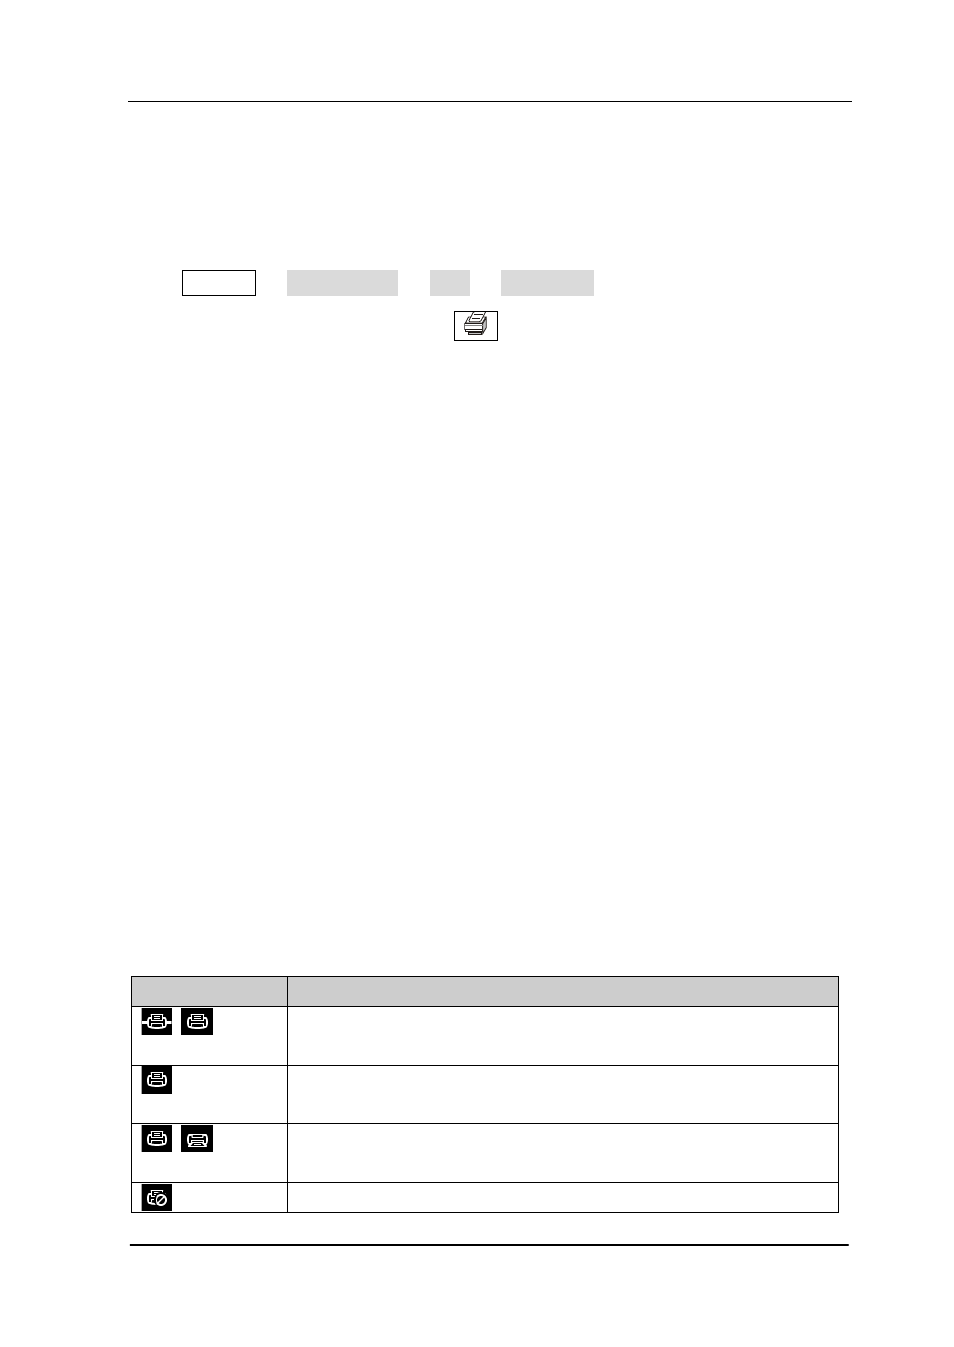
Table 2-65 Printing state icons
Icon
Explanation
The two icons are displayed alternately, indicating that the
printer now is connecting.
The printer is successfully connected, the printing is finished or
the printer is idle.
The two icons are displayed alternately, indicating that the
printing is in progress.
The printing has been paused.