Displaying zebra patterns, Displaying zebra patterns 91 – Canon EOS C200 EF Cinema Camera and 24-105mm Lens Kit User Manual
Page 91
91
Onscreen Markers and Zebra Patterns
To set the aspect ratio
1 Select [Marker Aspect Ratio], select the desired option and then press the joystick
• If you selected one of the preset aspect ratios, the rest of the procedure is not necessary. If you selected
[Custom], continue the procedure to set the desired aspect ratio.
2 Select [Marker Custom Asp. Ratio] and then press the joystick.
3 Push the joystick up/down to select the first digit of the aspect ratio and then press the joystick to move to the
next.
• Change the rest of the digits in the same way.
4 Select [Set] and then press the joystick.
To set the safe area
If an aspect marker is not selected, the safe area will be calculated as a percentage of the whole image ([Whole
Picture]) and you can only select the percentage (step 2). To calculate the safe area as a percentage of an aspect
ratio marker ([Selected Aspect Marker]), select an aspect ratio marker in advance and perform the procedure
from the beginning.
1 Select [Basis for Marker Safe Area], select the desired option and then press the joystick.
2 Select [Marker Safe Area %], select the desired percentage and then press the joystick.
NOTES
NOTES
• You can turn off all other onscreen displays, leaving only the onscreen markers (
A
• Markers are not available when the video output from the HDMI OUT terminal is 4K (3840x2160) recorded at
59.94P or 50.00P.
• If you set an assignable button to [Markers] (
A
119), you can press the button to turn the onscreen markers
on and off.
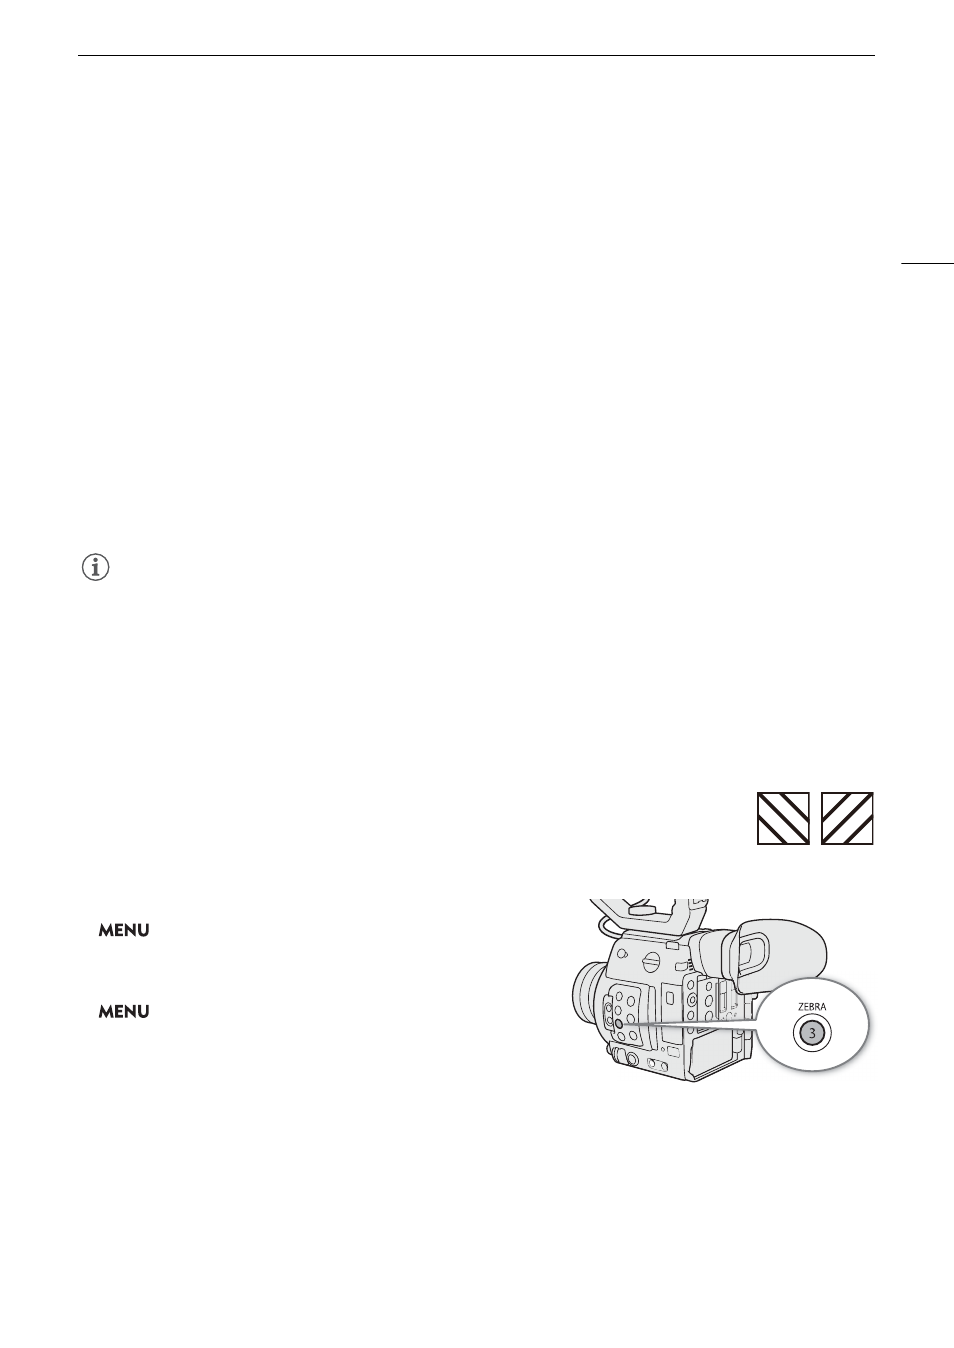
Displaying Zebra Patterns
The camera has a zebra pattern function that shows black and white diagonal stripes over
areas that are overexposed. There are two types of zebra patterns and you can display both
simultaneously. Zebra 1 lets you identify areas within a certain range (±5% of a specified level
from 5% to 95%) while zebra 2 lets you identify areas that are over a specified level (from 0%
to 100%).
1 Open the [Zebra] submenu.
>
[
A
$
Assistance Functions]
>
[Zebra]
2 Select a zebra pattern.
3 Open the zebra level submenu.
>
[
A
$
Assistance Functions]
>
[Zebra 1 Level] or
[Zebra 2 Level]
4 Select the desired zebra level and then press the joystick.
5 Press the ZEBRA button to activate the selected zebra
pattern.
• Alternatively, before closing the menu, you can also select [Zebra: VIDEO Output] or [Zebra: VF Output]
1
,
select [On] and then press the joystick to display the zebra pattern from the VIDEO terminal or on the
camera viewfinder
1
.
1
k
only.
Zebra 1
Zebra 2