Fronius Energy Package User Manual
Page 81
79
EN
(4)
Obtain IP address dynamically
Fronius system monitoring fetches the IP address from a DHCP server (DHCP =
Dynamic Host Configuration Protocol).
The DHCP server must be configured so that the same IP address is always as-
signed to Fronius system monitoring. This means that you always know which IP
address can be used to reach the Fronius system monitoring datalogger.
If the DHCP server supports the DNS dynamic updates function, a name can be
assigned to Fronius system monitoring in the “Host name” field. As a result, the
connection to Fronius system monitoring can be established using the name in-
stead of the IP address.
For example: Host name = sample_system, domain name = fronius.com
Fronius system monitoring can be reached via the address “sample_system.froni-
us.com”.
(5)
Field for entering a host name when the IP address is obtained dynamically
(6)
Field for entering the IP address in the case of a static IP address
(7)
Field for entering the subnet mask in the case of a static IP address
(8)
Field for entering the gateway in the case of a static IP address
(9)
Field for entering the DNS server in the case of a static IP address
WLAN
(10)
Display showing which WLAN networks have been found
(11)
“Refresh” button
For starting a new search to find available WLAN networks
(12)
Signal quality indicator
One bar = weak signal
Three bars = strong signal
(13)
Network status
Open / Secure / Saved (once you have pressed the “Einrichten” [Set up] button
(16))
(14)
Encryption indicator
WPA / WPA2 / WEP
(15)
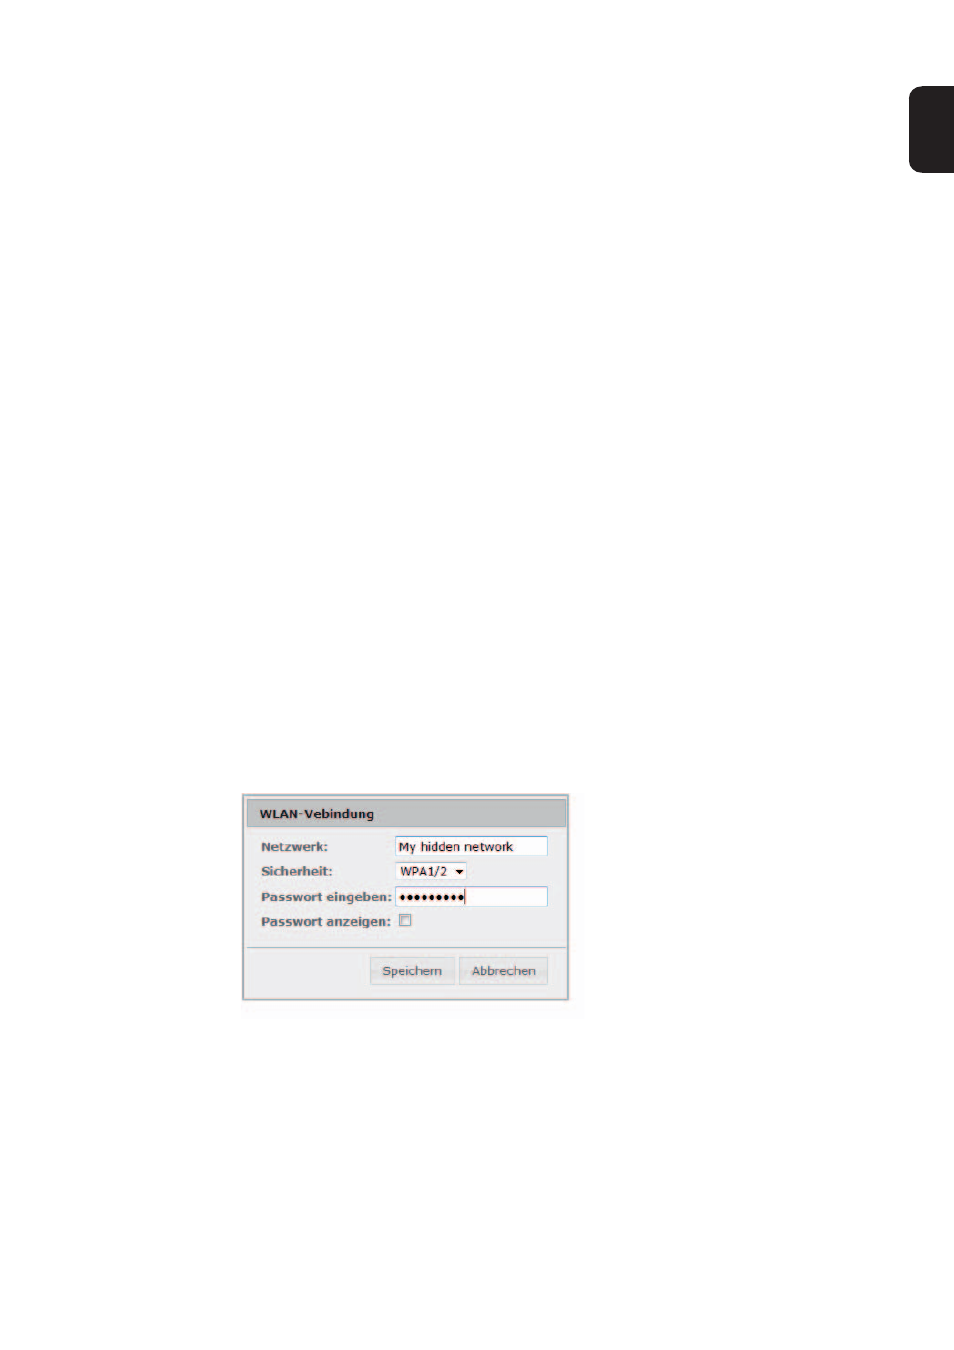
WLAN hinzufügen [Add WLAN]
For displaying hidden networks
As soon as you click this, the “WLAN connection” window opens.
(15a) Name of the hidden WLAN network
(15b) Selection box for choosing the type of encryption for the hidden WLAN network
(15c)
Field for entering the password for the hidden WLAN network
(15d) Selection box for specifying whether the password should be displayed
(15e) “Save” button
(15f)
“Cancel” button
(16)
“Einrichten” (“Set up”) button
For saving a selected WLAN network
Clicking the button opens the “WLAN connection” window.
(15a)
(15b)
(15c)
(15d)
(15e)
(15f)