Genee World ClassComm User Manual
Page 5
5
6 – Launch ClassComm from the Desktop icon...
7 –Connect the Receiver to an available USB port. The drivers will automatically install and a
message will appear in the bottom left of the ClassComm software interface stating “xyz receiver
connected” where xyz represents the type of hardware purchased.
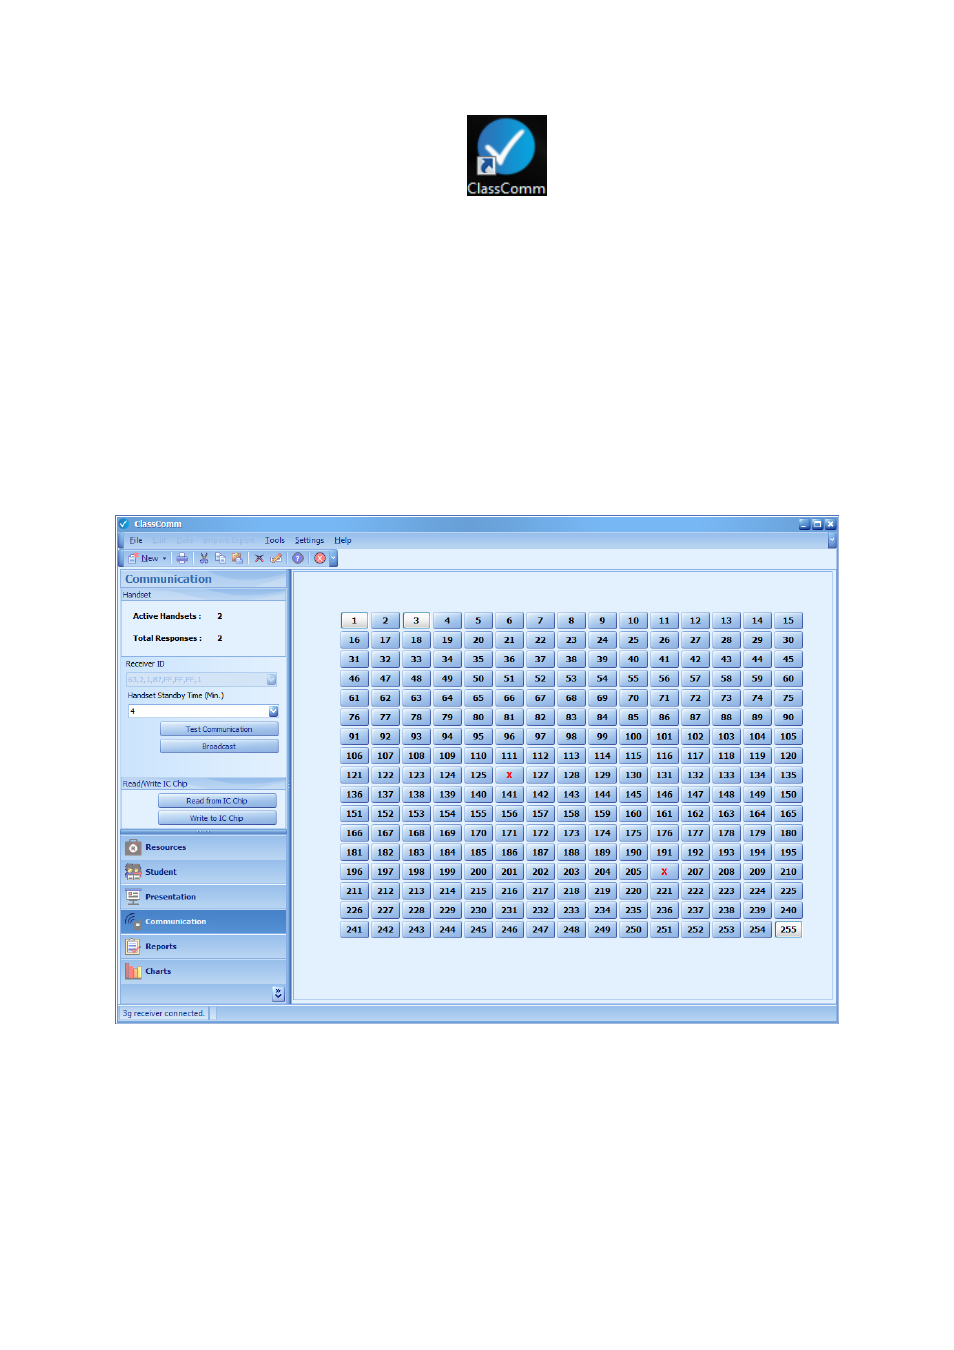
8 – Once the receiver connected message appears, open the Communication tab of ClassComm.
Now test handset communication to the receiver by pressing some keys on the handset and then
pressing “send”. The corresponding cell ID’s will light up in the grid.
The following image shows the communication grid. In the left panel it shows the number of active
handsets and responses received. Note that cells 1 – 4 are lit up to indicate that those are the active
handsets. Also note that cell 255 is lit up. This is the Teacher Handset which is a different colour to
student handsets and is set to ID 255.
The software is now installed and the hardware is configured correctly and has been tested in the
communication area of ClassComm.