Installing an mpu, Installing an rpe-x1 mpu – H3C Technologies H3C SR6600 User Manual
Page 24
14
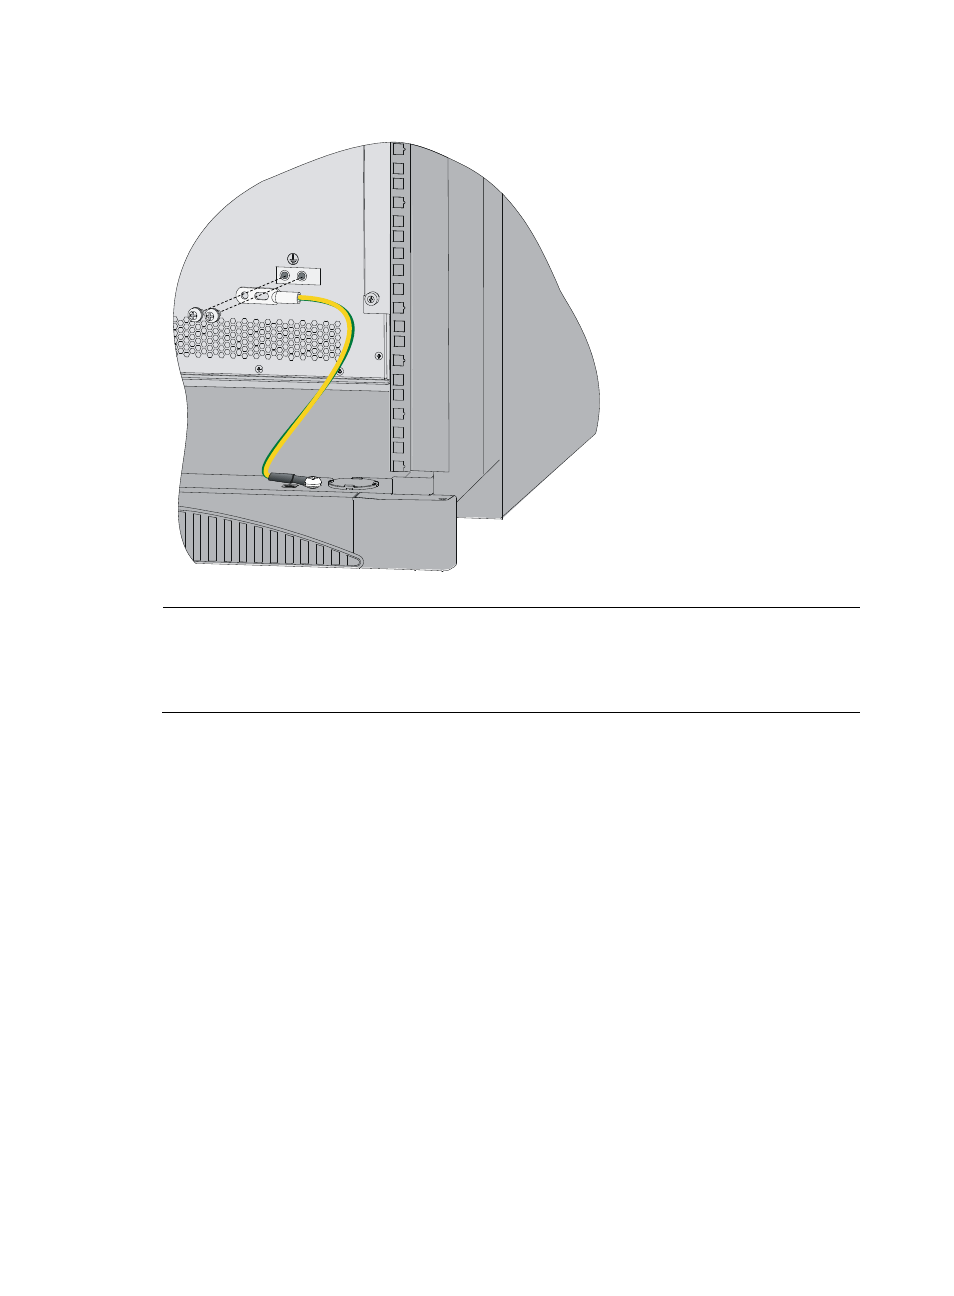
Figure 9 Connecting the grounding cable to the grounding hole of router
NOTE:
•
The resistance reading should be smaller than 5 ohms between router chassis and the ground.
•
To guarantee the grounding effect, use the grounding cable provided with the router to connect to the
grounding strip in the equipment room as long as possible.
Installing an MPU
Installing an RPE-X1 MPU
The RPE-X1 MPU is hot swappable and you must perform the remove slot number command to stop the
module before you remove it.
When two RPE-X1 MPUs are installed on the router, the ACT LED is steady green.
To install an RPE-X1:
1.
Locate the slot to install the RPE-X1. The RPE-X1 can be installed in slot 0 or slot 1. The RPE-X1 is
installed in slot 1 in this example.
2.
Remove the captive screws on the filler panel with a Phillips screwdriver.
3.
Install an RPE-X1 carrier to hold the RPE-X1.