2) modifying and deleting f-code relay boxes – TA Triumph-Adler DC 2025 User Manual
Page 81
4-18
Section 4 Other Features of this Fax
(Inch)
(Metric)
(Inch)
(Metric)
(Inch)
(Metric)
8. Repeat steps
1 and 2 below until all of the final destination fax
numbers are registered. (Max. 300 destinations)
1 Enter the fax number of a final destination.
* You can use the keypad, abbreviated numbers, one-touch
keys and group dial keys to enter the fax number. Chain dial
keys can be used as well.
2 If you entered the fax number with the keypad, touch the “Next
destinat.” [“Next dest.”] key.
9. Touch the “Finish dest. Set” [“Dest. set”] key.
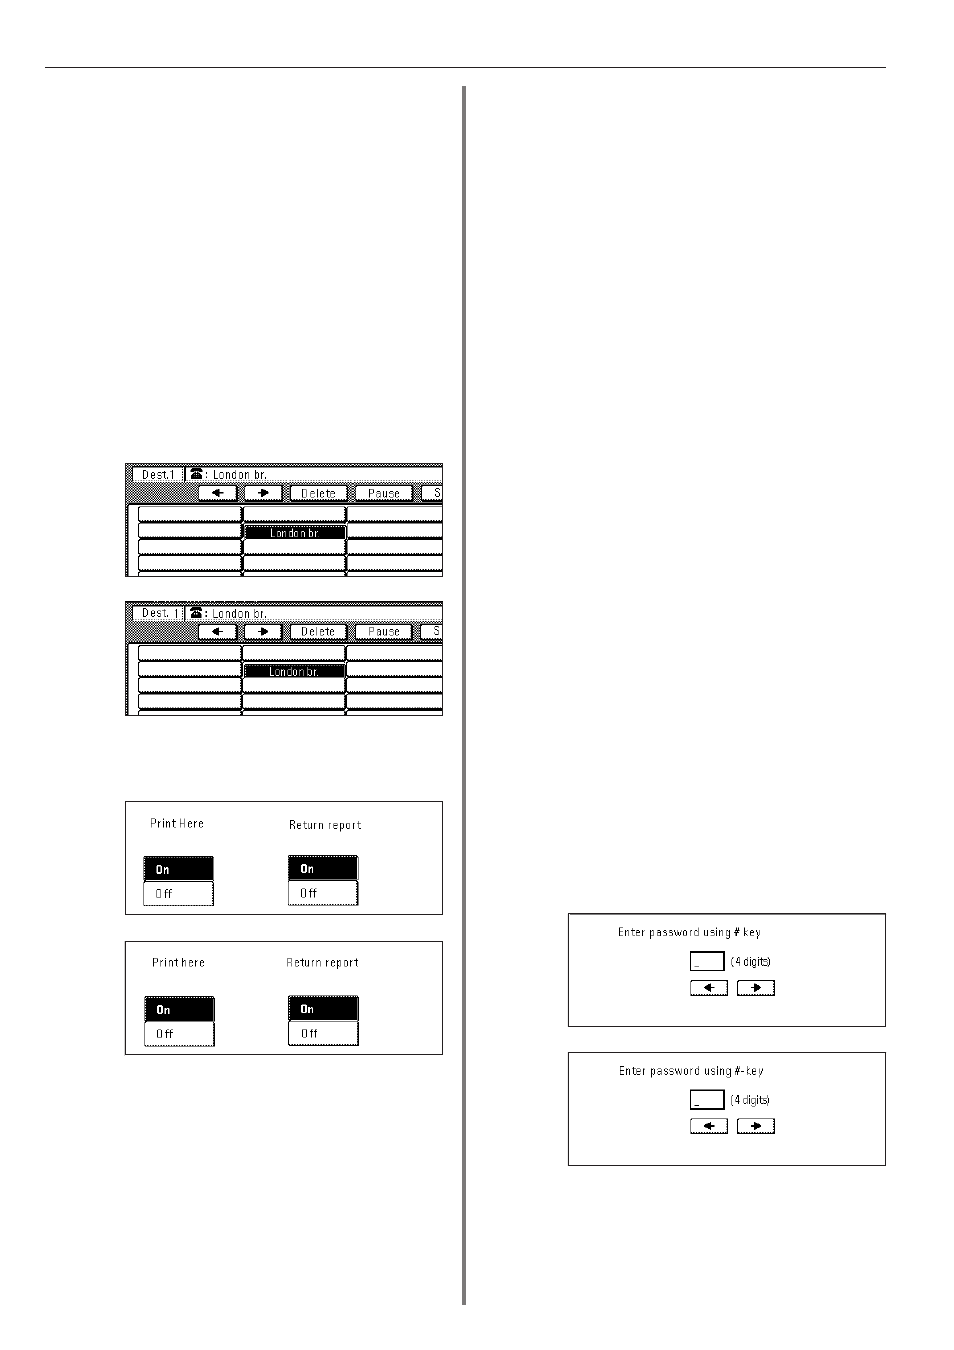
10. Select whether or not you want the received documents to be
printed out at your fax (touch the “On” key to have them printed
and the “Off” key to stop print out), and whether or not you want
send a Transmission Report regarding the results of the final
transmissions to the initial transmitting station (touch the “On” key
to send a report and the “Off” key to not send a report.).
11. Touch the “Next” key.
If you selected to send a Transmission Report to the initial
transmitting station, go to the next step. If you selected NOT to
send a report, proceed directly to step 14.
12. Enter the fax number of the initial transmitting station.
* You can use the keypad and one-touch keys to enter the fax
number.
13. Touch the “Finish dest. Set” [“Dest. set”] key.
14. Check the registered information.
Each item can be modified.
15. Touch the “OK” key. The message display will return to the same
screen as was displayed in step 4. If you want to continue
registering other F-Code Relay Boxes, repeat steps 4 through 15.
Once you are finished registering F-Code Relay Boxes, press the
Reset key.
(2) Modifying and Deleting F-Code Relay
Boxes
Perform the following procedure when you want to add or delete final
destinations or change other information registered under any F-Code
Relay Box, as well as when you want to completely delete one of
those boxes.
* In order to modify the contents of or completely delete an F-Code
Relay Box, it is necessary to enter the corresponding F-Code
password during the procedure.
* If you want to cancel the procedure part way through, press the
Reset key. The touch panel will return to the initial mode settings.
1. Perform steps 1 through 3 of “(1) Registering F-Code Relay Boxes”
on page 4-17.
2. Touch the key which displays the subaddress for the F-Code Relay
Box you want to modify or delete.
3. Enter the F-Code password (4-digits) for that F-Code Relay Box.
6. Touch the “Password” key and enter the 4-digit F-Code password
that you want to use for this F-Code Relay Box.
* The password can include any combination of the numerals 0 - 9
and the symbols “*” and “#”.
7. Touch the “Next” key.