Marantz AV8003 User Manual
Page 41
CONNECTIONS
BASIC
OPERA
TION
ADV
ANCED
OPERA
TION
REMOTE
CONTROLLER
TROUBLESHOOTING
OTHERS
NAMES AND
FUNCTION
SETUP
38
ENGLISH
6-2 CHECK AUTO
These menus are for confirming the results of
AUTO SETUP function equalizer measurement
(AUDYSSEY, FRONT, FLAT).
1.
Select
“6. ACOUSTIC EQ” from MAIN MENU
with the
3
or
4
cursor buttons and press the
ENTER button.
2.
Select
“CHECK AUTO” with the
3
or
4
cursor
buttons.
3.
Press the ENTER button to enter the
selection.
C H E C K A U T O
M D :
A U D Y S S E Y
6 3 0 . 0
C H : F L 1 2 5 0 . 0
2 5 0 0 . 0
5 0 0 0 . 0
1 k 0 . 0
2 k 0 . 0
4 k 0 . 0
8 k 0 . 0
1 6 k 0 . 0
R E T U R N
E X I T
63
125 500
2k
8k
250 1k
4k
16k
+9
0dB
-20
Select MD (mode) with the
3
/
4
cursor buttons
followed by the desired equalizer (“AUDYSSEY”,
“FRONT”, “FLAT”).
CH:
Select the channel to check with the
1
or
2
cursor
buttons.
Notes:
• The frequency will not be exactly the same as in the
Preset G. EQ modes.
• FL and FR are not indicated on the CHECK AUTO
2 menu.
4.
Once
fi nished checking, select “RETURN” with
the
3
/
4
cursor buttons and press the ENTER
button to return to the “6. ACOUSTIC EQ”
menu.
6-1 PRESET G. EQ ADJ
These modes allow you to set a 9-band graphic
equalizer for each of the 7 channels.
1.
Select
“6. ACOUSTIC EQ” from MAIN MENU
with the
3
or
4
cursor buttons and press the
ENTER button.
2.
Select
“PRESET G. EQ ADJ” with the
3
or
4
cursor buttons.
3.
Press the ENTER button to enter the
selection.
63
125 500
2k
8k
250 1k
4k
16k
P R E S E T A D J U S T
R E S E T :
C H
6 3 0 . 0
C H : F L 1 2 5 0 . 0
2 5 0 0 . 0
5 0 0 0 . 0
1 k 0 . 0
2 k 0 . 0
4 k 0 . 0
8 k 0 . 0
1 6 k 0 . 0
R E T U R N
E X I T
+9
0dB
-20
RESET:
Using the
1
or
2
cursor buttons, select the
channel(s) to be reset to either the currently
displayed channel (“CH”) or all channels (“ALL”),
and press the ENTER button to enter the setting.
“ALL” : Resets all channels.
“CH” : Resets only the currently displayed
channel.
CH:
Select the channel (“FL”, “C”, “FR”, “SR”, “SBR”,
“SBL” or “SL”) to adjust with the
1
or
2
cursor
buttons, and switch to the adjustment mode with
the
4
cursor button.
Frequency:
Select the target frequency on the graph with the
1
or
2
cursor buttons and press the ENTER button
to enter the selection. Adjust the level with the
3
or
4
cursor buttons. (Note that this can be adjusted
to any level between –20 and +9 dB in 0.5 dB
increments.)
Move to the next frequency with the
1
or
2
cursor
buttons, and adjust the level.
After you complete this portion of the setup, press
the ENTER button to enter the settings. Move cursor
to “RETURN” with the
3
,
4
cursor buttons and press
the ENTER button.
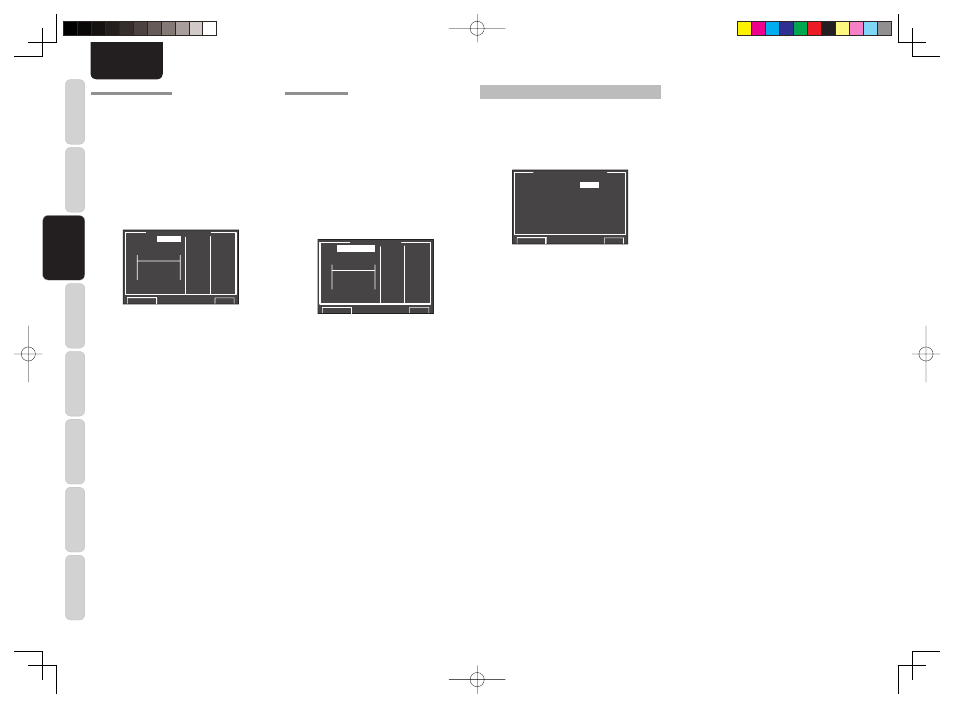
7 NETWORK SETUP
These settings relate to playing music, photos, and
movie fi les stored on a network device connected
to this unit.
1.
Select “7. NETWORK SETUP” on the MAIN
MENU using the cursor buttons
3
or
4
.
7 . N E T W O R K S E T U P
V I D E O :
N T S C
R E S O L U T I O N : 4 8 0 / / 5 7 6 i
S C R E E N S A V E R : O N
R E T U R N
N E X T
E X I T
2.
Select the menu you want to set using the
cursor buttons
3
or
4
, and press ENTER.
• RESOLUTION:
Use the
1
/
2
cursor buttons to select video signal
resolution (pixel count) on the NETWORK PLAYER
from the following options.
“480/576i”
↔
“480/576p”
↔
“720p”
↔
“1080i”
↔
“AUTO”
↔
“480/576i”
AUTO:
Sets an appropriate resolution for a television that
is connected using HDMI.
(If the unit is not connected to the television using
HDMI, the output is 480i/576i)
(If connected by converting to DVI, the output is
480p/576p)
480i/576i:
The output is 480i/576i.
480p/576p:
The output is 480p/576p.
720p:
The output is 720p.
1080i:
The output is 1080i.
Notes:
• If a monitor connected using HDMI is changed
during the AUTO setting, the screen returns
automatically to the top menu and the resolution is
changed to one that is appropriate for the monitor. If
a dialog box or the TOOL menu is displayed at this
time, the resolution is changed after the dialog box
or TOOL menu is closed.
• Set 480i/576i if you are using VIDEO/S-VIDEO
output.
• If you are using a monitor connected using HDMI,
and the signal is being input from the network, the
video signal is output in the resolution that was set
in RESOLUTION.
• SCREEN SAVER:
Use the
1
/
2
cursor buttons to select “ON” or “OFF”
for the screen saver from the video signal that is
output from the unit.
ON:
If no operation is made for 10 minutes on the
NETWORK screen or SETTING screen, the
screen saver is activated on the monitor. (The
screen goes dark)
OFF:
The screen saver is not activated even if no
operation is made for 10 minutes.
Notes:
• The screen saver is not activated during photo
display or video playback.
• This setting can only be changed when the
NETWORK function of this unit is selected.
AV8003_U_Eng.indb 38
AV8003_U_Eng.indb 38
08.4.28 10:40:16 AM
08.4.28 10:40:16 AM