Advanced operation – Marantz AV8003 User Manual
Page 48
CONNECTIONS
SETUP
BASIC
OPERA
TION
REMOTE
CONTROLLER
TROUBLESHOOTING
OTHERS
NAMES AND
FUNCTION
ADV
ANCED
OPERA
TION
45
ENGLISH
ADVANCED
OPERATION
DISPLAY MODE
TOP
TOP
ZONE
ZONE
SPEAKER
SPEAKER
DISPLAY
DISPLAY
INPUT
INPUT
7.1CH
7.1CH
DIRECT
PURE
PHONES
THX
THX
M-DAX
M-DAX
MODE
SURROUND
CLEAR
CLEAR
MEMORY
MEMORY
T-MODE
T-MODE
BAND
BAND
EXIT
EXIT
MENU
MENU
ZONE
ZONE
DOWN
DOWN
VOLUME
VOLUME
UP
UP
INPUT
SELECTOR
O
AUTO
SETUP MIC
SETUP MIC
HDMI
HDMI
M-DAX
M-DAX
RE DIRECT
PURE DIRECT
POWER ON/OFF
STANDBY
AV PRE TUNER AV8003
AV PRE TUNER AV8003
ENTER
ENTER
DISP
DISPLAY
You can select the display mode for the front display
of the unit.
To select this mode, press the DISPLAY button on
the front panel, or switch the remote controller to
AMP mode and press the DISPLAY button.
When this button is pressed, the display mode is
switched in the following sequence.
Input Mode
→
Surround Mode
→
Auto display
OFF
→
Display OFF
→
Normal Mode
→
Input
Mode
Normal Mode:
Displays the selected input function. If the function
has been renamed using the Function Rename
feature (see page 25), the renamed name appears
on the display.
Input Mode:
Displays the input mode set via the Function Input
Setup feature (see page 24).
Surround Mode:
Displays the status of the selected surround
mode.
Auto Display Off mode:
The display is off. But, if you make a change to
the unit such as the input or surround mode, the
display will show that change, then go back to off
after about 3 seconds.
Display Off mode:
The display is off completely.
Note:
• Only the DISP indicator will be illuminated on the
front display in display off condition.
RECORDING AN ANALOG SOURCE
In normal operation, the audio or video source
selected for listening through this unit is sent to the
record outputs.
This means that any program you are watching
or listening to may be recorded simply by placing
machines connected to the outputs for TAPE OUT,
CD/CDR OUT, VCR1 OUT, and DSS/VCR2 OUT in
the record mode.
To record the input source signal you are currently
watching or listening to
TOP
ZONE
ZONE
SPEAKER
SPEAKER
DISPLAY
INPUT
INPUT
7.1CH
7.1CH
DIRECT
DIRECT
PURE
PURE
PHONES
PHONES
THX
THX
M-DAX
MODE
MODE
SURROUND
SURROUND
CLEAR
MEMORY
T-MODE
BAND
EXIT
MENU
ZONE
ZONE
DOWN
VOLUME
UP
INPUT
INPUT
SELECTOR
SELECTOR
AUTO
AUTO
SETUP MIC
SETUP MIC
HDMI
M-DAX
M-DAX
PURE DIRECT
PURE DIRECT
POWER ON/OFF
POWER ON/OFF
STANDBY
STANDBY
AV PRE TUNER AV8003
ENTER
1.
1.
1.
To select the input source for recording, turn
the INPUT FUNCTION SELECTOR knob on
the front panel or press the HOME button and
then the appropriate numeric buttons 1 through
9 on the remote controller.
The input source is now selected and you may
watch or listen to it as desired.
2.
The currently selected input source signal
is output to the TAPE OUT, CD/CDR OUT,
VCR1 OUT, and DSS/VCR2 OUT outputs for
recording.
3.
Start recording to the recording component as
desired.
Notes:
• When connecting only digital signal input, output
cannot be made to the TAPEOUT, CD/CDR OUT,
VCR1 OUT, or DSS/VCR2 OUT terminals. When
using recording functions, be sure to also make
connections for analog signal input.
• No conversion is made from Video signal input to
S-Video signal output or from S-Video signal input
to Video signal output. Always use the same signal
type for both input and output.
• Video or audio signals input to HDMI input terminals
cannot be recorded.
SELECTING ANALOG AUDIO INPUT OR
DIGITAL AUDIO INPUT
If you have already assigned the digital inputs, you
can temporarily select the audio input mode for each
input source as following procedures.
Switch the remote controller to AMP mode and press
the < / > button until 002 is displayed. Then press the
A/D button.
When this button is pressed, the input mode is
switched in the following sequence.
Auto
→
HDMI
→
Digital
→
Analog
→
Auto
Auto mode:
The types of signals being input to the digital and
analog input jacks for the selected input source are
detected automatically.
If no digital signal is being input, the analog input
jacks are selected automatically.
HDMI mode:
HDMI mode can be selected only when an HDMI
input has been assigned as an input source.
When “HDMI AUDIO” under PREFERENCE of the
SETUP MENU is set to “THROUGH”, the HDMI
mode cannot be selected.
Digital mode:
The input signal is fi xed to an assigned digital input
terminal.
Analog mode:
The analog input jacks are selected.
This selection is temporary and will not be stored in
memory.
To store changes to the input mode, select “1. INPUT
SETUP” from the MAIN MENU. (See page 24)
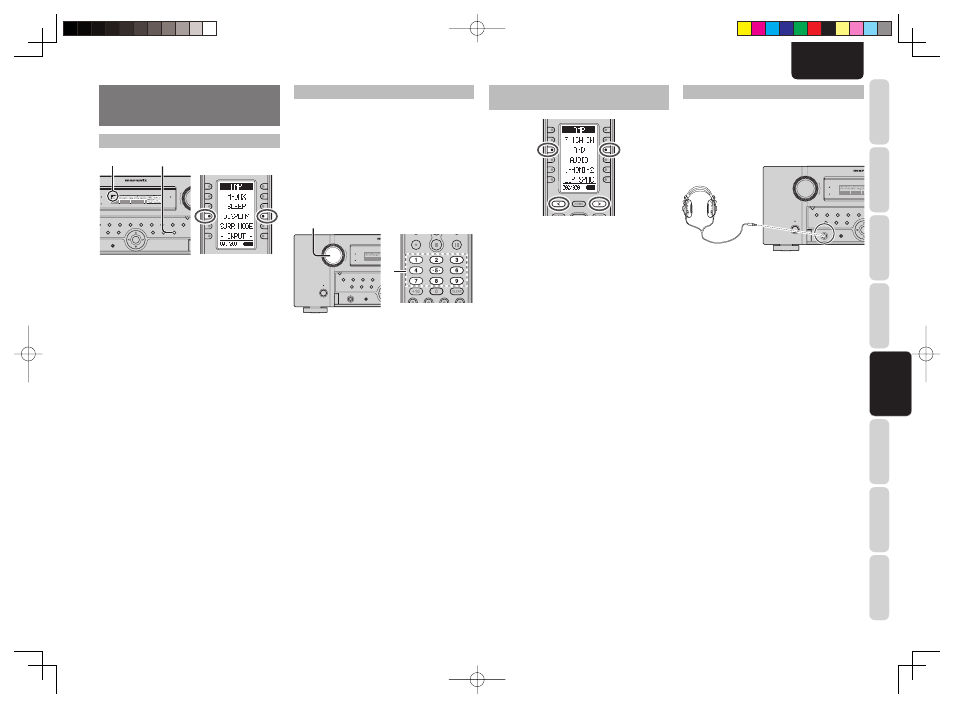
LISTENING THROUGH HEADPHONES
This jack may be used to listen to the unit’s output
through a pair of headphones. Be certain that the
headphones have a standard 1/4” stereo phono
plug.
Note that the speakers will automatically be turned
off when the headphone jack is in use.
TOP
ZONE
ZONE
SPEAKER
SPEAKER
DISPLAY
INPUT
INPUT
7.1CH
7.1CH
DIRECT
DIRECT
PURE
PURE
PHONES
PHONES
THX
THX
M-DAX
MODE
MODE
SURROUND
SURROUND
CLEAR
MEMORY
T-MODE
BAND
EXIT
MENU
MENU
ZONE
ZONE
DOWN
VOLUME
UP
INPUT
INPUT
SELECTOR
SELECTOR
AUTO
AUTO
SETUP MIC
SETUP MIC
HDMI
M-DAX
M-DAX
PURE DIRECT
PURE DIRECT
POWER ON/OFF
POWER ON/OFF
STANDBY
STANDBY
AV PRE TUN
AV PRE TUNER AV8003
ENT
ENTER
Notes:
• When using headphones, the surround mode will
change to STEREO and Dolby Headphone by
MENU and Cursor button.
• The surround mode returns to the previous setting
as soon as the headphone plug is removed from the
jack.
• The 7.1ch input mode returns to the previous setting
as soon as the headphone plug is inserted to the
jack.
AV8003_U_Eng.indb 45
AV8003_U_Eng.indb 45
08.4.28 10:40:22 AM
08.4.28 10:40:22 AM