Grass Valley Xplorer Vertigo Suite v.4.8 User Manual
Page 74
5-8
Xplorer User Manual
Previewing assets in Xplorer
When resizing or repositioning the bounding outline, its dimensions and location is display
in the lower right corner of the Image Editor window (figure
5-7
). The first set of number
displays the X/Y dimensions of the bounding outline in pixels, while the second set
represents the location coordinates of the bounding outline’s upper left corner.
Figure 5-7. The dimensions and location of the bounding outline
To crop an image:
1.
Open the original image in the Image Editor (see
2.
With the image completely visible in the Image Editor, click the C
ROP
button
.
3.
Resize and/or reposition the bounding area to include only the content to be preserved.
a.
Select the U
SE
AREA
OF
INTEREST
ASPECT
RATIO
check box if you want to resize the
bounding outline, but still maintain the aspect ratio of the image’s placeholder on
the scene, template, or control panel. Clear the check box is you want to freely
resize the bounding area.
b.
Drag the bounding outline’s sizing handles to resize the bounding outline around
the area of interest.
c.
If necessary, you can reposition the bounding outline within the image by clicking
inside the bounding outline and dragging it over the area of interest in the image.
4.
Once the bounding outline contains only the area of interest, click OK.
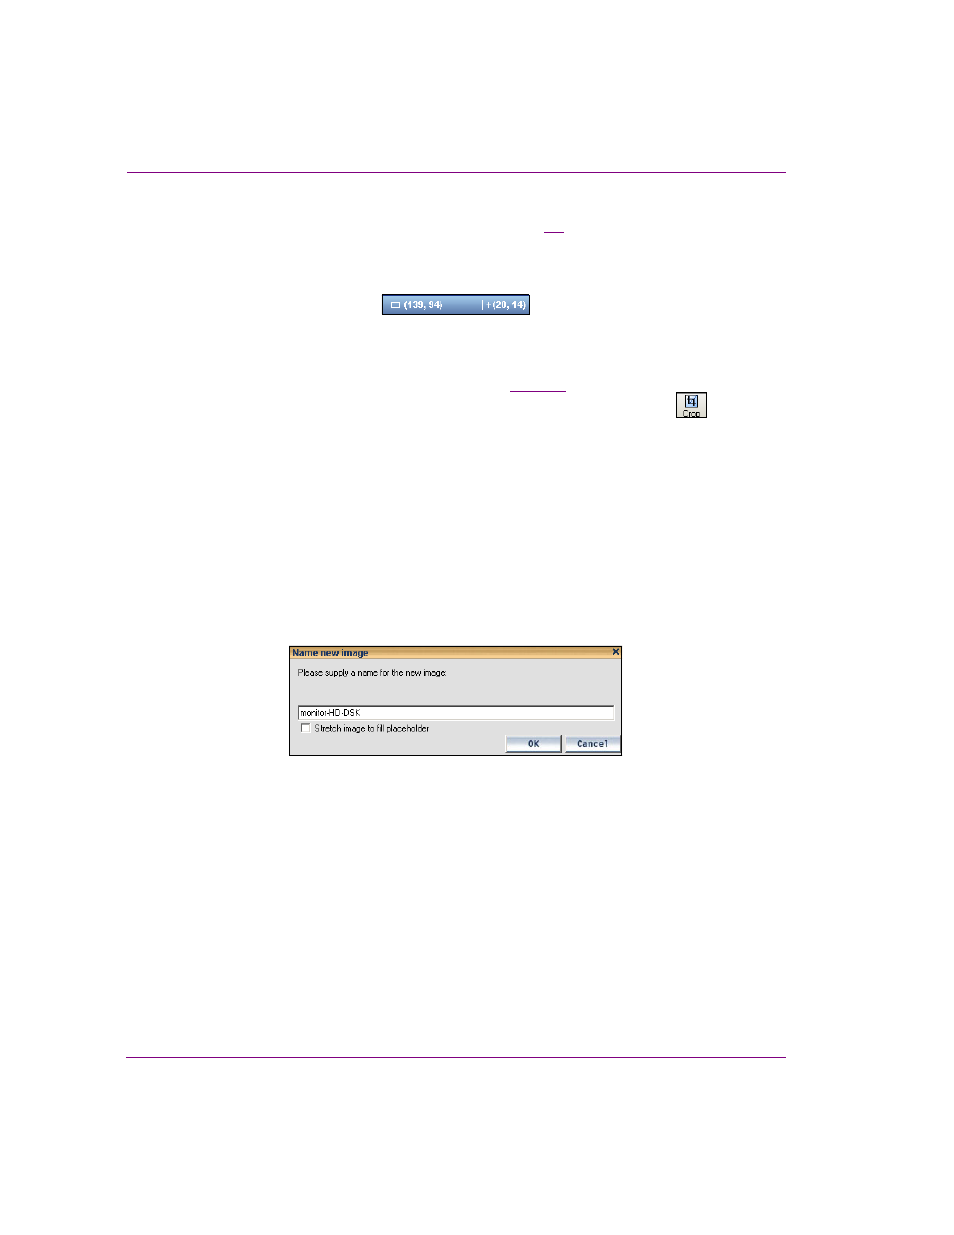
The N
AME
NEW
IMAGE
window appears.
Figure 5-8. The N
AME
NEW
IMAGE
window.
5.
Save the cropped image:
• Select the S
TRETCH
IMAGE
TO
FILL
PLACEHOLDER
check box if you want the Image Editor
to enforce scaling so that the resulting image is the exact size of the placeholder.
• Leave the S
TRETCH
IMAGE
TO
FILL
PLACEHOLDER
check box clear (unchecked) you want
to defer any scaling between the cropped image and its final space until playout time.
• If you want to preserve the original image asset, you can save the cropped image as a
new image by typing in the name of the new image asset in the text box and then clicking
OK on the N
AME
NEW
IMAGE
window.
• To replace the original image with the cropped image, leave the original image’s name in
the text box and click OK.