Midi channel setup – LinPlug RMV User Manual
Page 134
Setup Panel
Pad Matrix:
The Pad Matrix displays a Matrix Element for each Pad. The number
shown in each Matrix Element is the mapping for the Pad. For
example, in the picture above the Matrix Element for Pad 1 is set to
63. This means that when a Kit is loaded, Pad 1 will contain
whichever Pad in the Kit is set to be triggered by MIDI Note 63. To
change the setting for a Matrix Element click and drag the desired
element to a new position in the Pad Matrix. The destination Matrix
Element will then be exchanged with the source Matrix Element.
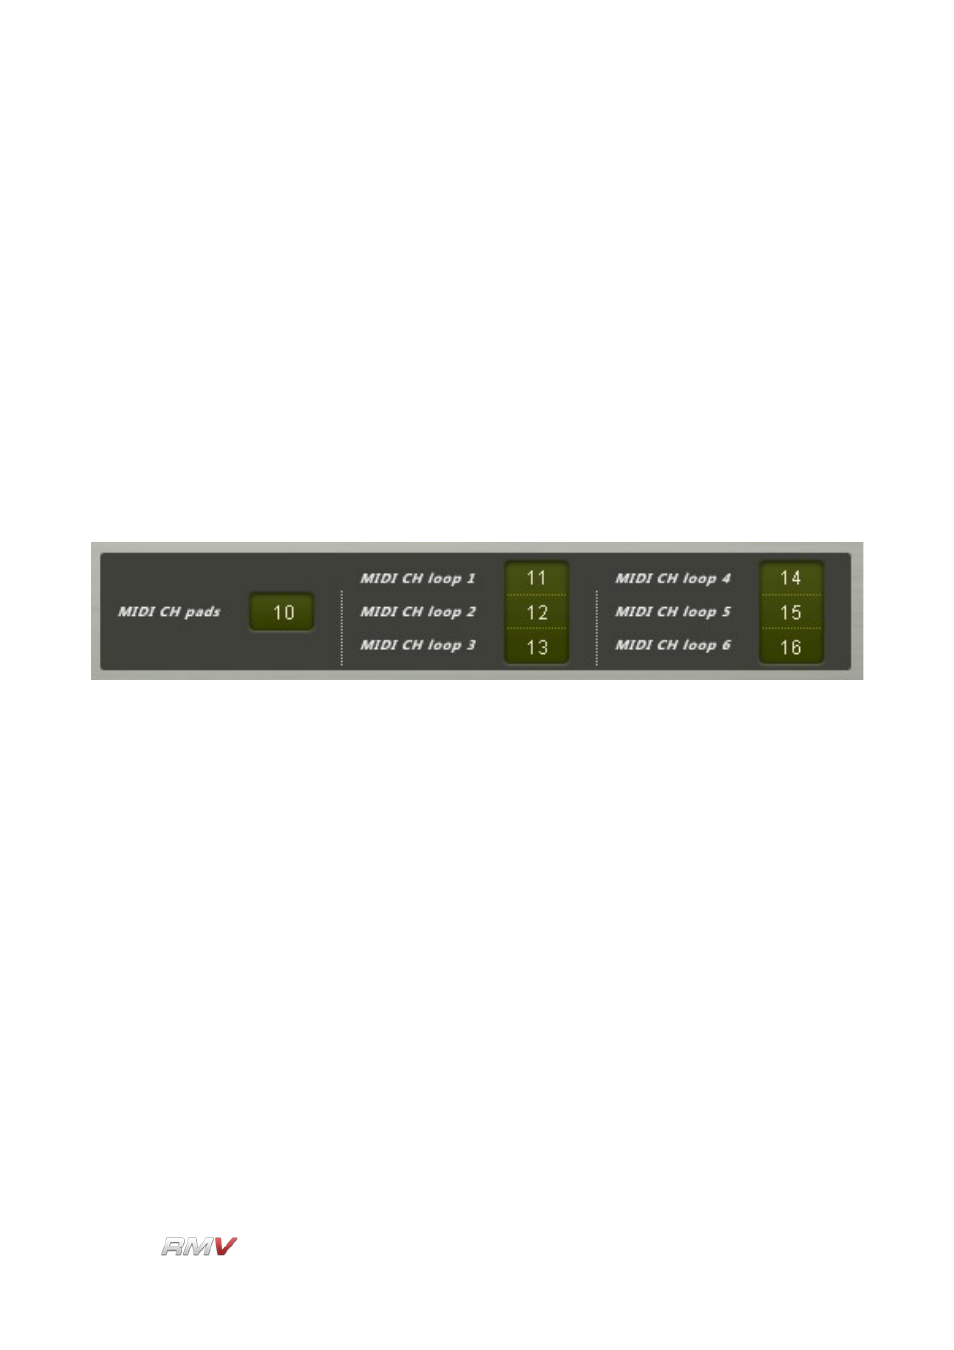
MIDI Channel Setup
The MIDI Channel Setup section is used to set the manner in which the RMV responds to
incoming MIDI messages.
The MIDI Channel Setup section contains seven controls. Each control is used to set the
MIDI input channel for one section of the RMV. All forty-eight of the RMV's Pads receive
incoming MIDI messages on the same MIDI channel (however each Pad is usually
triggered by a different MIDI note). Each Loop module can receive MIDI messages on its
own MIDI channel. This is necessary so that Pads and Loop Slices are not triggered by the
same incoming MIDI message. To change the setting of a MIDI Channel control, click and
drag on the control.
MIDI Ch Pads:
Sets the MIDI channel for the RMV's forty-eight Pads. Available
settings are 01 to 16 and “All”. In the case of “All”, the section
responds to MIDI Note-On messages regardless of their channel.
MIDI Ch Loop 1:
Sets the MIDI channel for the Loop 1 module. Available settings are
01 to 16 and “All”. In the case of “All”, the section responds to MIDI
Note-On messages regardless of their channel.
MIDI Ch Loop 2 up to MIDI Ch Loop 6 are working in the same way for the Loop Modules
2 to 6
LinPlug
Reference Manual 5.0.1
134