WaveWare CommTech MaxPage User Manual
Page 45
Manual
MAXPage
© Commtech
Wireless
Page
45
4.5.5 Alarm
The MAXPage device has four contact closure alarm inputs on the Rear Panel of the unit.
The pinouts and technical information are described in the Assembly and Installation section
above.
Æ
IMPORTANT: The “Alarm” menu item may not be available on all units as it is a
licensed option. Contact your place of purchase to enable the alarm inputs.
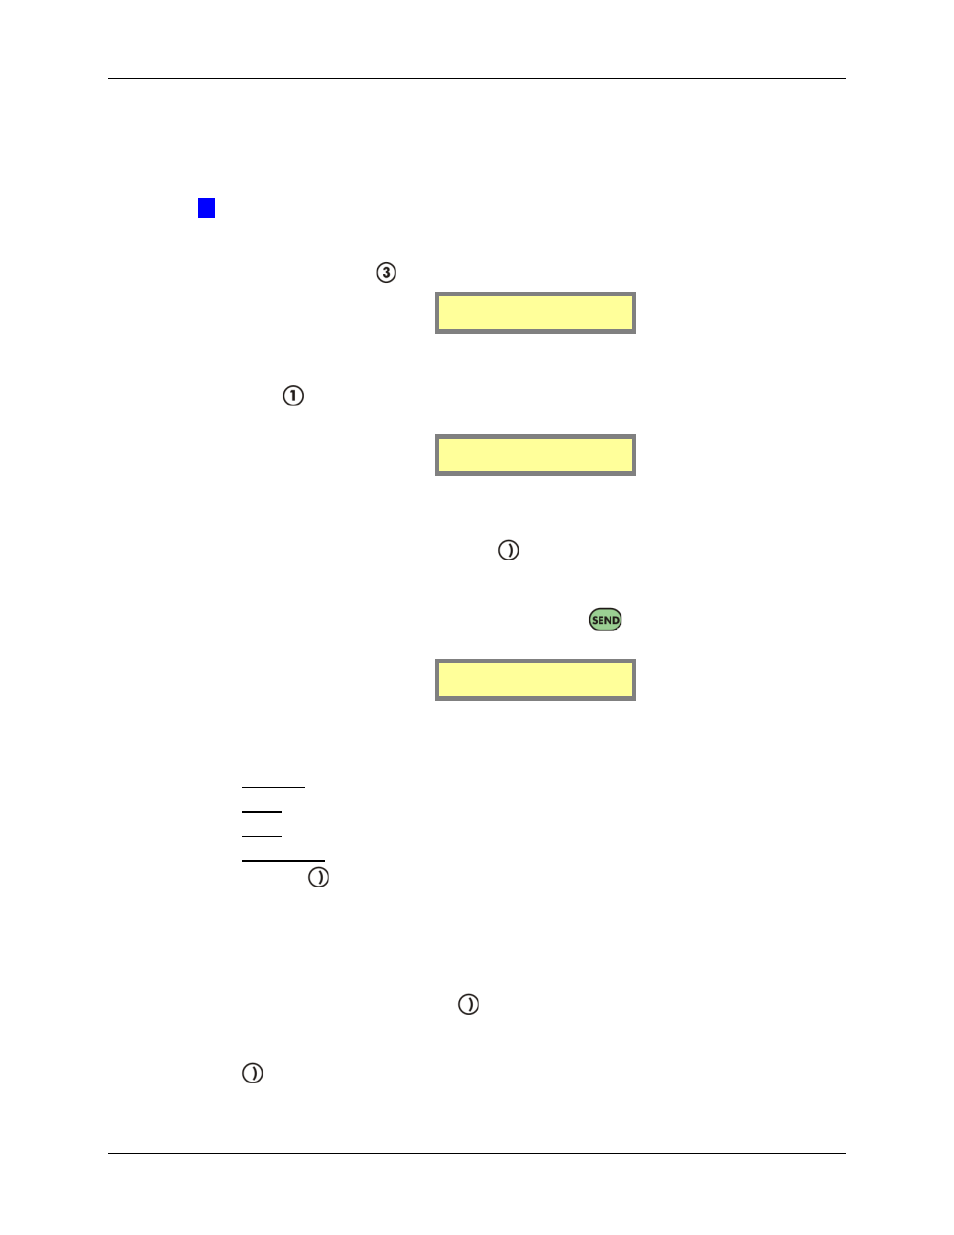
The Alarms Menu screen is used to configure the contact closure alarm inputs. At the Config
Mode menu screen, press
to select Alarms. The Alarms Menu screen will be shown.
1.Add/Edit Alarm
2.Delete Alarm
Add/Edit Alarm
1.
Press
from the Alarms Menu to select Add/Edit Alarm. The following screen will
be displayed.
ID[ ]
Msg[ ]
2.
There are four alarm inputs built into MAXPage. Enter an Alarm ID between 1 and 4
using the keypad. If the Alarm ID already exists in the database, the details for that ID
will be displayed in the fields. If the Alarm ID is not in the database, all fields will be
empty ready for data entry. Press the
key to move along to the next field.
3.
The next field along is the Msg field. Enter the message that should be sent when an
alarm state change occurs, in this field. It can be a maximum of 21 characters. When
you have finished typing the message, press the
key to move along to the next
screen shown below.
Type [Open ]
Delay [ ] sec
4.
The first field on the next screen is the Type field. Press any key on the keypad to
choose between Disabled, Open, Closed or On change. These are described in detail
below:
Disabled: the alarm input is not activated - any state change is ignored.
Open: the alarm input is normally open - message is sent when input closes.
Close: the alarm input is normally closed - message is sent when input opens.
On Change: a message will be sent when the alarm changes to or from any state.
Press the
key to move along to the next field.
The next field along is Delay. This specifies the delay in seconds (between 0-999)
before a message is sent. If the alarm state returns to the previous state before the delay
period, no message will be sent. E.g.: You could wire an alarm input to a freezer door
so people don’t forget to close it. Give it a delay of 60 seconds. If the freezer door is
open more than 60 seconds a message will be sent. If it is closed within 60 seconds no
message will be sent. Press the
key to move along to the next screen.
5.
The first field on the next screen is 1st Pager. This field refers to the Pager ID of the
first recipient that will receive the message. Enter a valid Pager ID here and press the
key to move along to the next field.