Using the compressor when recording, Mp3/wav files only), 5 – recording – Teac SS-CDR200 User Manual
Page 47
TASCAM SS-CDR200/SS-R200/SS-R100
47
7 Turn the MULTI JOG dial (or push remote control
5
and b buttons) to select one of the following
pause modes.
SAME TRK (default value)
No new track created when switching from recording
to recording standby
NEW TRAK
New track created when switching from recording to
recording standby.
8 When you have finished making the setting, press
the HOME/DISPLAY button (or remote control
HOME/DISP button) to return to the Home Screen.
NOTE
• This setting cannot be changed when recording or in
recording standby.
• The pause mode setting is retained even after the
power is turned OFF.
Using the compressor when recording
You can apply the built-in compressor to the recording
source while you record.
A compressor is an effect that lowers the level of loud
peaks and raises the level of quiet parts in the audio,
making the overall level more consistent and quieter
recorded sounds easier to hear.
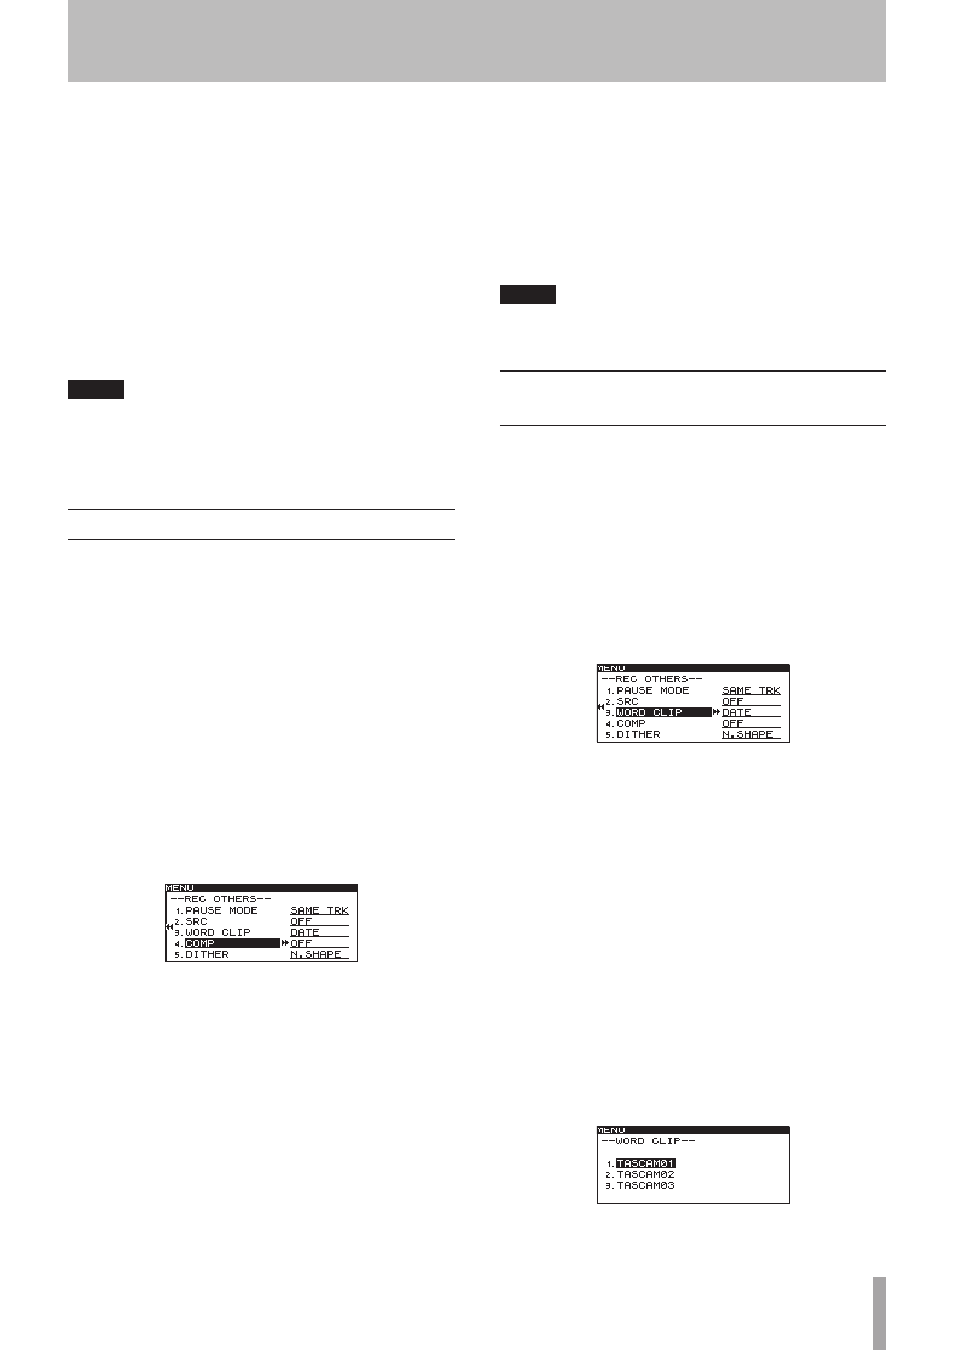
Use the menu to turn the compressor ON/OFF.
1 Press the MENU [JOG] button (or remote control
MENU button) to open the
MENU
screen.
2 Open the
REC
menu.
3 Select
OTHERS
.
4 Press the MULTI JOG dial or , [LOCK] button (or
remote control ENTER or t button) to open the
REC OTHERS
screen.
5 Select
COMP
.
6 Press the MULTI JOG dial or , [LOCK] button (or
remote control ENTER or t button) to move the
cursor right to select the value.
7 Turn the MULTI JOG dial (or push remote control
5
and b buttons) to select one of the following
compressor modes.
OFF (default value)
The compressor is not used when recording.
SOFT
Light compression is applied when recording. This
setting is suitable when recording music.
HARD
Strong compression is applied. When the audio source
being recorded has a low volume, the recording
volume will be boosted significantly, making it suitable
when recording a meeting or conference.
8 When you have finished making the setting, press
the HOME/DISPLAY button (or remote control
HOME/DISP button) to return to the Home Screen.
NOTE
The compressor setting is retained even after the power is
turned OFF.
Setting the format for naming
recorded files (MP3/WAV files only)
You can specify the file name that is automatically given
to files when recorded. Use the menu to make this setting.
1 Press the MENU [JOG] button (or remote control
MENU button) to open the
MENU
screen.
2 Open the
REC
menu.
3 Select
OTHERS
.
4 Press the MULTI JOG dial or , [LOCK] button (or
remote control ENTER or t button) to open the
REC OTHERS
screen.
5 Select
WORD CLIP
.
6 Press the MULTI JOG dial or , [LOCK] button (or
remote control ENTER or t button) to move the
cursor right to select the value.
7 Turn the MULTI JOG dial (or push remote control 5
and b buttons) to select one of the following file
name formats.
DATE (default value)
The date of the built-in clock will become the file
name.
USER 01 – USER 03
A user-set text string (eight characters) will be used as
the file name.
8 If you selected one of the user options (
USER 01
–
USER 03
), press the MULTI JOG dial or , [LOCK]
button (or remote control ENTER or t button) to
open the
WORD CLIP
screen where you can edit the
name.
9 To edit the file name, follow the instructions in
“Inputting and editing characters” below.
5 – Recording