Figure 4-3. local trim print screen, Trim screen printing, Local trim print screen – Visara 1486 User Manual
Page 71: Local trim print, Trim border marker, Figure 4-3, Local trim print screen -10, Operating procedures
4-10
701334-002
Operating Procedures
Press the Enter key. The contents of the screen are sent to the attached printer and printing
starts. While the data is printing, the on the operator status row is replaced with .
When the data has completed printing, is replaced with .
See “Local Screen Print Symbols” on Page 3-39 for an explanation of the local screen
print operator status row symbols.
Trim Screen Printing
Note:
If you configure the display as Two-Displays and use a split screen, you cannot
perform a partial screen print. If you attempt a partial screen print, error code
9033 is displayed on the operator status row. See Appendix A, “Four-Digit Error
Codes.”
1) If the display station is configured correctly for a local screen print, press the Print
key to enter Print mode. The Local Print screen (Figure 4-2 on Page 4-9) is displayed.
2) Press the F13 key. The Local Trim Print screen is displayed (Figure 4-3, below).
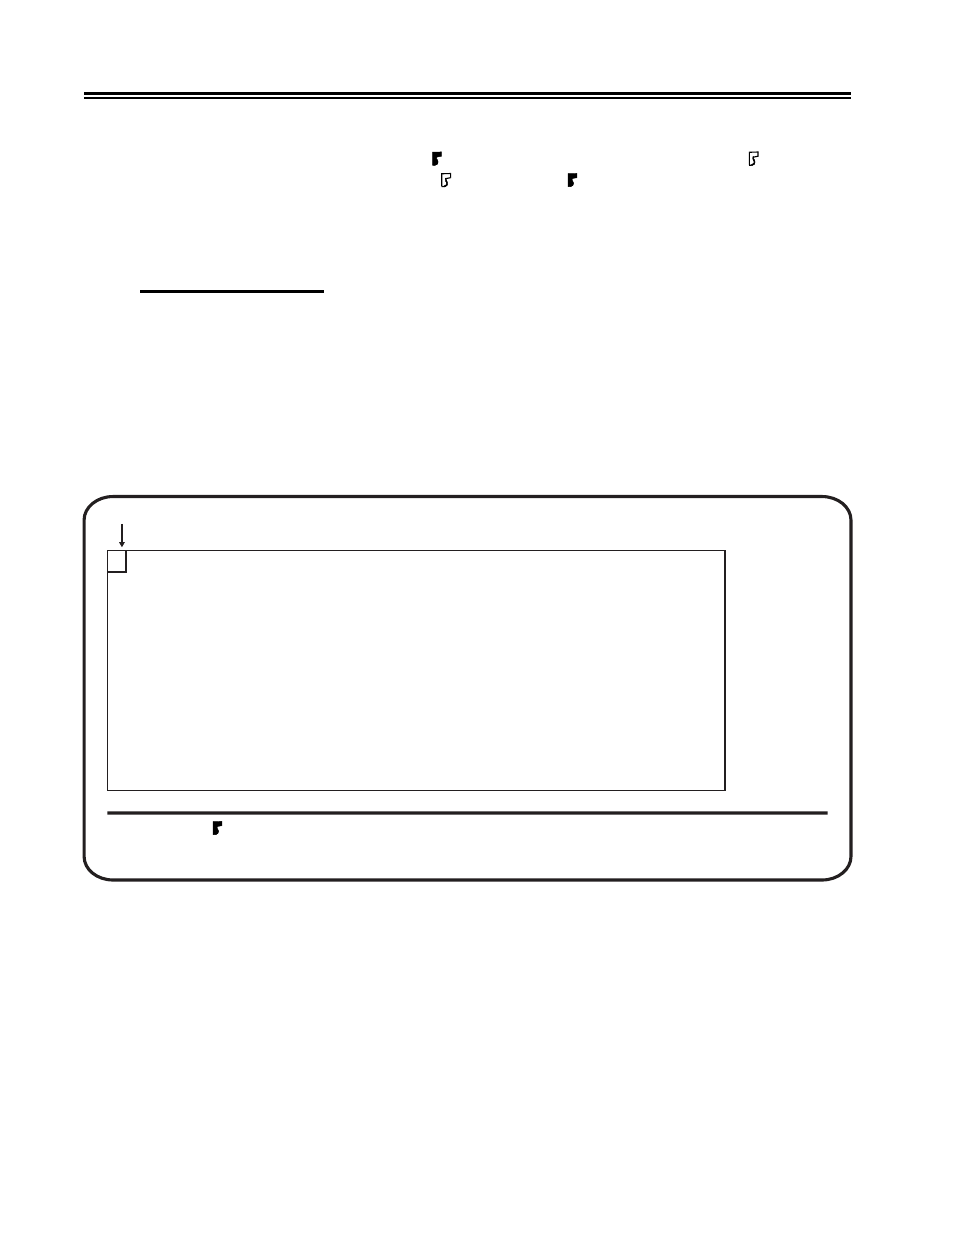
Figure 4-3. Local Trim Print Screen
3) The data within the trimming area is the data to be printed. To change the trimming
area, move the Trim Marker (box cursor at upper left corner) using the cursor arrow
keys. Move the cursor to the right to make the width smaller or to the left to make
the width larger. Move the cursor down to make the height lower or up to make the
height higher.
Press the F14 key to move the Trim Marker from the upper left corner to the lower
right corner of the trimming area.
Trimming Area
PRINT(TRIM)
Enter = Print
Print = Exit
F13 = Trim
F14 = Jump marker
Trim Marker