Applying effects to output audio, Adding an object for audio follow, Audio operations – Roland VR-6HD Direct Streaming AV Mixer User Manual
Page 48
48
Audio Operations
Applying Effects to Output Audio
Here’s how to modify the tonal character by applying effects.
The following table shows the effects that are available.
Audio bus
Reverb Equalizer Delay
Compressor/
Limiter
Graphic
Equalizer
Adaptive
NR
Loudness
AGC
MAIN BUS
µ
µ
µ
µ
µ
µ
µ
AUX BUS 1
AUX BUS 2
µ
µ
µ
µ
µ
—
—
USB OUT
—
µ
µ
—
—
—
—
STREAM/
RECORD
—
µ
µ
—
—
—
—
1 .
Press the MAIN [SETUP] button.
The AUDIO OUTPUT screen appears.
2 .
Touch the <SETUP> icon of the bus you want to adjust.
The setup screen appears for the bus you selected.
3 .
Touch the screen to access the settings.
* For details on the parameter, refer to “2: AUDIO” (p. 99).
4 .
Press the lit [SETUP] button to close the setup screen.
Á
Equalizer
This is a four-band equalizer. It lets you shape the character of
the sound by boosting or cutting four frequency regions.
Á
Delay
Outputs audio with a delay. Delaying the output lets you
correct timing problems in the audio signal that is input to the
output destination device.
Á
Compressor/Limiter
Compresses audio levels that exceed the threshold you set, or
limits the output level so that it does not exceed the threshold.
Á
Graphic Equalizer
It lets you shape the character of the sound by boosting or
cutting each of the 15 frequency regions into which the sound
is divided.
Á
Adaptive Noise Reduction (p. 49)
By continuously monitoring the input audio to detect
noise during periods of silence, this removes only the noise
component.
Á
Loudness Auto Gain Control (p. 50)
The long-term average loudness is measured, and the volume is
adjusted so that it is appropriate overall.
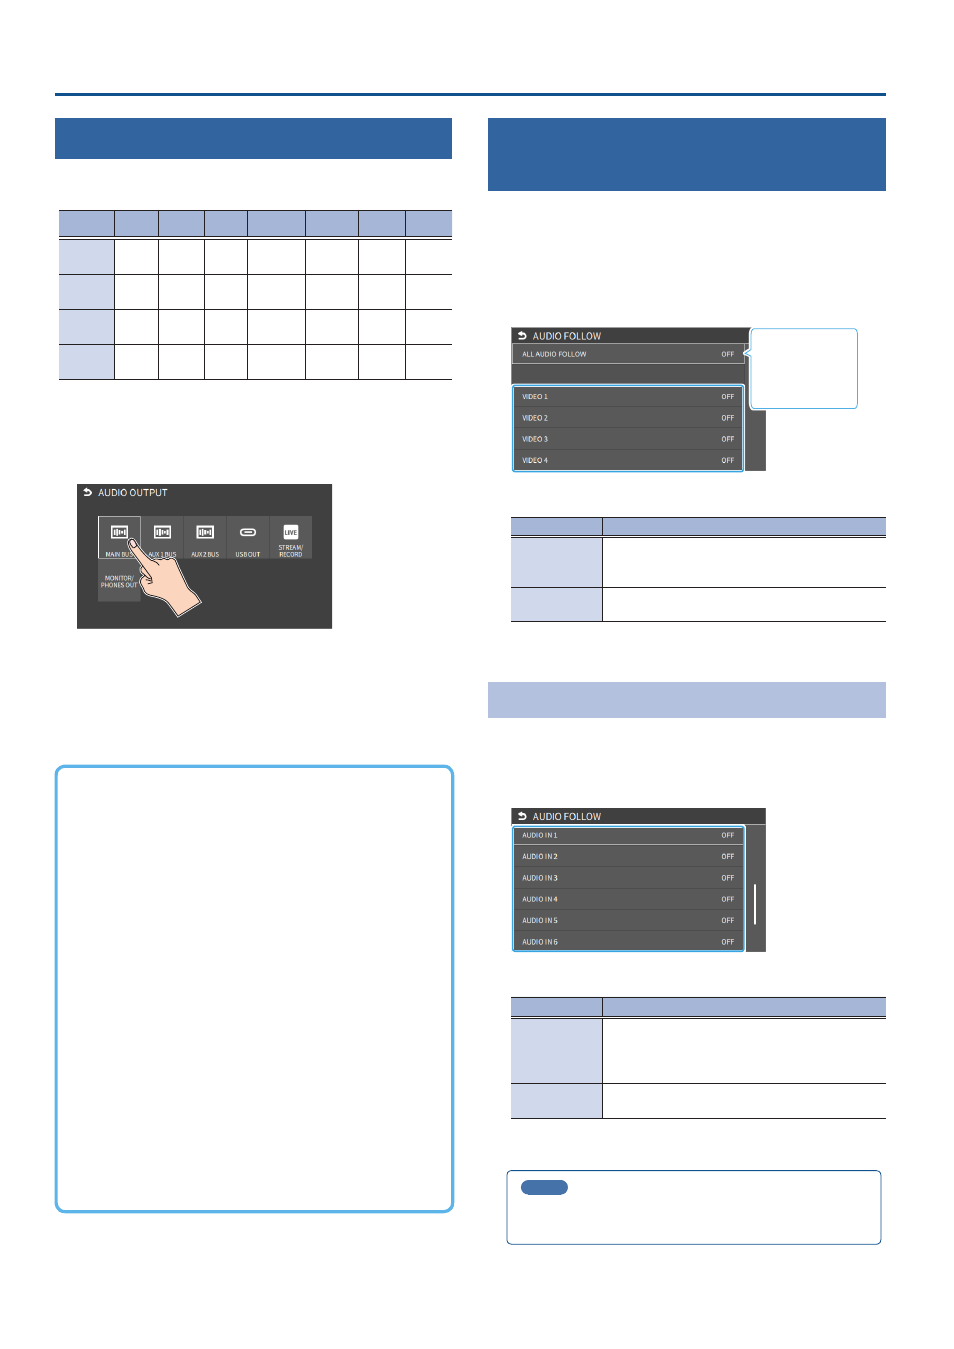
Interlinking Audio Output to Video
Switching (Audio Follow)
Here’s how the audio output can be automatically switched in tandem
with video switching (the audio follow function).
1 .
[MENU] button
Ó
“AUDIO”
Ó
select “AUDIO FOLLOW”, and
press the [VALUE] knob.
2 .
Use the [VALUE] knob to select the input video that uses
audio follow.
Use “ALL AUDIO
FOLLOW” to edit
the settings all at
once.
3 .
Press the [VALUE] knob to turn it “ON”.
Value
Explanation
ON
The audio is output only when the video is selected.
The audio is automatically muted if another video
is selected.
OFF
The audio is always output regardless of the video
selection.
4 .
Press the [MENU] button to close the menu.
Adding an Object for Audio Follow
You can set the audio from the AUDIO IN, USB IN or Bluetooth IN as the
object for Audio Follow.
1 .
From [MENU] button
Ó
“AUDIO”
Ó
select “AUDIO FOLLOW”
to choose the input audio to be the object of Audio Follow.
2 .
Use the [VALUE] knob to select one of “INPUT 1”–“INPUT 6”.
Value
Explanation
VIDEO 1–6
STILL 1–16
V.PLAYER
INPUT 1–6
For each audio source, these settings specify the
input video that will use the audio follow function.
Audio is output only when the specified input video
is selected.
OFF
The audio is always output regardless of the video
selection.
3 .
Press the [MENU] button to close the menu.
MEMO
You can synchronize the audio with the on/off state of the PinP &
KEY or DSK. (p. 138)