Live streaming, Outputting video/audio to a computer for streaming, Outputting video and audio to the computer – Roland VR-6HD Direct Streaming AV Mixer User Manual
Page 57: Using the loopback function, Streaming video from a computer, Capturing video on the computer
57
Outputting Video/Audio to a Computer for Streaming
Here’s how the video and audio mixed by the VR-6HD can be output to a connected computer. You can also input audio that’s played back by the computer.
By using an internet-connected computer with streaming app, you can distribute content as a live internet stream.
In order for the audio and video from the VR-6HD to be correctly viewed on the computer, app that supports the USB video class and USB audio class must
be installed on the computer.
* For the latest operating requirements, refer to the Roland website (
https://proav .roland .com/
).
Outputting Video and Audio to the Computer
1 .
Using a USB 3.0 cable, connect a USB 3.0 port on the
computer to the USB STREAM connector on the VR-6HD.
2 .
Power-on the VR-6HD.
3 .
Start the computer.
When communication with the computer has been established, the
computer recognizes the VR-6HD as a USB video device and USB
audio device. The first time that the VR-6HD is connected to the
computer, the standard drivers of the operating system are installed
automatically.
4 .
Operate the VR-6HD to prepare the video and audio that
you want to output to the computer.
5 .
On your computer, verify the input from the VR-6HD.
Start app that supports the USB video class and audio class, and verify
the video and audio that are being input from the VR-6HD.
MEMO
If the video is garbled or operation is otherwise unstable
Press the [MENU] button
Ó
“VIDEO”
Ó
“OUTPUT”
Ó
“USB OUT”
Ó
execute “CONNECTION RESET” to try reconnecting the computer with
the VR-6HD.
Video formats
You can edit the USB output video format and compression method
from the livestreaming app or other app used at the output
destination.
The following video formats are supported.
USB OUT frame
rate
Video formats
59.94 Hz
1080/59.94p
720/59.94p
640×480/59.94p
60 Hz
1080/60p
720/60p
640x480/60p
29.97 Hz
1080/29.97p
720/29.97p
640×480/29.97p
30 Hz
1080/30p
720/30p
640×480/30p
50 Hz
1080/50p
720/50p
640×480/50p
25 Hz
1080/25p
720/25p
640×480/25p
* Uncompressed (YUY2) and compressed (Motion JPEG) video are
supported.
Using the Loopback Function
Audio from the computer can be input to the VR-6HD via USB, mixed with
other audio, and returned to the computer (the loopback function).
You can add a narration to music that’s played back from your computer
and live-stream it, or record it using app on your computer.
Streaming Video from a Computer
Use the dedicated “Roland Live Streamer” app to stream the video and
audio from the USB output of the VR-6HD with your computer.
For details on operation, refer to the Owner’s Manual of “Roland Live
Streamer”.
You can download “Roland Live Streamer” from the Roland website.
https://proav .roland .com/
* Compressed (Motion JPEG) video is not supported.
Capturing Video on the Computer
Using dedicated “Roland Live Recorder” app, the video and audio that are
output from the VR-6HD via USB can be recorded on your computer.
For details on operation, refer to the Owner’s Manual of “Roland Live
Recorder”.
You can download “Roland Live Recorder” from the Roland website.
https://proav .roland .com/
* Compressed (Motion JPEG) video is not supported.
Live Streaming
What to do when an HD video (1920 x 1080) output via USB changes to SD video (640 x 480)
If you are using a USB cable that doesn’t conform to USB 3.0 specs or
later, the video output resolution is changed to SD (640 x 480). To output
video for streaming to your computer in HD (1920 x 1080), be sure to
use a cable that meets the USB 3.0 specs (or later).
* If you connect via an extension cable or a USB hub, the computer
might not recognize the unit.
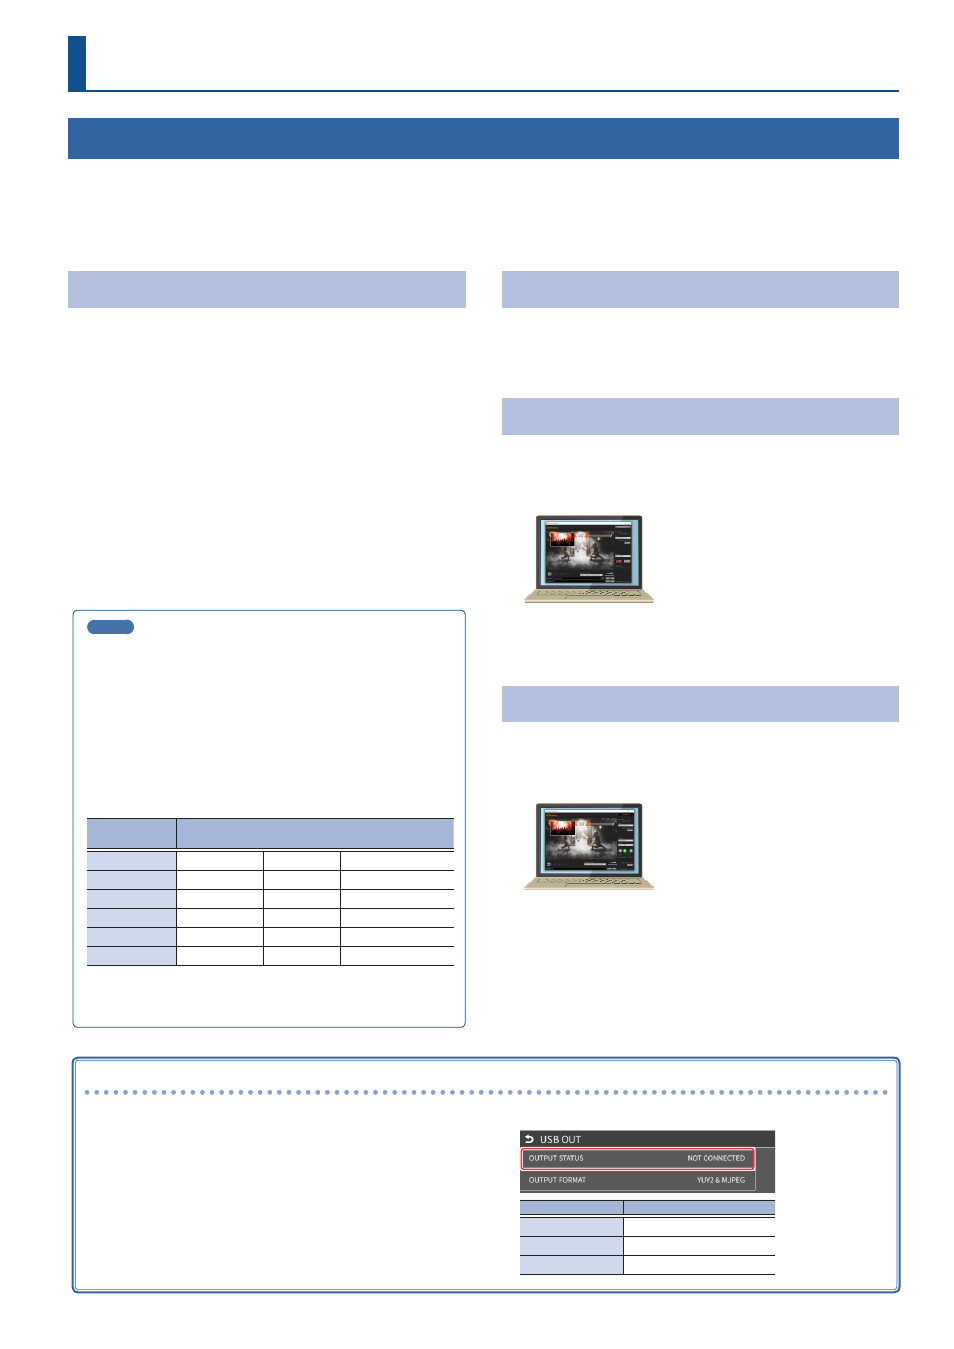
You can check the status of the connected USB cable by following these
steps.
1 .
[MENU] button
Ó
“VIDEO”
Ó
“OUTPUT”
Ó
select “USB
OUT”, and press the [VALUE] knob.
The USB connection status is shown.
OUTPUT STATUS
Status
CONNECTED (3.0)
Connected using USB 3.0.
CONNECTED (2.0)
Connected using USB 2.0.
NOT CONNECTED
No connection.