Sony MAS-A100 IP-Based Ceiling Beamforming Microphone User Manual
Page 32
32
Recording (continued)
5
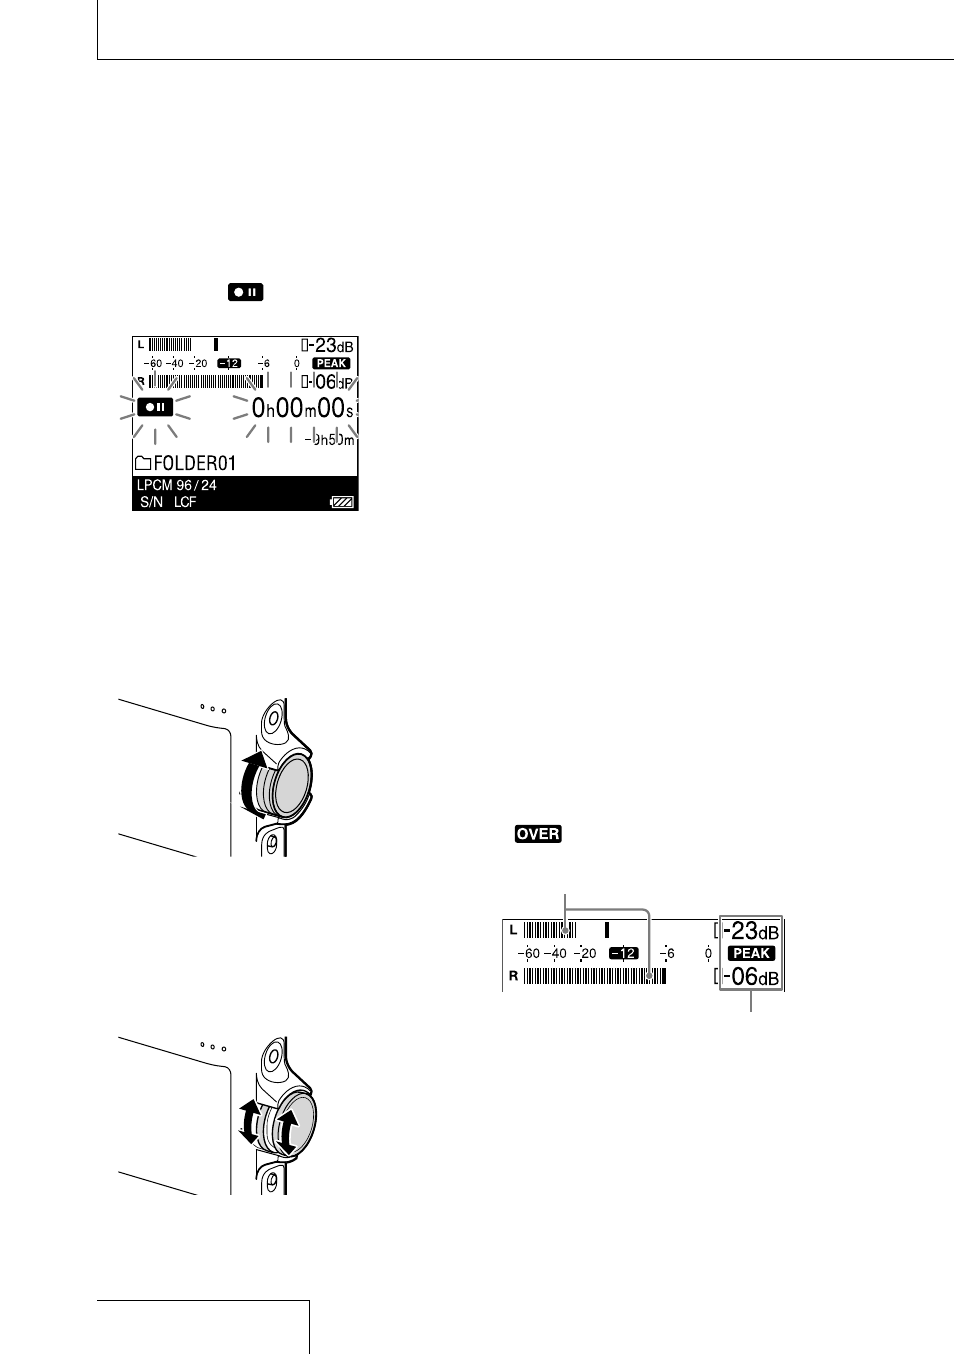
Press the
REC button.
The linear PCM recorder pauses for
recording, and
and the elapsed time
appear on the display window.
6
Turn the REC LEVEL dial to adjust the
recording volume while monitoring
the peak level meters on the display
window.
When you turn the REC LEVEL dial, the
volume for both of the right and left
channels is adjusted in synchronization.
To change the recording volume balance
between the right and left channels, pull
out the outer dial to separate it from the
inner dial. Then, turn the outer dial to adjust
the volume level of the right channel. To
adjust the level of the left channel, turn the
inner dial.
While recording is in progress, the peak
level meters indicating the recording
volume levels appear on the display
window.
You can check either the peak level meters
on the display window or the peak level
indicators for the recording volume level.
Adjust the volume to a level in the range
around –12 dB that is suitable for your
sound source.
Note
When the built-in microphones are placed in the
X-Y position, you can adjust the recording volume
level of the left channel by turning the outer REC
LEVEL dial; and the level of the right channel by
turning the inner dial.
Hint
You can also use the OPTION menu to change the
recording mode. While recording is on standby,
select “REC Mode” on the OPTION menu and then
select your desired recording mode (page 65).
By default, LPCM 44.1 kHz/16 bit is selected.
When checking the level on the peak
level meter on the display window
When recording “sharp attack” sounds such
as percussion sounds, check the peak level
meters for the recording volume level.
The peak values appear.
If
appears along with the peak
values, distortion may occur.
Peak level meters (crest values of input signals)
Peak values