Setting the playback sound quality, Selecting a sound quality setting (equalizer), Adjusting the playback tone (key change) – Sony MAS-A100 IP-Based Ceiling Beamforming Microphone User Manual
Page 49: Playback
49
Playback
Selecting a sound quality setting
(Equalizer)
1
Select a file you want to play using
the HOME menu (page 25).
2
While playback is in progress or on
standby, press the OPTION button
to display the OPTION menu, select
“Equalizer,” and then press the
button.
3
Press the
or
button to select the
desired sound quality setting, and
then press the
button.
OFF*
Disables the Equalizer function.
ON
Enables the Equalizer function.
Custom
You can define sound levels in
5 frequency bands.
* By default, “OFF” is selected.
Note
During playback with the built-in speaker, a Bluetooth
audio device, or the external device connected to LINE
OUT jack on the linear PCM recorder, the Equalizer
function does not work.
Customizing the sound quality
Select “Custom” in step 3 to display the
custom setting screen.
Press the
or
button to select a
frequency band from 100 Hz, 300 Hz, 1 kHz,
3 kHz, or 10 kHz, and then press the
or
button to adjust the level. You can adjust in 7
steps from –3 to +3.
When you have finished configuring this
setting, press the
button.
Setting the playback sound quality
Adjusting the playback tone
(Key Change)
You can adjust the playback sound to
higher or lower semitones in 13 steps. This is
useful for practicing songs to be recorded in
accompaniment.
1
Select a file you want to play using
the HOME menu (page 25).
2
While playback is in progress or on
standby, press the OPTION button
to display the OPTION menu, select
“Key Change,” and then press the
button.
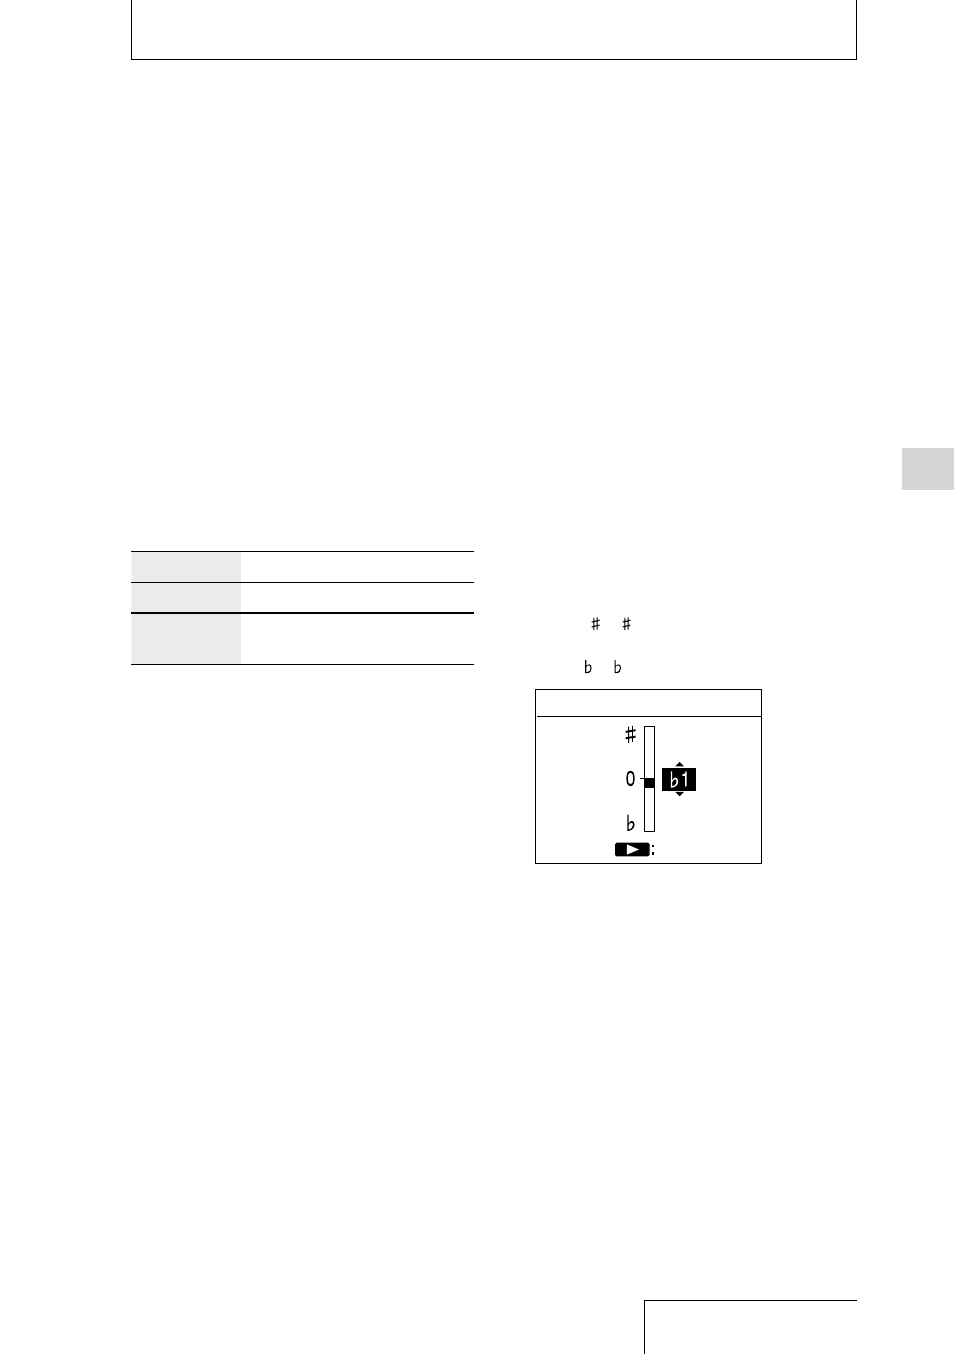
3
Press the
or
button to adjust the
playback tone (Key Change).
The playback tone is adjusted a halftone
higher ( 1 - 6).
The playback tone is adjusted a halftone
lower ( 1 - 6).
Enter
Key Change
* By default, “0” is selected.