Channel plan adviser] window – Sony Underwater Housing for Select RX100-Series Cameras User Manual
Page 49
49
value higher than 10 mW when [Band] is set to TV38
(North American models only).
Input Level
: Displays the transmitter’s audio input level.
ATT
: Sets the attenuator for the transmitter. You can only
change this setting when [Input Level] is set to [MIC].
LCF
: Configure settings for the transmitter’s low-cut
filter.
+48V
: Configure settings for the transmitter’s +48 V
power supply.
Battery Remain:
Switches the transmitter’s battery
display.
• This function is not supported on the DWR-R01D,
DWR-R02D, and DWR-R02DN.
• This function is only available on combinations of 3rd
generation or later digital wireless receivers (such as the
DWR-R03D) and the DWT-B03R. In addition, when
using an RMU-01 for Cross Remote connection, the
RMU-01 must be version 1.27 or later.
Time
: Displays the total usage time for the transmitter.
Clicking the [Reset] button clears the total usage time.
Internal SG
: Specifies whether to generate internal
signals on the transmitter.
Lock:
Sets the transmitter’s POWER switch lock and
setting lock functions.
• The setting lock function is not supported on the
DWR-R01D, DWR-R02D, and DWR-R02DN.
• The setting lock function is only available on
combinations of 3rd generation or later digital wireless
receivers (such as the DWR-R03D) and digital wireless
transmitters (such as the DWT-B03R). In addition, when
using an RMU-01 for Cross Remote connection, the
RMU-01 must be version 1.27 or later.
Power SW State
: Displays the status of the POWER
switch on the transmitter. This setting cannot be changed.
3
[RF Remote] menu
RF Remote
: Configure settings for the wireless remote
control function.
Pairing
: Press this button to start pairing receiver channels
to transmitters.
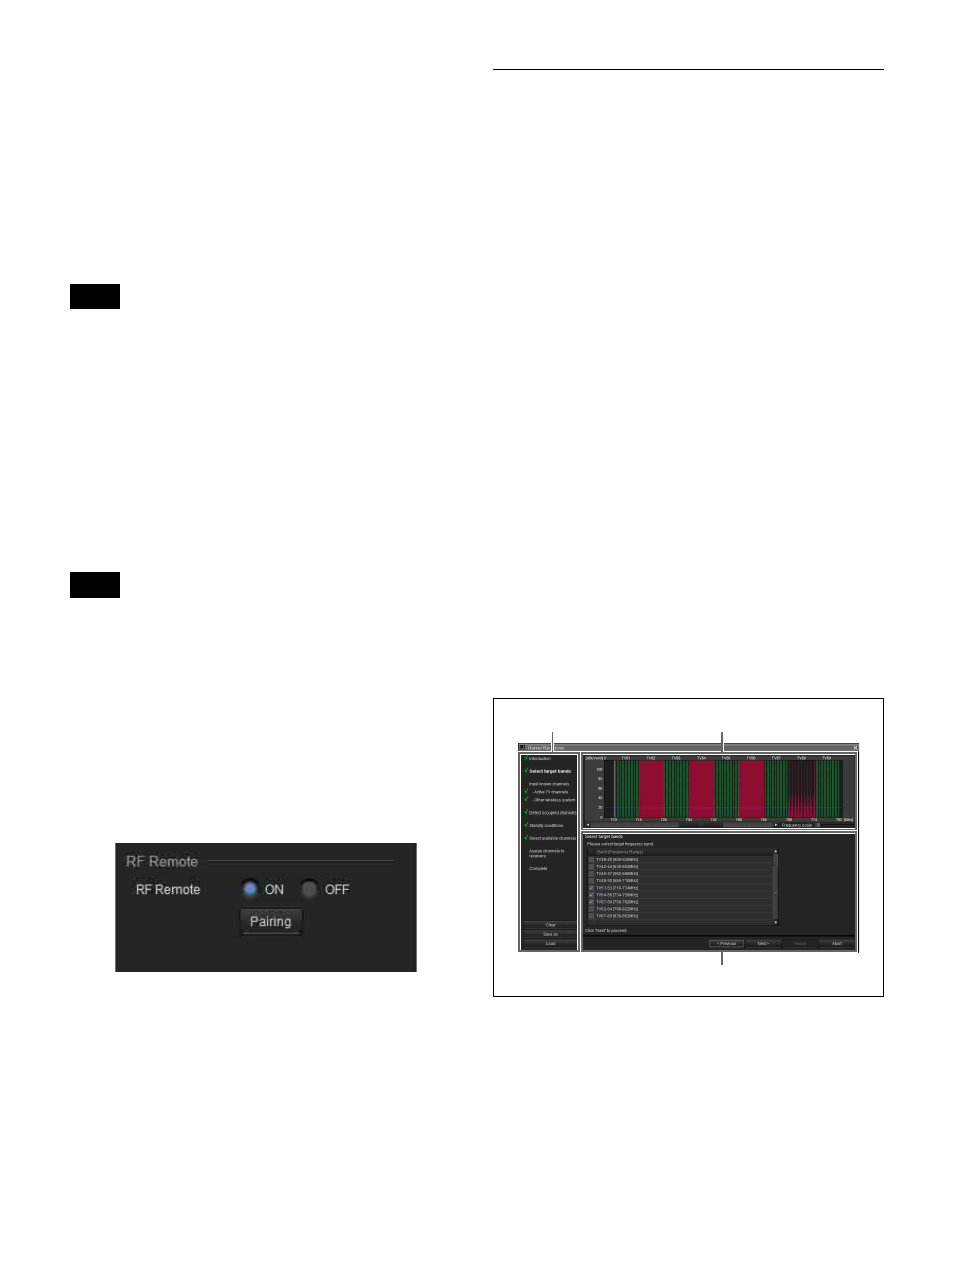
[Channel Plan Adviser] Window
This window allows you to enter signal environment
information and use the receiver’s channel scan function to
select a channel plan that is suitable for the signal
environment.
The signal environment information entered and the
signals detected with the channel scan are displayed in the
spectrum graph in the upper part of the screen. This allows
you to select the channel plan while viewing signal usage
in the spectrum graph.
The following modes are available in [Channel Plan
Adviser].
Basic mode
: This mode allows you to select a channel plan
that avoids signal interferences detected by the receiver’s
channel scan function. This is a simplified method that
omits information entry other than the channel scan.
Advanced mode
: In addition to performing channel scan
as in basic mode, this mode allows you to enter various
information you obtained beforehand to select an
appropriate channel plan. You can enter the following
information.
• Interference resulting from TV broadcasts
• Interference resulting from other wireless devices
• Interference detected by the channel scan
• The amount of frequency clearance to leave between
interference when selecting the channel plan
For details on selecting channel plans using basic mode,
see “Selecting Channel Plans” on page 15.
a
Contents area
Displays the steps to perform when using [Channel Plan
Adviser] and allows you to save or load a work file.
Notes
Notes
1
2
3