Images and video, Import video – Daktronics Venus 1500 Version 4 User Manual
Page 215
205
Images and Video
Import Video
Select Media Item, from the Quick Insert group and select Video from the drop-down menu, on the
Home tab or go to the Insert tab, in the Media group, and select Video.
You can also use the Media Library plug-in on the left side of the Content Studio window. This allows
you to quickly pick the file you want insert.
Choose the location you want to look for the video from the Look in drop-down menu in the Open
dialog window. Click the location where the video you want to import is stored. Content Studio supports
Uncompressed AVI, MPG, MPEG, MP4, WMV, and MOV video files.
Note: Because of additional codec requirements and implementation variations in format, Daktronics
cannot guarantee full compatibility of all video files.
Note: 8- and 32-bit videos are not supported.
Use the resizing handles around the edge of the video to select the area you wish to import.
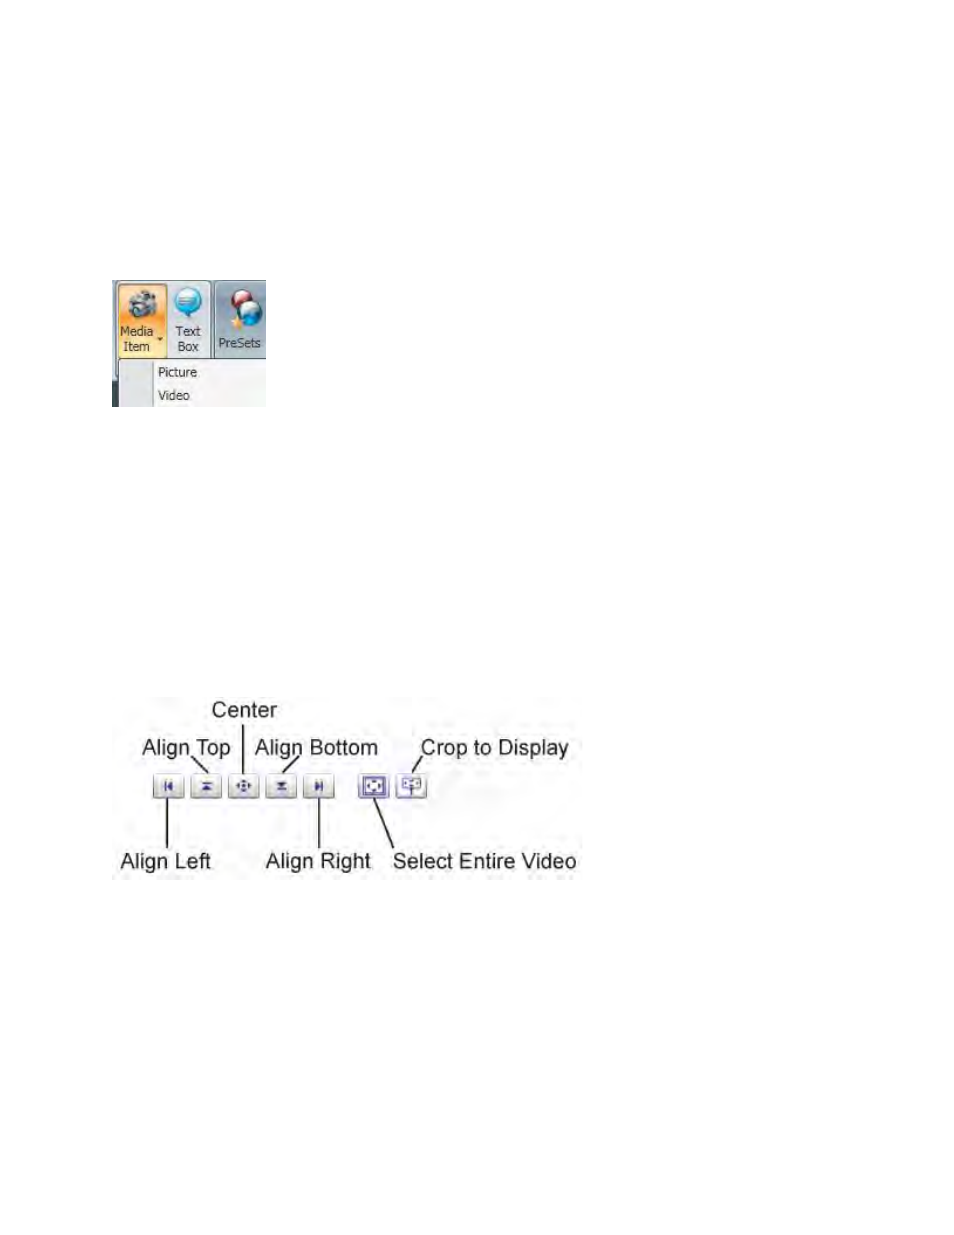
Arrange the video within the resizing square by clicking the buttons on the bottom of the Crop Tools tab.
Click the Center button to move the image back to the center of the resizing square.
Align Left moves the selection area to the left side of the imported image.
Align Top moves the selection area to the top side of the imported image.
Center moves the selection area to the center of the imported image.
Align Bottom moves the selection area to the bottom of the imported image.
Align Right moves the selection area to the right of the imported image.
Select Entire Video resizes the selection area to fit the entire video.
Crop to Display selects a portion of a video that is the same size of the display.