Switching the recording time display mode, Sync recording, Making settings – Teac SS-CDR1 User Manual
Page 44: Sync recording making settings, 6 − recording
6 − Recording
44
TASCAM SS-CDR1
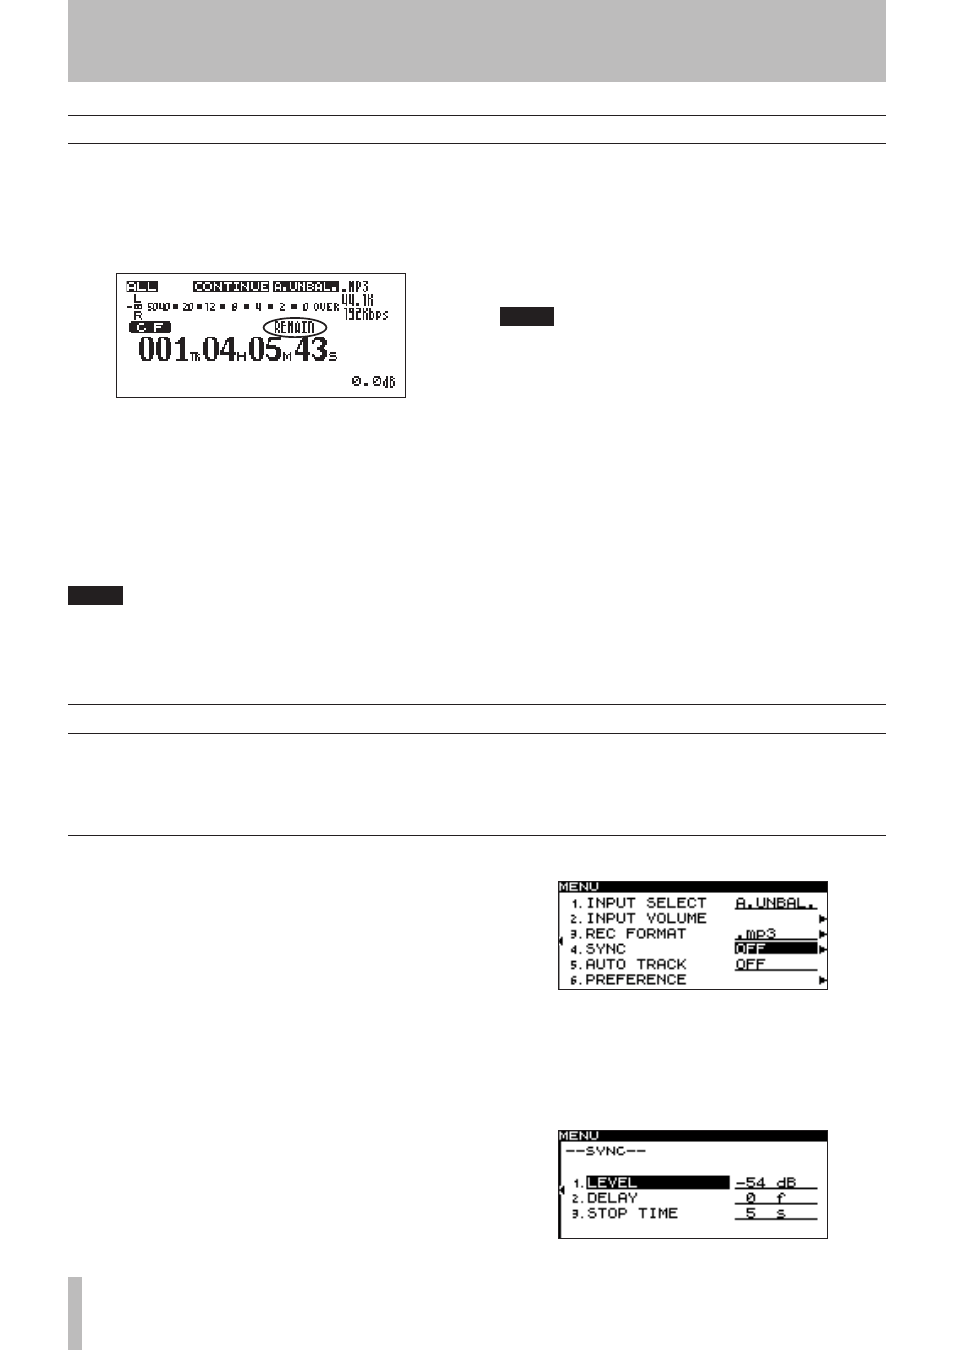
Switching the recording time display mode
During recording (or in the record-ready condition), you
can use the front panel or remote’s
TIME
key to switch the
time display mode between the following four types. The
selected time display mode will be lit above the time
display in the home screen.
Nothing lit
The recorded time of the current track is shown.
REMAIN
is lit
The remaining recordable time of the current track at
the current recording format is shown. The remaining
time is limited by the free space on the recording media
or by the maximum track size (2 GB).
NOTE
In the case of a CD, the media capacity is a maximum
of 700 MB, so this will always show the free space on
the media.
TOTAL
is lit
The total recorded time of the entire recording media is
shown.
TOTAL
and
REMAIN
are lit
The remaining recordable time of the entire recording
media at the current recording format is shown.
NOTE
The remaining time will depend on the recording
•
format (the REC menu item REC FORMAT
).
During recording, if the recordable time of the card
•
is shorter than the recordable time for a single
track, the time counter shows the same remaining
time when only REMAIN is lit or TOTAL and
REMAIN are lit.
The recording time display mode is remembered
•
even when the power is turned off.
For details on the time display during playback,
•
refer to “Switching the playback time display
mode” on page 28.
The maximum number of recordable tracks is 999
•
tracks for a CF card (total number of WAV tracks
and MP3 tracks). In the case of a CD, a data CD disc
containing MP3 or WAV files can have up to 999
tracks, and an audio CD disc can have up to 99
tracks.
Sync recording
If the Sync Record function is on, recording will begin
automatically when the input signal exceeds the level you
specify (the sync level). After recording has begun, record-
ing will end automatically when the input signal stays
below the sync level for a specified length of time (the stop
time), and will switch to the record-ready state.
Making settings
Use the menu to turn the Sync Recording function on/off
and to make detailed settings. However, you can also use
the remote’s
SYNC
key to turn this function on/off (but not
make settings).
If the Sync Record function is on,
SYNC
will light in the
home screen.
Using the menu
(For details on menu operations, refer to “Operations in the
menu screens” on page 18).
1 Press the
MENU
key to access the main menu list
screen.
2 Select the REC menu.
3 Select the SYNC item.
4 Turn the
MULTI JOG
dial (or use the remote’s
cursor
§
, ¶
keys) to turn the setting on/off.
5 Press the front panel
˚
key (or the remote’s
cursor
¥
key) to proceed to the screen for
detailed settings.