Using the remote’s dedicated key to switch modes, Assigning a new track number manually, Applying the compressor while recording – Teac SS-CDR1 User Manual
Page 48: Using the remote’s dedicated key, To switch modes, 6 − recording
6 − Recording
48
TASCAM SS-CDR1
If
•
DD
is selected
As when
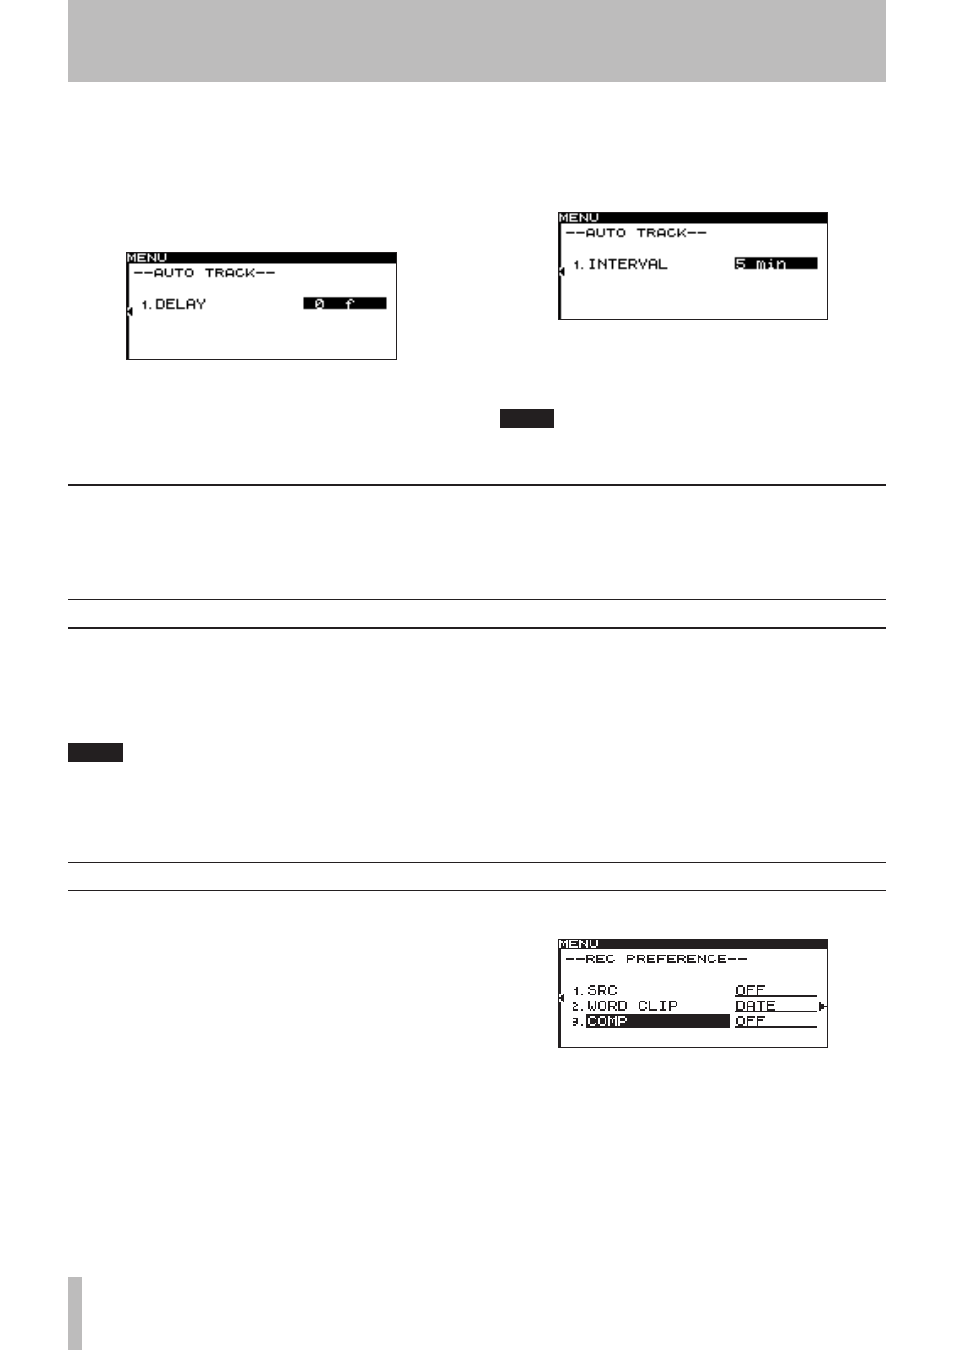
LEVEL
is selected, use the DELAY item to
specify the time from when a signal exceeding the auto
track level is detected until the new track number is
assigned, in steps of one frame (one frame is 1/75 of a
second).
If
•
TIME
is selected
Use the INTERVAL item to specify the time interval at
which the track number is assigned, in a range of 1–10
minutes (one-minute steps).
7 When you have finished making settings, press
the front panel
TIME (ESC)
key (or the remote’s
CLR/ESC
key) to return to the home screen.
NOTE
This setting is remembered even when you turn off
the power.
Using the remote’s dedicated key to switch modes
Each time you press the remote’s
A.TRACK
key, the
Auto Track function mode will cycle in the order of
OFF
∑
LEVEL
∑
DD
∑
TIME
.
Assigning a new track number manually
You can assign a new track number manually by pressing
the
RECORD
key during recording.
However, you cannot create a track that is shorter than four
seconds.
NOTE
If you have recorded in WAV format on a CF card,
•
you can use editing functions to divide or join tracks
after recording (see “Dividing a file (DIVIDE)” on
page 56, “Combining files (COMBINE)“ on page 57).
Depending on the CompactFlash (CF) card used on
•
the unit, when recording MP3 files, incrementing
and creating many tracks in a short time period can
cause over flow (the unit shows the message OVER
FLOW on the screen), and the unit will stop operat-
ing.
To avoid such unexpected results, leave a
sufficient time gap after the previous track before
increment the track number.
Applying the compressor while recording
You can apply the SS-CDR1’s built-in compressor to the
recording source while you record.
A compressor is an effect that holds down peaks in the
audio, making the overall level more consistent and more
listenable.
You willl use the menu to turn the compressor on/off (for
details on menu operations, refer to “Operations in the
menu screens” on page 18).
1 Press the
MENU
key to access the main menu list
screen.
2 Select the REC menu.
3 Highlight the PREFERENCE item.
4 Press the front panel
˚
key (or the remote’s
cursor
¥
key) to proceed to the REC PREFERENCE
screen.
5 Select COMP.
6 Turn the
MULTI JOG
dial (or use the remote’s
cursor
§
, ¶
keys) to select one of the following
as the compressor mode.
OFF
: The compressor will not be used when recording.
SOFT
: Light compression will be applied. This setting
is suitable when recording music.
HARD
: Strong compression will be applied. This setting
is suitable when the audio source you’re recording has a