Creating a data cd, 10 − copying files between cd and cf card – Teac SS-CDR1 User Manual
Page 67
10 − Copying files between CD and CF card
TASCAM SS-RCD1
67
Creating a data CD
This section explains how files (MP3 or WAV files) from a
CF card can be written in their current format to create a
data CD.
The following procedure assumes that the CD is selected
as the current device and that the CF card which includes
the copy-source files and the CD which is the target of the
copy are inserted in the SS-CDR1.
NOTE
You can copy WAV files on a CF card to a CD but you
cannot record WAV files using a CD.
1. Press the
MENU
key to access the main menu list
screen.
2. Highlight the CD menu, and press the front panel
MULTI JOG
dial (or the remote’s
ENTER
key).
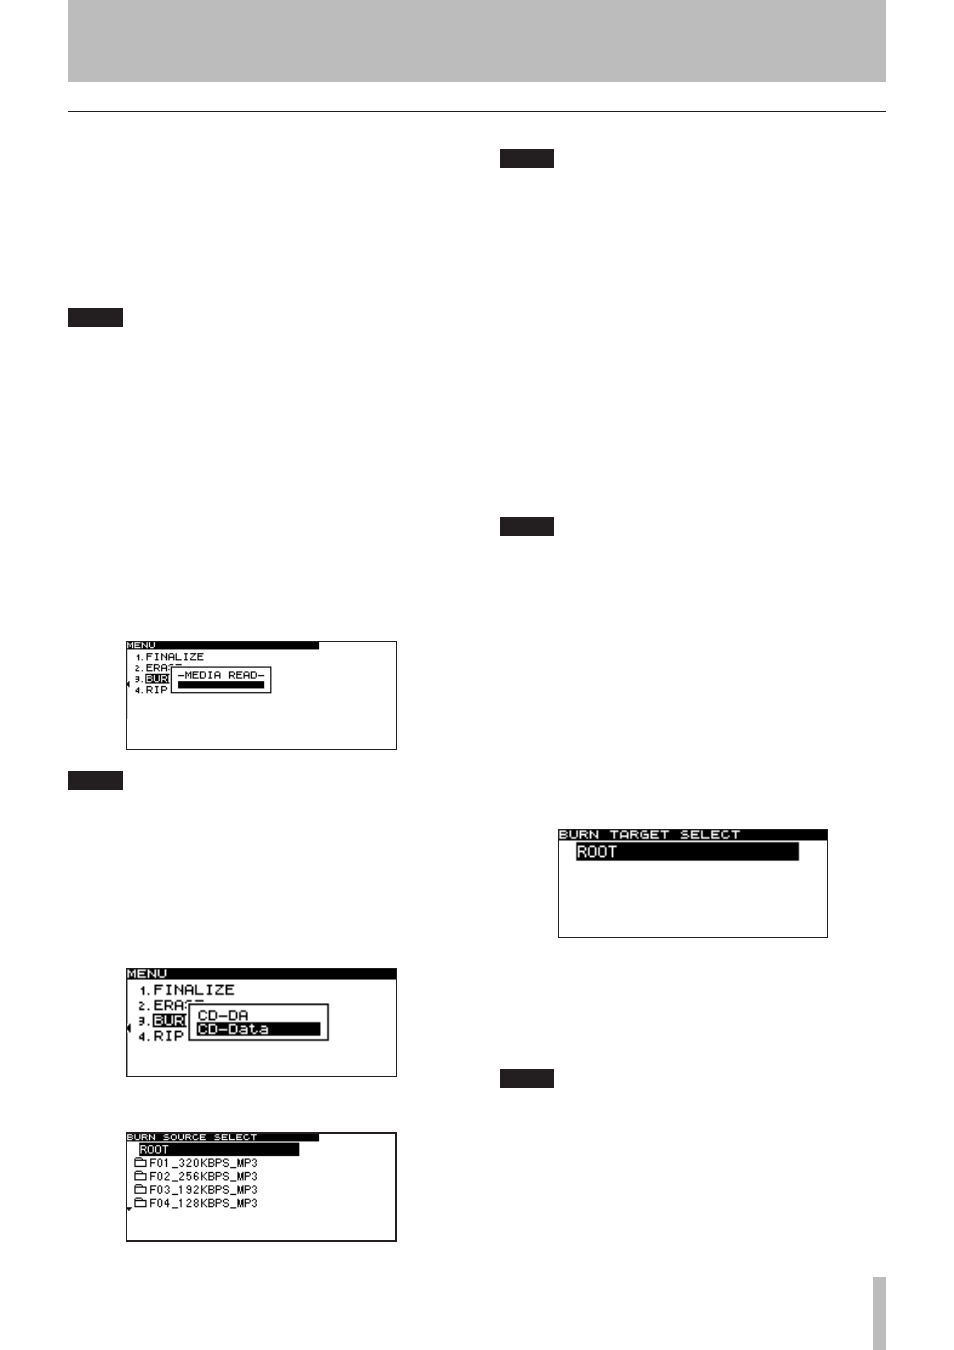
3. Highlight the BURN TO CD item, and press the
front panel
MULTI JOG
dial (or the remote’s
ENTER
key).
The SS-CDR1 will automatically read the CF card.
While the card is being read, the screen will indicate
MEDIA READ
, and a popup will show a progress bar.
NOTE
If a CF card is not inserted,
CF READ
popup will
appear after
MEDIA READ
indication.
4. If a blank CD is inserted in the CD drive, a popup screen
(shown below) asking you to select the CD writing format
will appear after the CF card has been read. Highlight
CD-Data
and press the front panel
MULTI JOG
dial (or the
remote’s
ENTER
key).
The folder finder screen for the CF card will appear.
NOTE
If MP3 or WAV files have already been written to the
CD, the above popup screen will not appear; the data
CD format will be selected automatically.
5. Select the source that you want to write to the CD.
As described in “Navigating in the folder finder screen” on
page 50, navigate within the finder to select the desired
folder or file. If you select a folder, all files in that folder
will be the source.
If you want to select multiple folders or files, repeat the
steps of highlighting the desired folder or file and pressing
the
CALL
key. A check mark will be added to the selected
file or folder. You can make multiple selections only for
folders and files that are in the same folder.
To de-select a selected file, press the
CALL
key once again.
NOTE
You can select multiple files only within the same
•
folder, so once you use the CALL key to select the
first folder or file, you will no longer be able to
move to a different folder.
If you are only selecting one folder or file, there is
•
no need to press the CALL key. Simply highlight the
desired folder or file, and proceed to step 6.
6. When you have selected all of the files to be copied to
the CD, hold down the front panel
MULTI JOG
dial
(or the remote’s
ENTER
key) to confirm your selec-
tion.
The target select screen will appear.
If you selected copy-source files that would exceed the free
space on the disc or the allowable number of tracks, you
will not be able to proceed to the target selection screen. In
this case, delete some of the selected folders or files so that
you are no longer exceeding the limit.
NOTE
If the total size of the copy-source files exceeds the
•
free space on the copy-destination disc, a popup
indicating
CAPACITY OVER
will appear after step 6.
If copying the copy-source files would exceed the
•
allowable number of tracks on the disc, a popup
indicating
TRACK OVER
will appear after step 6.