10 - mixing down and mastering songs, Mastering procedures, Using the mastering equalizer – Teac DP-32 User Manual
Page 67

TASCAM DP-32
67
10 - Mixing Down and Mastering Songs
Mastering procedures
Follow the steps below to master the file that has been
mixed down.
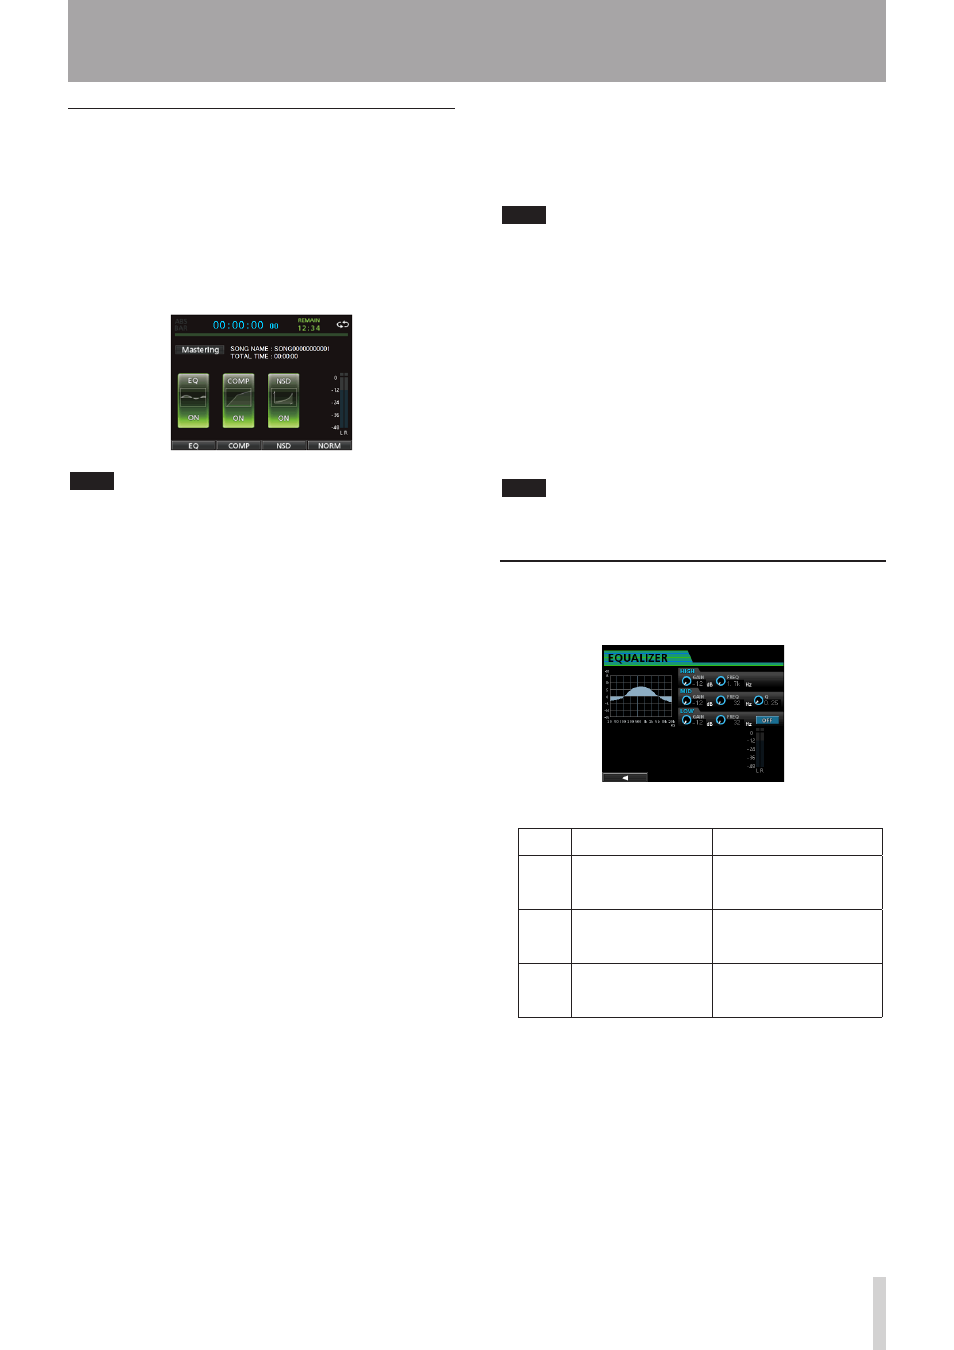
ª Step 1 - Enter Mastering mode.
When in
Mixdown
mode, press the MIXDOWN/
MASTERING button.
The recorder switches to
Mastering
mode and the
Mastering
screen opens.
NOTE
• When in
Multi Track
mode, press the MIXDOWN/
MASTERING button to switch to
Mixdown
mode, and
then press the MIXDOWN/MASTERING button again to
switch to
Mastering
mode.
• You cannot switch to
Mastering
mode if there is no
master file.
ª Step 2 - Use the mastering tools to adjust
the sound.
You can use the following mastering tools: EQUALIZER (F1
(
EQ
) button), COMPRESSOR (F2 (
COMP
) button), NOISE
SHAPED DITHERING (F3 (
NSD
) button) and NORMALIZE
(F4 (
NORM
) button).
You can also switch between a multi-band and single-
band type compressor on the
COMP MULTI
screen by
pressing the F2 button.
When using the multi-band compressor, the parameter
display on the
COMP MULTI
screen is split into LOW
BAND, MID BAND and HIGH BAND areas, allowing
separate adjustments for each band.
Make the necessary settings for each tool. (For further
details, see "Using the mastering equalizer," "Using
mastering compression," "Using normalize," and "Using
noise shaped dithering" below.)
When in
Mastering
mode, you can use the PLAY
(7), STOP (8), REW (m) and F FWD (,) transport
buttons to monitor the playback signal as you adjust
settings.
ª Step 3 - Record a new master file using the
mastering tools.
After adjusting the mastering tool settings, press the
RECORD (0) button to start recording.
The recording starts and the PLAY (7) and RECORD (0)
buttons light.
Recording always starts from
00:00:00:00
regardless
of the current position.
Recording in
Mastering
mode overwrites the previous
master file.
At the end of the master file, recording finishes
automatically and the position returns to
00:00:00:00
.
NOTE
If you stop the recording in the middle, a new master file will
be created until the time when you stopped the unit.
ª Step 4 - Check your recording.
Turn the equalizer and compressor off before playing back
the master file to check the mastering results.
Single undo and redo can be used, so you can compare
the sound before and after using the mastering tools.
ª If you are not satisfied with the result
Undo the operation to return the master file to mixdown
state, and apply the mastering tools again from step 1.
NOTE
Multiple undo and redo cannot be used when the recorder is
in
Mastering
mode.
Using the mastering equalizer
1. When the
Mastering
screen is open, press the F1
(
EQ
) button to open the
EQUALIZER
screen.
2. Adjust mastering equalization on this screen.
The equalizer parameters are as follows.
GAIN
FREQ
HIGH
Setting range: ±12
dB
(Default: 0 dB)
Setting range: 1.7 kHz to
18 kHz (Default: 10 kHz)
MID
Setting range: ±12
dB
(Default: 0 dB)
Setting range: 32 Hz to 18
kHz (Default: 1.0 kHz)
LOW
Setting range: ±12
dB
(Default: 0 dB)
Setting range: 32 Hz to
1.6 kHz (Default: 100 Hz)
Use the HIGH, MID and LOW GAIN knobs to adjust
the gain of each band.
Use the HIGH, MID and LOW FREQ knobs to adjust
the center frequency of each band.
Use the MID Q knob to set the resonance (width) of the
MID FREQ band.
Setting range:
0.25
to
16
(Default:
0.5
)