14 - using cds, Using the cd drive, Loading and ejecting cds – Teac DP-32 User Manual
Page 80: Preparations before using cds with this unit, Compatible cd types
80
TASCAM DP-32
14 - Using CDs
Using the CD drive
This unit has a CD drive that supports writing to CD-R
and CD-RW discs. In addition to playing back audio CDs
(CD-DA discs), the unit's CD drive can also be used for the
following purposes.
• Create audio CDs from master files
• Import tracks from audio CDs into the current song
NOTE
Standard audio CDs are 16-bit, 44.1kHz format.
If you make an audio CD using a master file of a song that
was created with different settings, it will automatically be
converted to 16-bit, 44.1kHz format.
Preparations before using CDs with
this unit
When using CDs with this unit, make the following
preparations.
• Before using a CD, change the recorder to
Multi Track
mode. In modes other than
Multi Track
, you cannot open the
CD
menu.
In
Mixdown
or
Mastering
mode, press the
MIXDOWN/MASTERING button repeatedly until the
unit switches to
Multi Track
mode.
In
Bounce
mode, press the BOUNCE button to switch
to
Multi Track
mode.
• Open the
CD
menu before inserting or ejecting a CD.
In order to prevent the sound of the CD drive being
operated during recording, for example, the power
to the drive is disabled when in modes other than CD
mode. For this reason, it is necessary to put the unit
into CD mode in order to load or eject a CD. Even in CD
mode, a CD cannot be loaded or ejected after being
loaded, unless the
CD
menu is open.
Since CDs are unmounted when screens other than the
CD menu are open, use the CD menu or
CD PLAY/
IMPORT
screen to load or eject a CD.
Compatible CD types
This unit is compatible with 12cm and 8cm CD, CD-R,
CD-RW and CD-RW High Speed discs. This unit does not
support CD-RW Ultra Speed or CD-RW Ultra Speed+ discs.
For the functions that can be used with different types of
discs, see the "Media Compatibility Table" on page 87.
ª Writing to an already written CD-RW
With this unit, you do not need to erase a CD-RW
beforehand. You can use a previously written CD-RW by
erasing it at the beginning of the desired operation.
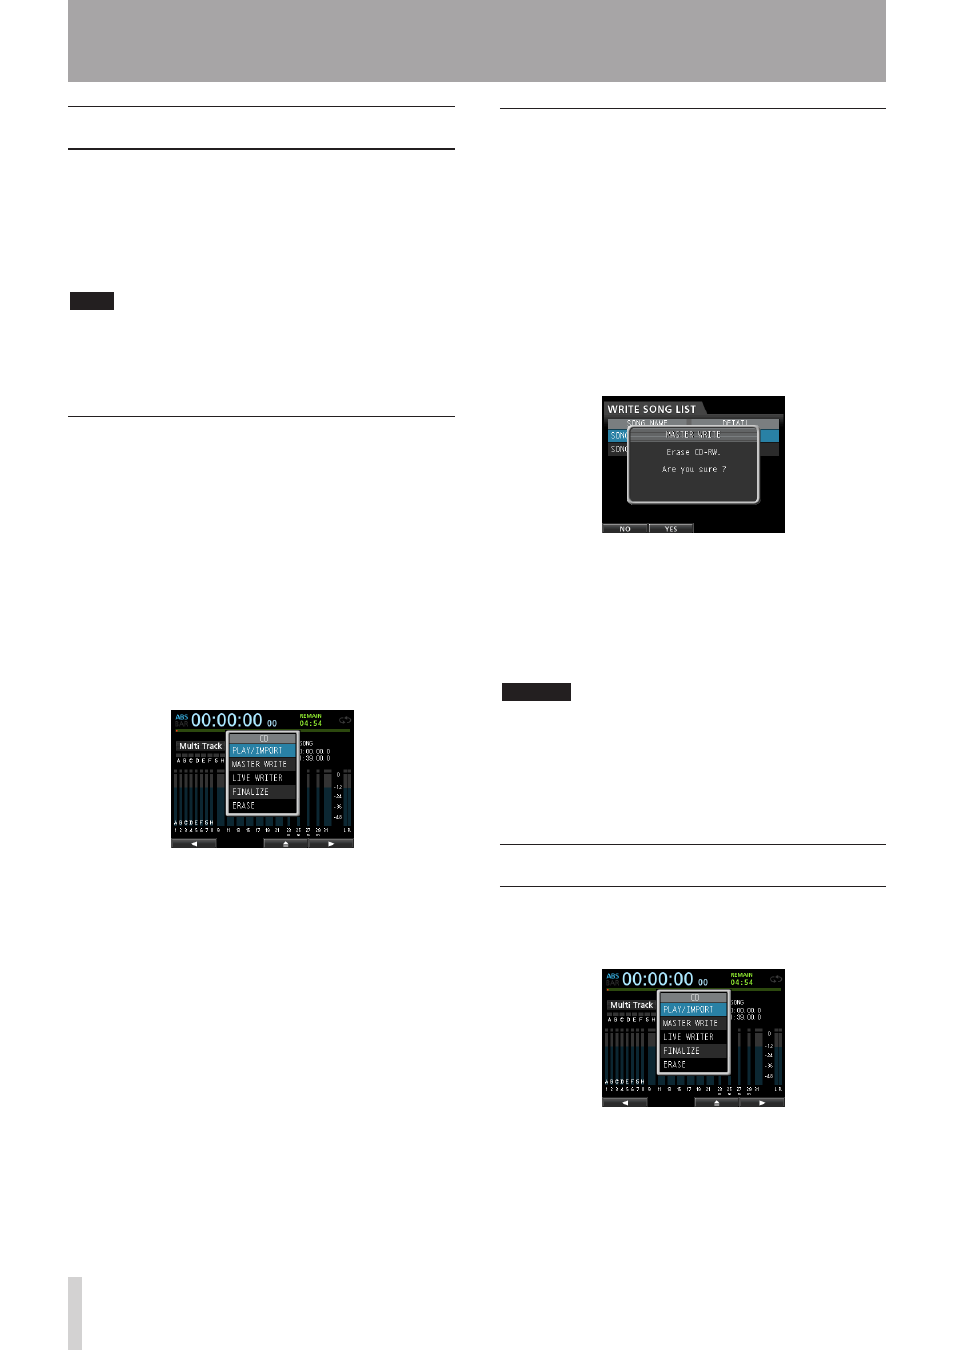
When creating an audio CD, the following message will
appear if you load an already written CD-RW disc.
Confirmation message
Press the F2 (
Yes
) button to erase the data previously
recorded on the disc.
If you do not want to erase the CD-RW disc, press the F1
(
NO
) button. The disc tray will open slightly. Pull the tray
out and replace the disc with another one.
CAUTION
If you use Track At Once to write a master file to an
unfinalized CD-RW in audio CD format (a CD-RW created
by selecting a single master file on the
MASTER WRITE
screen and setting
FINALIZE
to
OFF
), the file will be
added without showing the CD-RW erasure warning,
and it will not overwrite existing data on the disc.
Loading and ejecting CDs
Place the disc on the disc tray at the front of the unit.
1. When in
Multi Track
mode, press the CD button
to open the
CD
menu.
2. Press the F3 (-) button or the disc tray eject
button on the front panel to open the tray slightly.
Pull the tray out until it opens completely as shown
below.